The Beginner's Guide to the Motorcycle and ATV Clutch Release Bearing
If you have ever pulled your motorcycle's clutch lever and felt a gritty, grinding sensation reverberate through your fingers, or noticed your ATV lurching unpredictably when shifting into gear, you are likely dealing with a worn-out component. Welcome to the garage. Today, we are breaking down the clutch release bearing—a tiny but mighty part that dictates the smooth operation of your manual transmission.
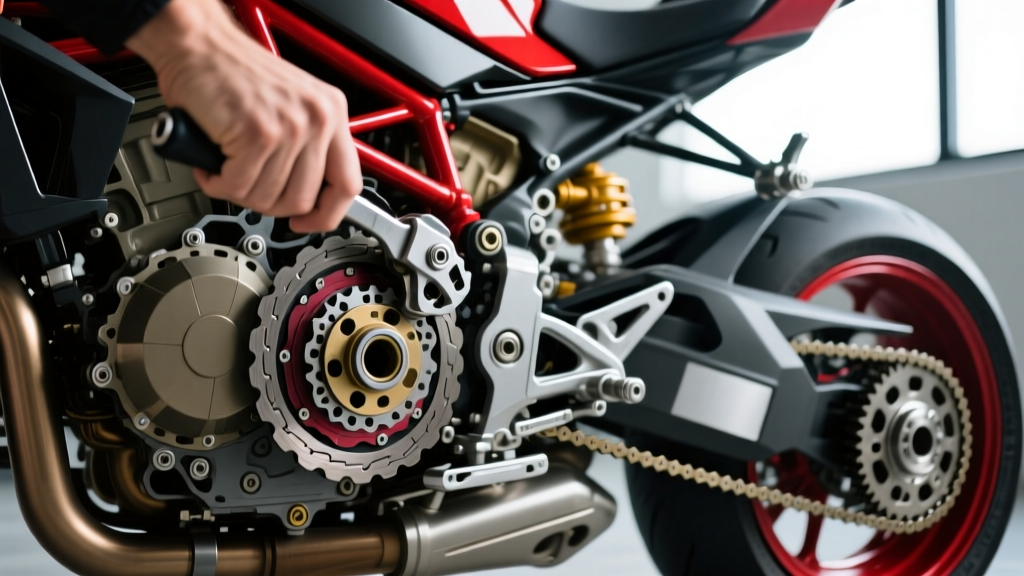
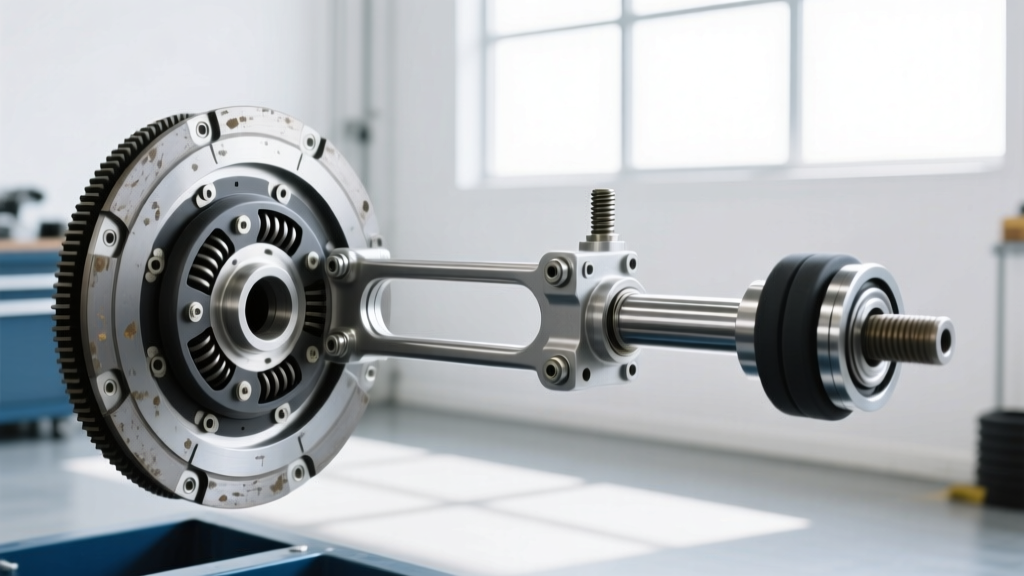
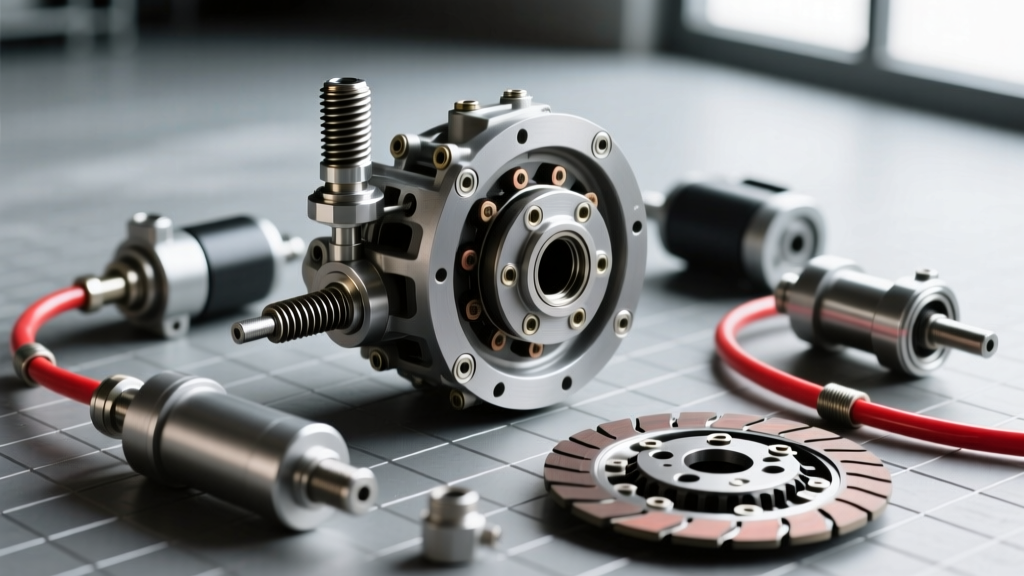
For beginners, it helps to understand the basic anatomy. In a car, this part is often called a throw-out bearing and lives deep inside the bell housing. On most motorcycles and ATVs, however, the clutch release bearing (sometimes referred to as a thrust bearing, pushrod bearing, or release mechanism bearing) is typically located on the outer edge of the engine case or directly inside the clutch basket. Its sole job is to act as a friction-reducing bridge between the stationary clutch actuation mechanism (your cable or hydraulic pushrod) and the high-speed spinning clutch pressure plate.
"Think of the release bearing as a handshake between a standing still hand and a spinning hand. Without the bearing, that handshake turns into a violent, metal-shredding friction burn." — Master Motorcycle Technician
When this bearing fails, it doesn't just ruin your ride quality; it can send metal shavings directly into your engine oil or primary chaincase, threatening the health of your entire powertrain. Let us dive into the symptoms, the mechanical differences between bikes and ATVs, and the exact specifications you need to fix it.
4 Unmistakable Symptoms of a Failing Release Bearing
Because motorcycles and ATVs expose more of their drivetrain components to the elements, diagnosing a bad clutch release bearing requires paying attention to both sound and feel. Here is what to look for:
1. The "Squeal and Squawk" Test (Auditory Clues)
The most classic symptom of a dry or pitted release bearing is noise. When you pull the clutch lever in, the bearing is forced to spin against the pressure plate. If the internal needles or ball bearings are starved of lubrication or physically chipped, you will hear a high-pitched squealing, chirping, or metallic grinding noise that only happens when the lever is pulled. Release the lever, and the noise disappears because the bearing stops spinning under load.
2. Gritty or Notchy Lever Feel (Tactile Clues)
On cable-actuated motorcycles (like older Honda Shadows or Suzuki DR-Z400s), a failing bearing transmits vibration directly up the steel cable to your lever. You will feel a "crunchy" sensation, almost like grinding coffee beans between your fingers. On hydraulic ATVs, this might manifest as a pulsating feeling in the brake-style clutch lever.
3. Incomplete Disengagement and "False Neutrals"
As the bearing wears down, it loses its physical thickness and structural integrity. This creates excess slop in the actuation system. You might pull the lever all the way to the handlebar, but the clutch doesn't fully disengage. This leads to the bike creeping forward at stoplights, difficulty finding neutral, and the dreaded "clunk" when slamming into first gear.
4. Clutch Fluid Contamination (Hydraulic Models Only)
Many modern ATVs and dirt bikes use a hydraulic clutch slave cylinder that pushes directly on the release bearing. If the bearing's seal fails and it is located in a shared oil bath, it can introduce metallic debris into the hydraulic fluid or engine oil, turning your transmission fluid a sparkling, glittery grey.
Wet vs. Dry Environments: Motorcycles vs. ATVs
One of the biggest mistakes beginners make is assuming a car's throw-out bearing operates the same way as a motorcycle's release bearing. The environment dictates the failure rate. As of 2026, aftermarket manufacturers are increasingly offering ceramic-coated thrust washers to combat the extreme heat generated in these specific environments.
| Vehicle Type | Typical Bearing Location | Lubrication Environment | Common Failure Cause |
|---|---|---|---|
| Street Motorcycle | Primary cover or clutch basket center | Wet (Shared Engine/Primary Oil) | Oil degradation, clutch dust clogging needle bearings |
| Motocross/Dirt Bike | Clutch basket pushrod seat | Wet (Shared Transmission Oil) | Dirt ingress, extreme RPM heat, clutch plate glazing |
| Utility ATV (Manual) | Outer engine case / actuator arm | Dry or Semi-Dry (Sealed thrust bearing) | Water/mud intrusion, lack of grease, seal failure |
| Sport UTV (Manual/DCT) | Integrated slave/bearing assembly | Sealed Hydraulic / Dry | Slave cylinder leaks corroding the bearing face |
Real-World Repair Data: Part Numbers and Torque Specs
To demonstrate genuine expertise, we must look past generic advice and examine actual shop data. Replacing a clutch release bearing is generally inexpensive in terms of parts (usually $15 to $45), but labor can be intensive if the engine must be split. Fortunately, on 90% of modern bikes and ATVs, it is accessible by removing the outer clutch cover. Always consult PartZilla's OEM Parts Fiches or ManualsLib Service Archives for your exact VIN before ordering.
Harley-Davidson Big Twin (Primary Chaincase Pushrod Bearing)
Harleys use a specific pushrod and release bearing assembly located in the primary chaincase. The infamous "squeal" on a Harley is almost always the Torrington-style release bearing.
- OEM Part Number: 37851-94 (Torrington B-168 equivalent)
- Cost: $18 - $25 USD
- Primary Fluid Capacity: 1 Quart (Formula+ or Syn3 20W-50)
- Primary Cover Torque Spec: 84-108 in-lbs (criss-cross pattern)
- Pro-Tip: Always replace the pushrod (Part # 37849-94) simultaneously, as a worn pushrod will destroy a new bearing in under 1,000 miles.
Honda Rancher 420 / Foreman (Wet Clutch Thrust Bearing)
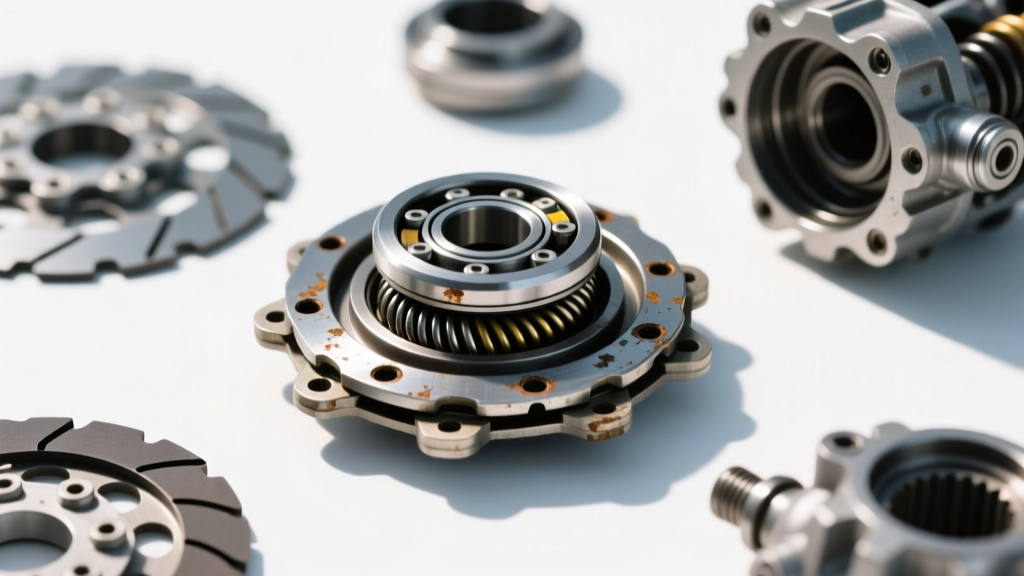
Honda's utility ATVs are legendary for their longevity, but mud and water can bypass the outer case seals, rusting the release bearing thrust surface.
- OEM Part Number: 22810-HM8-A41 (Release Bearing / Collar Assembly)
- Cost: $35 - $50 USD
- Clutch Spring Bolt Torque: 10 ft-lbs (12 Nm) with threadlocker
- Clutch Center Nut Torque: 54 ft-lbs (74 Nm)
- Pro-Tip: Inspect the clutch lifter arm shaft for grooves. If the shaft is scored, the new bearing will bind. Polish with 800-grit sandpaper or replace the shaft.
KTM / Husqvarna Dirt Bikes (Hydraulic Clutch Basket Bearing)
European dirt bikes often integrate the release mechanism directly into the clutch basket, actuated by a hydraulic slave cylinder (Magura or Brembo).
- Aftermarket Upgrade: Hinson Clutch Components Billet Release Mechanism
- Cost: $120+ USD (Complete billet assembly)
- Clutch Basket Nut Torque: 66 ft-lbs (90 Nm)
- Pro-Tip: Bleed the hydraulic line using a vacuum bleeder after installation. Air trapped in the Magura mineral oil system will mimic the symptoms of a failing bearing by causing a spongy, inconsistent lever pull.
Your 5-Step Driveway Diagnostic Routine
Before you order parts or drain your oil, perform this beginner-friendly diagnostic routine to confirm the clutch release bearing is actually the culprit. For more foundational knowledge, RevZilla's Common Tread offers excellent visual guides on clutch actuation geometry.
- Isolate the Cable/Hydraulics: Disconnect the clutch cable at the engine case (or unbolt the hydraulic slave cylinder). Pull the lever. If the gritty feeling or noise persists in the lever/cable itself, your issue is a frayed cable or a failing lever pivot pin, not the engine bearing.
- The Actuator Arm Test: With the cable disconnected, rotate the engine's clutch actuator arm by hand. It should move smoothly with a distinct detent (the "break-over" point of the pressure plate springs). If it feels crunchy or binds before the spring tension starts, the bearing is compromised.
- Check Free Play: Ensure you have the correct free play at the lever (usually 1/8 to 1/4 inch). Too little free play keeps the release bearing in constant, light contact with the spinning pressure plate, generating massive heat and premature wear.
- The Magnetic Drain Plug Inspection: Drain your engine oil or primary fluid and inspect the magnetic drain plug. A small amount of fine grey paste is normal clutch wear. Large, shiny metallic flakes or actual needle-roller shards indicate catastrophic bearing failure.
- Visual Inspection: Remove the outer clutch cover. Shine a flashlight on the release bearing. Look for bluing (heat damage), missing seals, or wobble when you spin it with your fingers. If it doesn't spin freely and silently, replace it immediately.
Final Thoughts for the Home Mechanic
Diagnosing a clutch release bearing on a motorcycle or ATV does not require a dealership-level diagnostic computer. It requires your ears, your hands, and a basic understanding of how rotational force meets stationary leverage. By catching a failing bearing early—before it welds itself to the pressure plate or drops needles into your oil pump—you save yourself from a $2,000 engine rebuild. Grab your service manual, torque wrench, and a fresh bottle of OEM fluid, and tackle the job with confidence.