The Critical Role of the Peterbilt Clutch Pedal in Class 8 Drivetrains
As of 2026, while automated manual transmissions (AMTs) like the Eaton Endurant HD dominate the highway fleet market, the traditional manual clutch pedal remains a staple in specialized vocational Peterbilt 567s, heavy-haul configurations, and legacy 389 owner-operator rigs. The clutch pedal is your primary diagnostic window into the health of the entire driveline. When paired with robust Eaton Fuller manual transmissions (such as the FRO-16210C 10-speed or RTX-12609B 9-speed) and heavy-duty Spicer clutches, the pedal's feedback can predict catastrophic failures before they strand you on the shoulder.
Diagnosing clutch system symptoms by feel, noise, and vibration requires a systematic approach. This step-by-step how-to guide will walk you through isolating the root cause of Peterbilt clutch pedal anomalies, complete with exact clearances, torque specifications, and real-world repair costs.
Step 1: Baseline Measurement – Free Travel and Clutch Brake Squeeze
Before tearing into the bellhousing or replacing hydraulic components, you must verify the foundational geometry of the Peterbilt clutch pedal. Incorrect adjustment is the leading cause of premature release bearing wear and clutch brake destruction.
Measuring Free Travel
Free travel is the distance the pedal moves before the release bearing contacts the clutch brake or the fingers of the pressure plate. For most Peterbilt trucks equipped with 14-inch or 15.5-inch Spicer Solo clutches, the specification is strictly 1.5 to 2.0 inches measured at the center of the pedal pad.
- Too little free travel: The release bearing rides constantly against the clutch brake, generating massive heat, glazing the friction surfaces, and destroying the clutch brake within weeks.
- Too much free travel: The clutch will not fully disengage, leading to gear grinding, hard shifting, and severe wear on the Eaton Fuller synchronizers and sliding clutches.
Checking Clutch Brake Squeeze
With the engine off, push the Peterbilt clutch pedal firmly to the floorboard. The distance between the back of the pedal pad and the floorboard (or the rubber bumper stop) should be between 0.500 and 0.750 inches. This 'squeeze' ensures the clutch brake fully engages to stop the transmission input shaft for smooth stationary gear engagement.
Step 2: Diagnosing Vibration and Chatter at Engagement
If your Peterbilt shudders violently or exhibits a rhythmic chatter when releasing the clutch pedal in first or reverse gear, the issue is typically rooted in friction surface contamination, mechanical runout, or failed dampening components.
Step-by-Step Vibration Isolation
- Rule out Driveline Angles: Before blaming the clutch, verify the rear suspension air bags are fully inflated and the driveline U-joint angles are within the manufacturer's 1-to-3-degree variance spec. A sagging suspension can mimic clutch chatter.
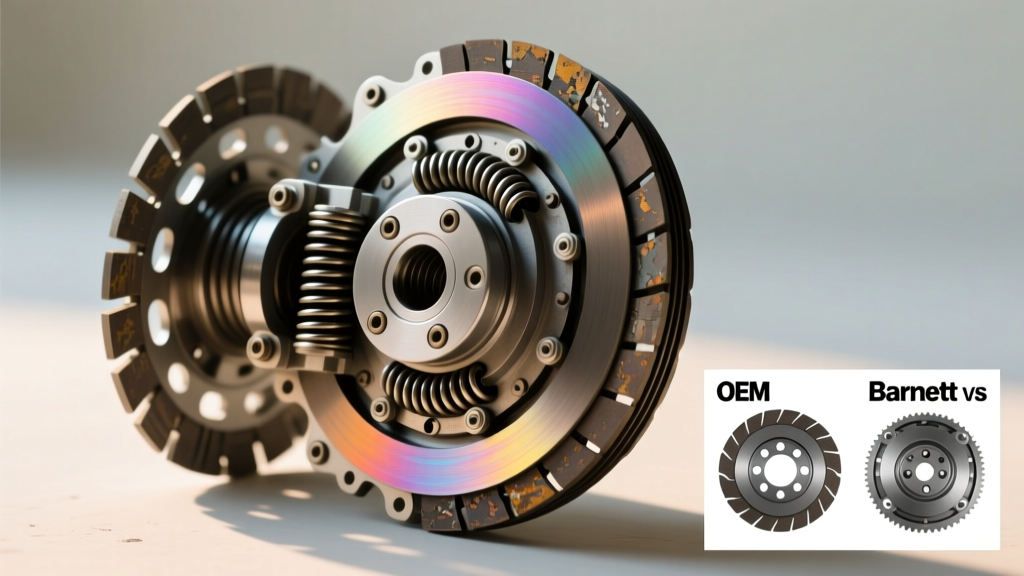
- Inspect the Clutch Disc Damper Springs: Heavy-duty Spicer clutch discs utilize heavy-gauge torsional damper springs to absorb diesel engine firing pulses. If these springs fracture or lose their tension, the engine's torque spikes are transferred directly into the transmission input shaft, causing violent chatter. Solution: Replace the clutch disc assembly.
- Measure Flywheel Runout: A warped flywheel will cause the clutch to engage and disengage rapidly in a single pedal revolution. Using a dial indicator mounted to the bellhousing, measure the flywheel face runout. The absolute maximum allowable runout for Cummins X15 and PACCAR MX-13 engines is 0.005 inches. If it exceeds this, the flywheel must be resurfaced or replaced.
- Check for Oil Contamination: A leaking engine rear main seal or transmission input shaft seal will coat the clutch friction material in oil. This causes a slipping, grabbing, and chattering sensation. Note: Never attempt to 'burn off' oil from a Class 8 clutch disc; the porous friction material will retain the oil and the chatter will return.
Step 3: Isolating Squeals, Growls, and Grinding Noises
Audible symptoms emanating from the bellhousing area when manipulating the Peterbilt clutch pedal are highly specific to rotational components. Here is how to decode the noise.
The 'Squeal' (Release Bearing vs. Pilot Bearing)
If a high-pitched squeal occurs only when the pedal is depressed (clutch disengaging), the release bearing (throw-out bearing) is failing. Modern sealed release bearings lack grease zerks; once the internal lubricant degrades, the bearing races score. Conversely, if the squeal occurs when the pedal is fully released (clutch engaged) and disappears when you press the pedal slightly, the transmission pilot bearing is seizing on the input shaft.
The 'Growl' (Transmission Input Shaft Bearing)
A low-frequency growl that changes pitch with engine RPM, but is most prominent when the clutch pedal is depressed, often points to a worn transmission input shaft bearing. The load on this bearing changes drastically when the clutch fork pushes the release bearing forward. Addressing this requires a transmission teardown, not just a clutch replacement.
The 'Grind' (Clutch Brake and Synchronizer Damage)
Grinding when attempting to shift into first gear from a dead stop indicates the clutch brake is not stopping the input shaft. This is usually caused by a lack of pedal squeeze (greater than 0.750 inches from the floor) or a physically shattered clutch brake friction disc.
Pro-Tip for Owner-Operators: Never 'pump' the clutch pedal to engage the clutch brake on an Eaton Fuller transmission. The clutch brake is designed for stationary shifting only. Pumping the pedal while the truck is in motion will shatter the brittle clutch brake material, sending debris into the bellhousing and scoring the transmission front bearing cover.
Step 4: Troubleshooting Pedal Feel (Hard, Spongy, or Sticking)
The physical resistance of the Peterbilt clutch pedal tells a story about the linkage, cross-shaft, and hydraulic assist systems.
Hard or Binding Pedal Effort
Modern Peterbilt models (like the 579 and 567) utilize a hydraulic master cylinder paired with a pneumatic or hydraulic assist servo to reduce pedal effort. If the pedal feels exceptionally heavy or binds mid-stroke:
- Inspect the Cross-Shaft and Yoke: The external cross-shaft that transfers pedal motion to the internal clutch fork rides on bronze or needle bushings. In vocational trucks exposed to dirt and road salt, these bushings corrode and bind. Lubricate the external Zerk fittings with high-temp moly grease. If binding persists, replace the bushings and seals.
- Check the Hydraulic Assist Servo: If the air supply to the clutch assist cylinder is restricted (due to a clogged inline filter or kinked nylon air line), the driver is forced to overcome the 2,000+ lb clamp load of the Spicer Solo pressure plate using only leg strength.
Spongy or Sinking Pedal
A pedal that slowly sinks to the floor while held down indicates internal bypassing in the hydraulic master cylinder or a leak in the slave cylinder pushrod seal. Bleeding the system will not fix internal seal failure; replacement of the master cylinder assembly is required.
Symptom-to-Solution Matrix & 2026 Cost Estimates
Use the following diagnostic table to estimate repair scope and costs based on current heavy-duty aftermarket pricing.
| Primary Symptom | Probable Root Cause | Key Component / Part Example | Est. Repair Cost (Parts + Labor) |
|---|---|---|---|
| Chatter / Vibration on take-off | Failed disc damper springs or warped flywheel | Spicer 15.5' 2-Plate Clutch Kit | $2,800 - $4,500 |
| Squeal on pedal depression | Seized release bearing | Eaton Release Bearing (Part # 5006-101) | $2,200 - $3,500 (Requires drop) |
| Grinding into 1st gear (Stationary) | Worn clutch brake or incorrect pedal squeeze | Spicer Clutch Brake Friction Disc | $150 - $300 (External adjustment) |
| Heavy / Binding pedal feel | Corroded external cross-shaft bushings | Peterbilt Cross-Shaft Rebuild Kit | $400 - $800 |
| Spongy pedal / Sinking to floor | Internal master cylinder seal bypass | Hydraulic Master Cylinder Assembly | $350 - $650 |
Step 5: Step-by-Step Linkage and Hydraulic Adjustment Procedure
If your diagnosis reveals that the Peterbilt clutch pedal symptoms are caused by improper geometry rather than component failure, follow this adjustment procedure to restore factory specifications.
- Secure the Vehicle: Park on a level surface, apply the parking brakes, and chock the wheels. Ensure the transmission is in neutral.
- Locate the Adjustment Rod: Crawl under the cab (or access through the inspection panel) to locate the threaded pushrod connecting the pedal assembly to the hydraulic master cylinder or mechanical linkage.
- Loosen the Jam Nut: Use a wrench to loosen the adjustment jam nut. Caution: Do not apply excessive heat to the threads, as this can damage the adjacent hydraulic seals.
- Adjust Free Travel: Turn the pushrod to lengthen or shorten the assembly. Have an assistant measure the pedal pad movement inside the cab. Stop adjusting when exactly 1.75 inches of free play is achieved (the sweet spot of the 1.5'-2.0' spec).
- Verify Clutch Brake Squeeze: Ensure the pedal pad sits 0.500 to 0.750 inches from the floorboard when fully depressed. If the squeeze is incorrect, adjust the internal clutch fork stop bolt located on the transmission bellhousing (refer to the Eaton Vehicle Group service manual for your specific transmission model).
- Torque and Secure: Tighten the linkage jam nut to 45-50 lb-ft. Apply a medium-strength thread locker to prevent vibration-induced loosening.
- Test Drive: Perform a series of stationary shifts and low-speed engagements to verify smooth operation and absence of chatter.
Final Thoughts on Driveline Longevity
Ignoring minor anomalies in your Peterbilt clutch pedal guarantees a major roadside failure. A simple 10-minute inspection of free travel and clutch brake squeeze during every standard PM (Preventative Maintenance) service can double the lifespan of your Spicer clutch and Eaton Fuller transmission. For detailed torque specifications and bellhousing alignment procedures, always consult Peterbilt Support or reference the engineering data provided by Spicer Parts. Treat your clutch pedal as a precision diagnostic instrument, and your driveline will deliver millions of miles of reliable service.