The Anatomy of a Motorcycle Clutch Burning Smell
The acrid, unmistakable scent of burning friction material is a nightmare for any motorcyclist. Unlike automotive dry clutches, the vast majority of motorcycles utilize a wet, multi-plate clutch system bathed in engine oil. When you detect a burning smell emanating from your exhaust or engine casing, it is the direct result of excessive kinetic energy converting into thermal energy due to clutch slip. The friction plates, typically composed of a paper-based composite, Kevlar, or carbon-Kevlar blends, begin to glaze and degrade when subjected to temperatures exceeding 400°F (204°C) under load.
Diagnosing this symptom requires a methodical approach that separates rider error, improper adjustment, and mechanical failure. Many riders mistakenly believe that a slipping clutch simply lacks 'grip' and attempt to compensate by over-tensioning the cable. This article will break down the exact diagnostic steps, metallurgical limits, and adjustment protocols required to resolve a burning clutch smell and restore proper power transfer from the crankshaft to the transmission input shaft.
Free Play vs. Cable Tension: The Root Cause of Slip
When riders search for how to tighten clutch on motorcycle models, they often conflate cable tension with clamping force. This is a critical misconception that frequently causes the very burning smell they are trying to fix. The clutch cable does not dictate how hard the pressure plate clamps the friction disks; that is entirely the job of the clutch springs. The cable merely actuates the lifter mechanism to release the clamping force.
If you 'tighten' the clutch cable to the point where there is zero free play at the lever, the cable remains under constant tension. This pulls the clutch lifter rod slightly outward, preventing the pressure plate from fully seating against the friction stack. The resulting micro-millimeter gap causes continuous slip under high-RPM load, generating massive heat, glazing the friction plates, and burning the oil. According to Cycle World How-To Guides, maintaining the manufacturer-specified free play is the single most important factor in preventing premature wet clutch failure.
Standard Free Play Specifications
- Sportbikes (e.g., Honda CBR600RR, Yamaha R6): 10mm - 15mm at the lever end.
- Naked/Standard (e.g., Yamaha MT-07, Kawasaki Z650): 10mm - 20mm at the lever end.
- Heavy Cruisers (e.g., Harley-Davidson Sportster): 1.5mm - 3mm at the cable adjuster (derby cover internal adjustment).
Step-by-Step Clutch Burning Smell Diagnosis
Before tearing down the engine casing, you must isolate the variable causing the slip. Follow this diagnostic hierarchy to pinpoint the failure mode.
1. The Lever Feel and Free Play Test
With the engine cold, measure the free play at the tip of the clutch lever using a steel ruler. You should feel a distinct 'slack' zone before the cable begins to pull the clutch lifter arm. If the lever is rock-hard with zero dead space, your cable is over-tightened. Loosen the inline barrel adjuster at the handlebar perch until 15mm of free play is achieved, then test ride the motorcycle under heavy load in 3rd and 4th gear to see if the burning smell persists.
2. Oil Analysis and JASO Friction Standards
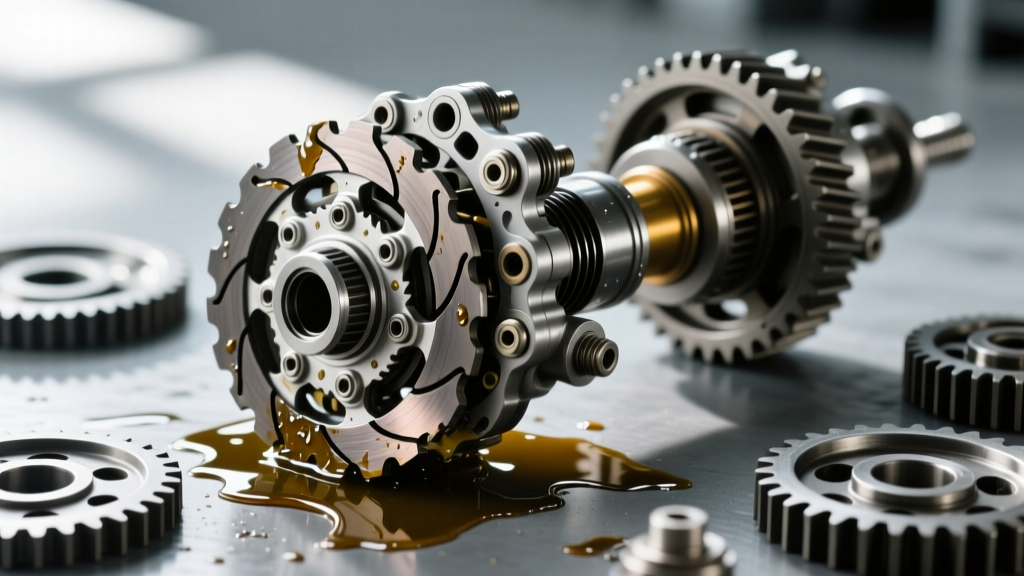
Wet clutches rely on the engine oil to manage heat and provide a specific coefficient of friction. Using the wrong oil is a primary cause of clutch slip and burning. Automotive oils labeled with API 'Resource Conserving' or 'Energy Conserving' contain friction modifiers (like molybdenum disulfide) designed to reduce engine drag. In a wet clutch, these modifiers coat the friction plates, causing catastrophic slip.
You must exclusively use oils certified to JASO Global Standards MA or MA2. JASO MA2 oils guarantee a high dynamic friction coefficient (μ ≥ 0.12) and a static friction index suitable for multi-plate engagement without slipping under peak torque loads.
| Oil Standard | Friction Modifiers | Wet Clutch Safe? | Symptom if Used |
|---|---|---|---|
| JASO MA / MA2 | None | Yes (Required) | Proper engagement, optimal heat dissipation. |
| API SN / SP 'Resource Conserving' | High (Moly, Zinc) | No | Severe slip, burning smell, glazing. |
| JASO MB | Low (Scooter specific) | No | Slip under heavy load, premature wear. |
Teardown: Measuring Friction and Steel Plates
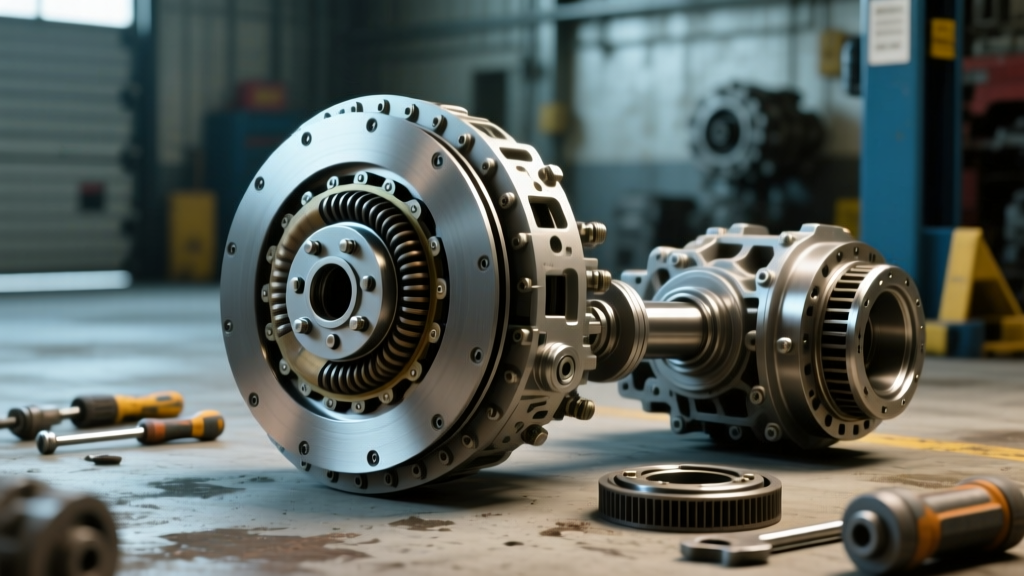
If free play is correct and the oil is JASO MA2 certified, the clutch pack itself has suffered mechanical failure. Drain the engine oil (note any metallic glitter or a severe burnt odor, which indicates destroyed friction material), remove the right-side clutch cover, and extract the clutch basket.
Once the friction plates and steel separator plates are removed, you must measure them using a digital micrometer and a machinist's surface plate. Heat from a burning clutch often warps the steel plates, which prevents the pack from fully engaging even when the springs are fully compressed.
| Component | Standard Thickness / Length | Service Limit (Replace If) | Measurement Tool |
|---|---|---|---|
| Friction Plate (Paper/Kevlar) | 3.5mm - 4.0mm | Below 3.0mm | Digital Micrometer |
| Steel Separator Plate | 1.6mm - 2.0mm | Warpage > 0.1mm | Feeler Gauge on Surface Plate |
| Clutch Spring (Free Length) | 45.0mm - 50.0mm | Below 42.0mm (Heat Sag) | Digital Caliper |
Note: Always consult your specific motorcycle's factory service manual for exact dimensional limits. For example, the Yamaha MT-07 (CP2 engine) specifies a friction plate standard thickness of 3.5mm with a service limit of 3.0mm.
Proper Adjustment: How to Tighten Clutch on Motorcycle Safely
Once you have verified the mechanical integrity of the clutch pack and reassembled the basket, proper adjustment is paramount. When learning how to tighten clutch on motorcycle setups correctly, you must follow a two-stage adjustment process to ensure the lifter mechanism operates within its designed geometry.
- Lower Engine Case Adjuster: First, loosen the inline adjuster at the handlebar perch completely. Locate the cable adjuster where the cable housing meets the engine case. Thread the adjuster in or out until the clutch lifter arm has just a tiny amount of slack (usually 2-3mm of play at the arm itself).
- Handlebar Perch Adjuster: Next, use the barrel adjuster at the left handgrip to dial in the final 10-15mm of free play at the lever tip.
- Lock Nuts: Secure all lock nuts. If a lock nut backs off during vibration, it will slowly pull the cable tight while you ride, resulting in a mysterious burning smell 50 miles down the road.
Expert Torque Spec Warning: When reinstalling the clutch pressure plate and springs, always use a crisscross (star) tightening pattern. For most Japanese inline-fours and parallel-twins, clutch spring bolts require exactly 6 to 8 Nm (53 to 71 lb-in) of torque. Overtightening these bolts will strip the soft aluminum threads of the clutch hub, requiring a complete hub replacement or Heli-Coil repair.
Upgrading for High-Torque Applications
If your motorcycle is heavily modified (e.g., big bore kits, turbocharging, or ECU tuning for wheelie/hard-launch use), the OEM clutch springs and paper-based friction plates may simply be inadequate for the torque output, leading to inevitable slip and burning. In these scenarios, upgrading to stiffer clutch springs and aggressive friction materials is necessary.
Brands like EBC Brakes Motorcycle Division offer heavy-duty spring kits that increase clamping pressure by 15% to 20%. Pairing these with EBC's CK series (Kevlar) or SRC series (Carbon-Kevlar) friction plates drastically raises the thermal threshold of the clutch pack. For example, an EBC CK2345 clutch kit for a Yamaha FZ-07/MT-07 retails for approximately $95, while heavy-duty springs add about $25. This is a highly cost-effective insurance policy against clutch slip compared to the $400+ cost of replacing warped OEM steel plates and burnt friction discs.
Summary of Diagnostic Costs
- Cable Adjustment & Fluid Change: $15 - $80 (DIY vs. Dealer Labor)
- OEM Friction & Steel Plate Replacement: $200 - $350 (Parts)
- Aftermarket Heavy Duty Rebuild (EBC/Barnett): $120 - $180 (Parts)
- Clutch Basket Replacement (if grooved): $250 - $600 (Parts)
By understanding the relationship between cable free play, oil chemistry, and friction metallurgy, you can accurately diagnose a clutch burning smell before it results in a catastrophic failure of the transmission input shaft or clutch hub.