Introduction to Clutch Systems: Two Different Worlds
When newcomers begin their journey into driveway mechanic work, they often find themselves researching two vastly different power-transfer systems: the wet multi-plate clutch found in modern motorcycles and the electromagnetic Power Take-Off (PTO) clutch used in agricultural and landscaping tractors. While both components serve the fundamental purpose of engaging and disengaging power from an engine to a drivetrain or implement, their engineering, failure modes, and service procedures are worlds apart.
In this comprehensive beginner-friendly explainer, we will break down the mechanical principles of motorcycle clutch replacement and compare it directly to the john deere pto clutch replacement cost and service procedures. Whether you are pulling the right-side engine cover off your Yamaha MT-07 or crawling under the deck of a John Deere 1025R sub-compact tractor, understanding the exact torque specifications, diagnostic steps, and parts pricing is critical for a successful repair in 2026.
Deep Dive: Motorcycle Wet Clutch Replacement
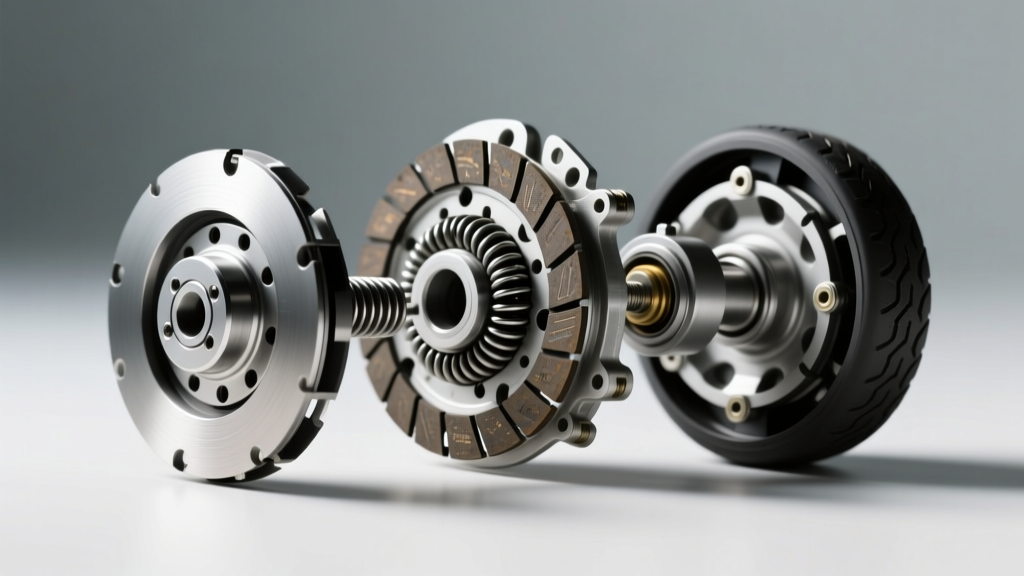
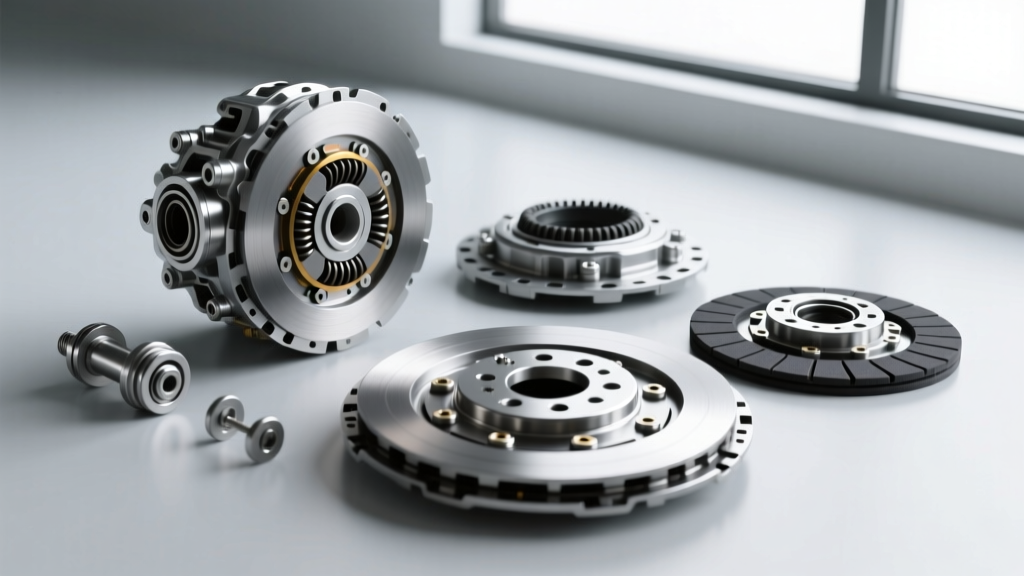
Most street and off-road motorcycles utilize a wet, multi-plate clutch system. This means the clutch assembly is bathed in the same engine oil that lubricates the crankshaft, transmission gears, and valve train. The system relies on alternating layers of friction plates (typically lined with cork, Kevlar, or carbon fiber) and bare steel separator plates, compressed together by heavy-duty coil springs.
Common Failure Modes in Motorcycle Clutches
Before turning a single wrench, it is vital to understand why motorcycle clutches fail. The most common issues include:
- Glazed Friction Plates: Caused by excessive slipping or using automotive oil that contains friction modifiers. This results in a lever that feels engaged, but the bike revs without accelerating.
- Warped Steel Plates: Extreme heat from aggressive launch control or stop-and-go traffic can cause the steel plates to warp, leading to a dragging clutch that makes finding neutral difficult.
- Spring Sag: Over thousands of heat cycles, the clutch springs lose their free length and clamping force, leading to premature slip under heavy throttle loads.
Step-by-Step Replacement Overview (Yamaha MT-07 Example)
Replacing a motorcycle clutch is a highly rewarding DIY project. Using the popular Yamaha MT-07 (CP2 engine) as our baseline, here is the professional procedure:
- Drain the Oil: Always drain the crankcase first. Refill later with a JASO MA2 certified 10W-40 motorcycle-specific oil (e.g., Motul 7100) to prevent friction modifier contamination.
- Remove the Clutch Cover: Loosen the perimeter bolts in a crisscross pattern. Carefully tap the cover with a rubber mallet to break the gasket seal. Keep track of the dowel pins.
- Compress and Remove Springs: Use a JIS (Japanese Industrial Standard) screwdriver or a perfectly fitted Phillips #2 bit to remove the six spring bolts. Crucial: Measure the spring free length. The OEM Yamaha service manual dictates a minimum free length of 41.5 mm. If they are shorter, replace them.
- Remove the Pressure Plate and Plates: Lift off the pressure plate and pull out the alternating friction and steel plates. Keep them in order if you are only inspecting, but for a full rebuild, discard them.
- Inspect the Inner Hub and Outer Basket: Run your fingernail along the ears of the aluminum outer basket. If you feel deep notches caused by the steel plates impacting them, the basket must be replaced or filed smooth, otherwise, the new clutch will drag.
- Install New Clutch Kit: Soak the new friction plates (such as the EBC CK3284 Clutch Kit) in fresh JASO MA2 oil for at least two hours before installation. Install them in the correct alternating pattern, ensuring the last plate installed is a friction plate.
- Torque Specifications: Reinstall the pressure plate and spring bolts. Torque the spring bolts to 8.0 Nm (5.9 lb-ft). Using a universal clutch holding tool to prevent the basket from spinning, torque the inner hub center nut to 75 Nm (55 lb-ft) and stake the locking washer.
The total cost for a high-quality aftermarket motorcycle clutch kit ranges from $110 to $180, making it an incredibly cost-effective DIY repair compared to dealer labor rates.
Understanding the John Deere PTO Clutch Replacement Cost
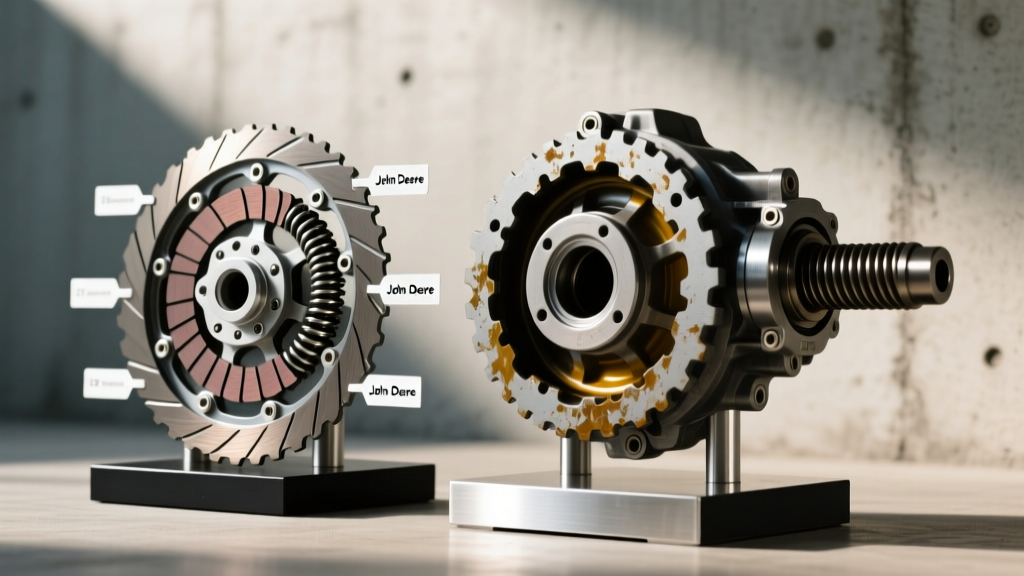
While a motorcycle clutch relies on mechanical spring pressure and oil immersion, a tractor PTO clutch operates on entirely different physics. Modern John Deere sub-compact and compact tractors (like the 1025R, 2032R, and 3032E) utilize an electromagnetic PTO clutch. This component is mounted directly to the engine crankshaft pulley and uses a magnetic field to engage a rotating friction disc, transferring power to the mower deck or rear implement driveline.
How an Electromagnetic PTO Clutch Works
When you pull the PTO engagement switch on the dashboard, a 12-volt DC current is sent to the stationary electromagnetic coil. This creates a powerful magnetic field that pulls the rotating armature plate against the stationary friction disc. The resulting friction locks the assembly to the PTO shaft, spinning the mower blades. When the switch is released, the magnetic field collapses, and return springs pull the armature away, disengaging the power.
Diagnosing PTO Failure: Don't Replace Until You Test
Beginners often assume a non-engaging PTO requires a full replacement, but proper diagnostics can save hundreds of dollars. Before researching the john deere pto clutch replacement cost, perform these three tests:
- Voltage Drop Test: Use a digital multimeter to check the voltage at the PTO wiring harness connector while the switch is engaged. You must see a minimum of 11.5 volts. If you only see 9 volts, you have a bad relay, a corroded ground, or a failing safety interlock switch, not a bad clutch.
- Coil Resistance Test: Disconnect the clutch and measure the resistance across the two coil terminals. A healthy 12V electromagnetic coil should read between 2.0 and 4.0 Ohms. If it reads infinite (open circuit) or near zero (short circuit), the internal copper windings have burned out, and replacement is mandatory.
- Air Gap Adjustment: As the friction disc wears, the gap between the armature and the rotor widens. If the gap exceeds 0.020 inches, the magnet cannot pull the armature across the gap. Use a feeler gauge to check the gap. On most Warner and Ogura clutches used by John Deere, the specification is 0.010 to 0.018 inches. This can often be adjusted using the locknuts on the three mounting bolts, restoring clutch function without buying new parts.
Breaking Down the John Deere PTO Clutch Replacement Cost
If your diagnostics confirm a burnt coil or a worn-out friction surface beyond adjustment, replacement is necessary. When budgeting for your tractor's maintenance in 2026, the john deere pto clutch replacement cost varies wildly depending on whether you choose OEM or aftermarket, and whether you wrench it yourself.
- OEM John Deere Parts: Purchasing a genuine OEM assembly (e.g., Part #LVA21039 or similar model-specific variants) directly from the John Deere Parts Catalog typically costs between $550 and $750.
- Aftermarket Alternatives: High-quality aftermarket manufacturers like Warner Electric or Xtreme Outback offer direct-fit replacement clutches (such as the Warner 5319-53) that range from $250 to $380. These units often feature upgraded friction materials and better heat dissipation.
- Dealer Labor Rates: If you take the tractor to a dealership, expect to pay between $135 and $185 per hour for labor. The book time for a PTO clutch replacement is generally 1.5 to 2.0 hours, adding $250 to $370 to your final bill.
DIY PTO Clutch Replacement Procedure & Torque Specs
Replacing a PTO clutch is a straightforward, albeit physically demanding, task due to the tight clearances under the tractor chassis.
- Safety First: Disconnect the negative battery terminal and ensure the tractor is on a level surface with the parking brake engaged and wheels chocked.
- Remove the Anti-Rotation Bracket: The PTO clutch features a torque arm or anti-rotation pin that prevents the stationary coil from spinning with the crankshaft. Remove the bolt securing this bracket to the tractor frame.
- Disconnect Wiring: Unplug the weather-pack electrical connector and carefully route the wiring harness away from the cutting deck.
- Break the Center Nut Loose: The PTO clutch is secured to the engine crankshaft by a single, heavily torqued center nut. You will need to use a strap wrench or an impact wrench (set to low torque to avoid damaging the crankshaft thrust bearing) to break it free.
- Slide and Align: Slide the old clutch off the splined shaft. Clean the shaft with a wire brush and apply a light coat of anti-seize compound. Slide the new clutch on, ensuring the anti-rotation pin slots perfectly into the frame bracket.
- Final Torque: Thread the new center retaining nut (always use the new washer provided in the kit). Torque the center nut to 68 Nm (50 lb-ft). Reconnect the wiring and set the air gap to 0.015 inches using a feeler gauge before reattaching the battery.
Cost & Complexity Comparison Chart
To help beginners visualize the differences between these two drivetrain components, review the comparison table below:
| Feature | Motorcycle Wet Multi-Plate Clutch | John Deere Electromagnetic PTO Clutch |
|---|---|---|
| Engagement Mechanism | Mechanical spring pressure via cable or hydraulic lever | 12V DC Electromagnetic coil |
| Operating Environment | Submerged in JASO MA2 engine oil | Dry, exposed to dust, grass, and moisture |
| Most Common Failure | Glazed friction plates / warped steels | Coil burnout / excessive air gap |
| DIY Parts Cost (2026) | $110 - $250 (EBC, OEM) | $250 - $750 (Warner, OEM JD) |
| Specialty Tools Required | Clutch holding tool, JIS screwdrivers, torque wrench | Feeler gauge, digital multimeter, strap wrench |
| Estimated DIY Time | 1.5 - 3 Hours | 1 - 2 Hours |
Final Verdict for the Beginner Mechanic
Whether you are tackling a motorcycle clutch rebuild or evaluating the john deere pto clutch replacement cost for your landscaping tractor, the key to success lies in meticulous diagnostics and adherence to factory torque specifications. Motorcycle clutches demand extreme cleanliness and strict adherence to JASO MA2 fluid standards to prevent immediate slippage. Conversely, PTO clutches require a solid understanding of basic electrical diagnostics and precise mechanical air-gap adjustments.
By investing in a quality digital multimeter, a reliable torque wrench, and consulting authoritative resources like RevZilla Common Tread for motorcycle tutorials or your specific tractor's OEM service manual, you can confidently conquer both of these essential drivetrain repairs in your own garage, saving hundreds of dollars in dealership labor fees.