Understanding the Wet Multi-Plate Clutch System
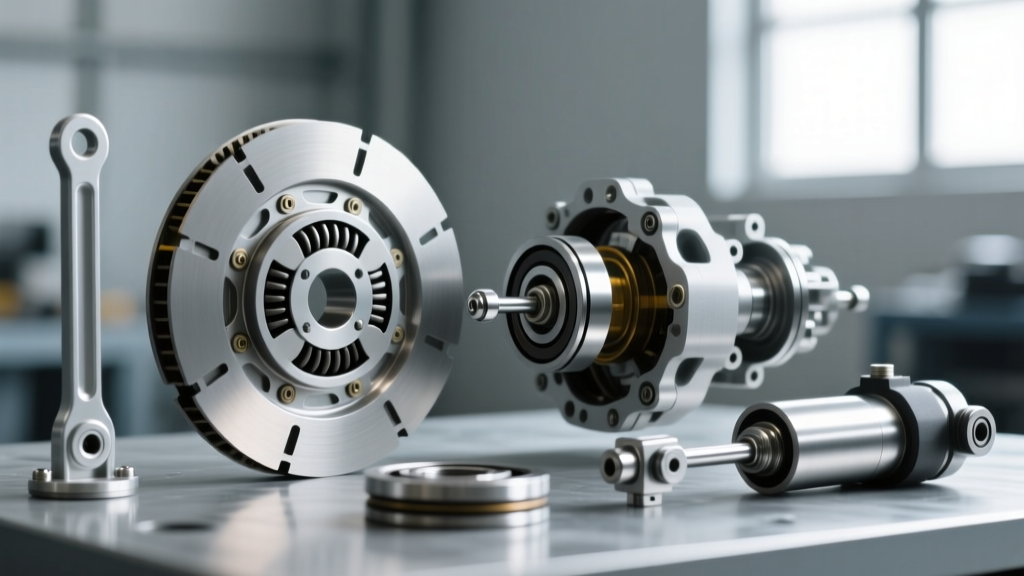
Before executing a comprehensive diagnostic teardown, it is vital to understand the fundamental mechanics of the system. When riders and mechanics ask, how does the clutch work on a motorcycle, the answer lies in the kinetic energy transfer through a wet, multi-plate friction assembly. Unlike the single-plate dry clutches found in most automotive manual transmissions, motorcycle clutches utilize alternating layers of friction plates and smooth steel plates, all bathed in shared engine oil to manage the intense thermal loads generated by high-RPM engagement.
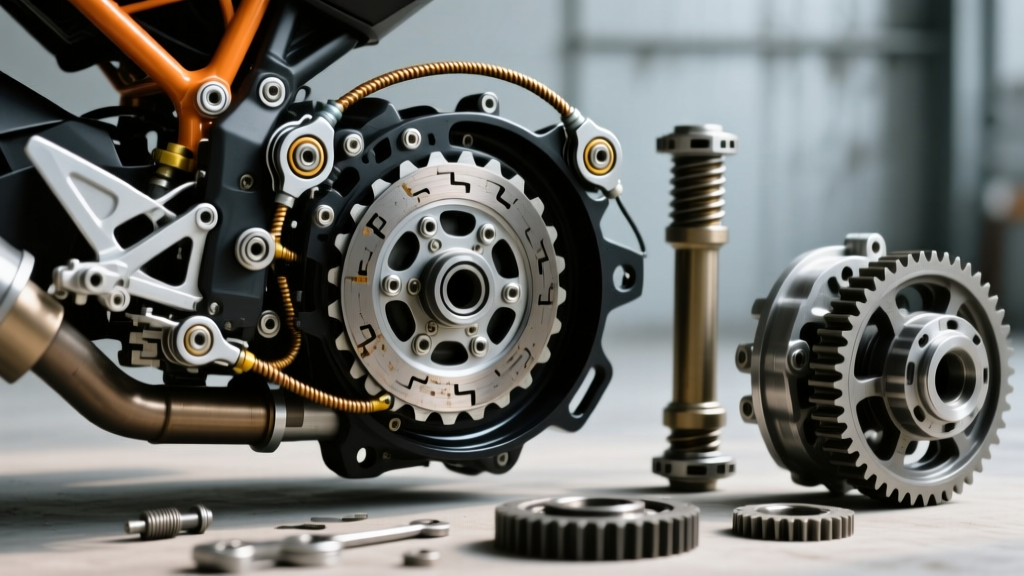
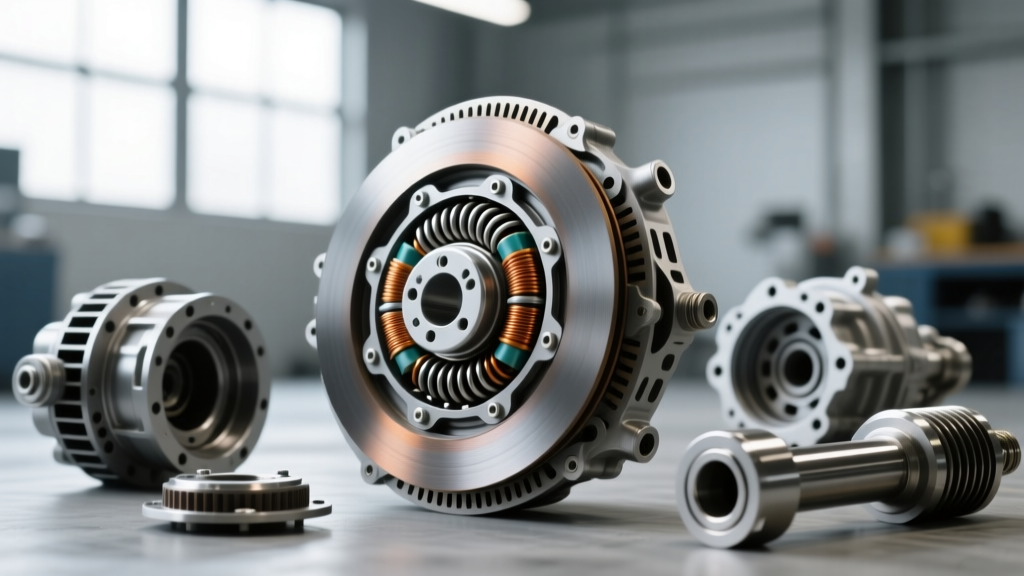
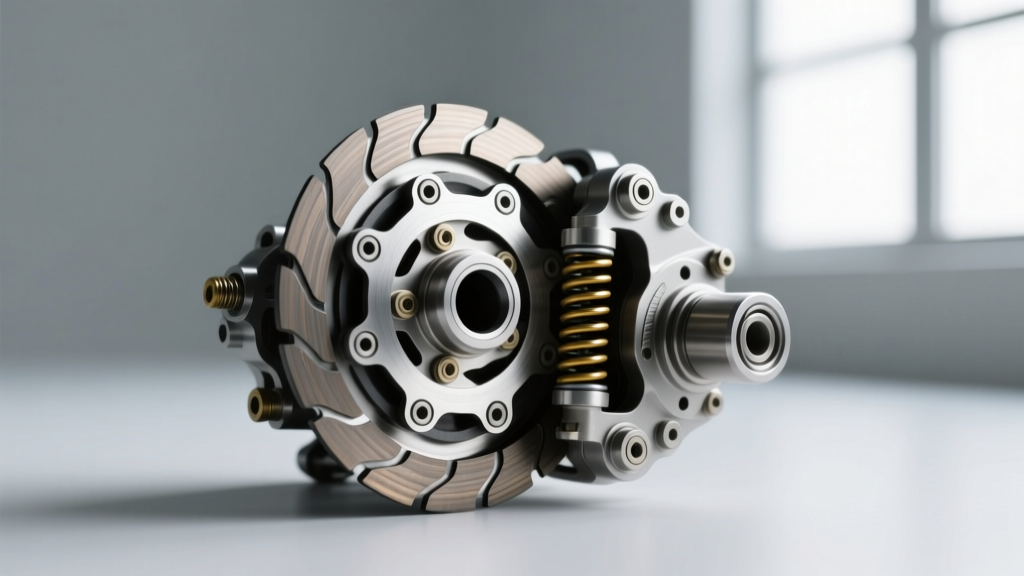
The engine crankshaft drives a primary gear that meshes with the outer clutch basket. The friction plates feature outer tangs that lock into the basket's slots, meaning they spin at engine speed. Inside them sit the steel plates, which feature inner teeth that lock onto the transmission's inner hub (connected to the input shaft). When the clutch springs compress the pressure plate against the pack, friction locks the basket and hub together, transmitting power to the gearbox. Pulling the lever actuates a pushrod that lifts the pressure plate, breaking the friction bond and allowing the plates to spin independently.
Modern 2026 sport and naked bikes frequently employ an Assist and Slipper (A&S) clutch. This design uses angled cam ramps between the pressure plate and inner hub. Under heavy acceleration, the ramps pull the pressure plate tighter (assist), allowing for lighter clutch springs and a softer lever pull. Under deceleration, back-torque forces the ramps to push the pressure plate away (slipper), intentionally inducing micro-slip to prevent rear-wheel hop during aggressive downshifts.
Expert Insight: Over 60% of perceived 'clutch failure' symptoms in motorcycles are actually rooted in improper actuation adjustment, degraded hydraulic fluid, or the use of automotive oils containing friction modifiers. Always verify the external system before splitting the cases or removing the clutch cover.
Symptom-to-Failure Mapping
Diagnosing a motorcycle clutch requires mapping the rider's complaint to specific mechanical wear patterns:
- Clutch Slipping under Load: Typically caused by worn friction material, glazed steel plates, weakened clutch springs, or automotive oil contamination (friction modifiers destroy wet clutch friction coefficients).
- Clutch Dragging (Fails to Disengage): Often the result of notched clutch basket tangs, warped steel plates, incorrect lever free-play, or air in the hydraulic master cylinder.
- Clutch Chatter or Grabbing: Usually points to uneven friction material wear, contaminated oil (coolant or fuel ingress), or a warped primary drive gear.
Phase 1: External Actuation Inspection Checklist
Do not remove the clutch cover until you have verified the external actuation system. A misadjusted cable or a bypassing hydraulic master cylinder will mimic internal mechanical failure.
1. Lever Free-Play Measurement
Measure the free-play at the very tip of the clutch lever. Standard specification for most Japanese and European motorcycles is 10mm to 15mm. Insufficient free-play prevents the clutch from fully engaging, causing the throw-out bearing to ride on the pressure plate and inducing high-RPM slip. Excessive free-play causes incomplete disengagement, resulting in gear clunk and dragging.
2. Hydraulic System Integrity (If Applicable)
For hydraulic clutches, inspect the master cylinder reservoir. Check the fluid color; dark, opaque fluid indicates moisture contamination and degraded rubber seals. Bleed the system using the manufacturer-specified fluid (typically DOT 4 or specific mineral oils like Magura Blood). Never mix DOT fluid with mineral oil, as this will destroy the hydraulic seals and cause catastrophic actuation failure.
3. Cable Friction and Stretch (Cable-Actuated)
Disconnect the cable at the engine actuator arm. The cable should pull through the housing with minimal resistance. If you feel 'notchy' friction, the inner wire is fraying inside the Teflon liner. Replace the cable; lubrication is only a temporary band-aid.
Phase 2: Internal Teardown and Metrology
Once the clutch cover is removed and the engine oil is drained, you must perform precise metrology on the internal components. Guesswork leads to repeat failures. You will need a micrometer, a digital caliper, a machined surface plate (or a piece of verified flat glass), and a feeler gauge.
| Component | Measurement Type | Typical Standard Spec | Service Limit (Replace) | Tool Required |
|---|---|---|---|---|
| Friction Plates | Thickness | 3.00 mm | 2.60 mm | Micrometer (measure at 4 points) |
| Steel Plates | Warpage | 0.00 mm | 0.10 mm | Surface plate & feeler gauge |
| Clutch Springs | Free Length | 42.50 mm | 39.50 mm | Digital Caliper |
| Clutch Basket Tangs | Notching/Depth | Smooth / Flush | Visible ridges / Catch | Visual & Fingernail test |
Measuring Friction and Steel Plates
Remove the clutch pack, keeping the plates in order if you are reusing them (though replacement is recommended for high-mileage bikes). Use a micrometer to measure the friction plates at four equidistant points. If the average thickness falls below the 2.60mm service limit, the pack must be replaced. For the steel plates, lay them flat on a machined surface plate. Attempt to slide a 0.10mm feeler gauge underneath the plate. If the gauge passes under the center or edges, the plate is warped and will cause clutch drag, preventing the bike from rolling freely in neutral.
Inspecting the Clutch Basket and Hub
Run your fingernail along the slots of the outer aluminum clutch basket where the friction plate tangs sit. Under heavy use, the steel tangs hammer into the softer aluminum, creating deep notches. When you pull the clutch lever, the friction plates get wedged in these notches, preventing the pack from expanding and disengaging. This is the leading cause of a motorcycle 'creeping' forward while the clutch is pulled in. While some mechanics attempt to file these notches smooth, the OEM repair manual dictates basket replacement to maintain precise clearances.
Phase 3: Reassembly and Torque Specifications
Proper reassembly is just as critical as the inspection. When installing a new clutch pack, soak the friction plates in the exact engine oil you plan to run for at least one hour prior to installation. This prevents dry-start glazing on the first engine fire.
Furthermore, modern motorcycles require strict adherence to torque specifications. The inner hub locknut is typically torqued to 65 Nm to 75 Nm (48-55 lb-ft) and must be staked or secured with Red Loctite (Threadlocker 271). The clutch spring bolts thread into soft aluminum or thin steel housings; these must be torqued to exactly 8 Nm to 10 Nm (71-89 lb-in) using a calibrated inch-pound torque wrench in a crisscross star pattern. Over-torquing these bolts will strip the inner hub threads, requiring a complete hub replacement.
The Importance of JASO MA2 Certified Lubricants
A common diagnostic trap is blaming the clutch hardware when the root cause is chemical. Automotive engine oils contain molybdenum-based friction modifiers designed to improve fuel economy. In a shared-sump motorcycle engine, these modifiers coat the clutch friction plates, causing severe slipping under load. Always verify that the oil used meets the JASO MA or MA2 standard, which guarantees the absence of friction modifiers and ensures the proper coefficient of friction for wet multi-plate clutches. For a deeper dive into motorcycle drivetrain mechanics, refer to technical breakdowns from Cycle World's Ask Kevin and maintenance guides from RevZilla's Common Tread. Proper diagnostics require both mechanical precision and chemical awareness.