The Intersection of Rider Technique and Mechanical Diagnostics
Understanding exactly how to use clutch on a motorcycle is the foundational skill of manual shifting, but even the most refined left-hand technique cannot entirely stave off mechanical degradation. Whether you are feathering the lever in stop-and-go traffic, executing rapid upshifts on a track, or managing low-speed traction on a dual-sport, the friction materials and actuation systems endure immense thermal and kinetic stress. As of 2026, the proliferation of complex Assist-and-Slipper (A&S) clutches and highly tuned hydraulic master cylinders means that diagnosing clutch system symptoms requires far more than a simple cable adjustment.
This technical deep-dive provides a comprehensive clutch system inspection checklist. We will bridge the gap between rider-induced wear patterns and inherent mechanical faults, equipping you with the exact micrometer measurements, torque specifications, and diagnostic frameworks required to rebuild a motorcycle clutch to factory-precision tolerances.
Phase 1: Actuation System Diagnostics (Pre-Teardown)
Before draining the oil and splitting the cases or pulling the side cover, you must isolate the actuation system. A slipping clutch is frequently misdiagnosed as worn plates when the true culprit is a failing hydraulic seal or a stretched cable preventing full disengagement and subsequent drag-induced glazing.
Cable-Actuated Systems
For traditional cable systems, the primary metric is lever free play. The industry standard dictates 10mm to 15mm of free play measured at the very tip of the lever ball. Insufficient free play keeps the clutch release bearing under constant preload, leading to premature friction plate wear and eventual slippage under heavy load. Inspect the cable routing for sharp bends exceeding 45 degrees, which cause internal friction and delayed engagement.
Hydraulic Actuation Metrics
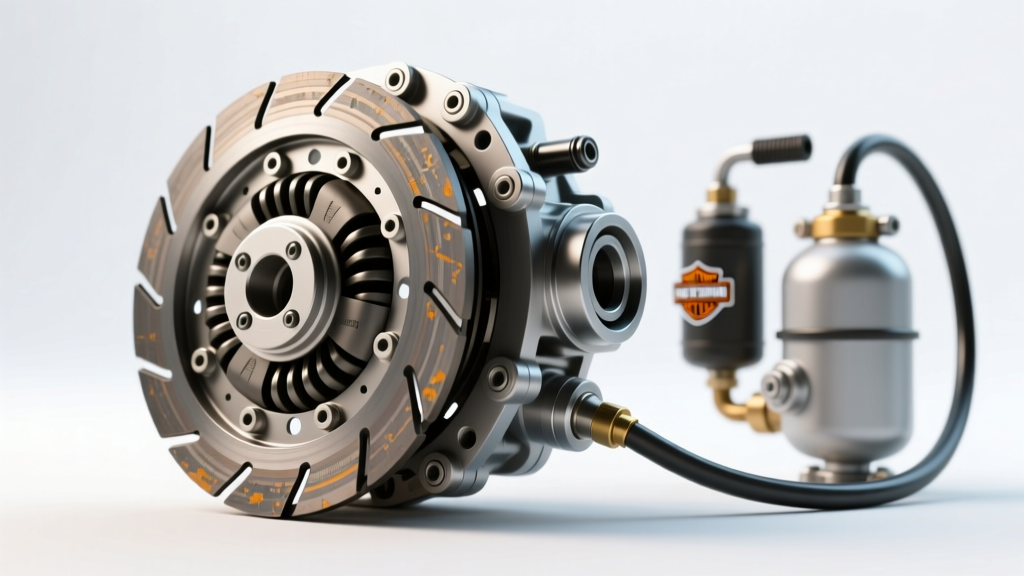
Modern sport and naked bikes (e.g., Yamaha MT-09, Kawasaki ZX-6R) utilize hydraulic systems. Diagnostics here require fluid analysis and master cylinder evaluation:
- Fluid Degradation: DOT 4 and DOT 5.1 fluids are hygroscopic. If the fluid in the reservoir appears dark or cloudy, moisture contamination has lowered the boiling point, causing vapor lock under heavy lever actuation.
- Master Cylinder Bore Wear: A 14mm or 16mm master cylinder piston can develop scoring on the aluminum bore. If you experience a 'spongy' lever despite fresh fluid and a proper bleed, the internal cup seals are bypassing fluid.
- Mineral Oil Systems: Brands like Magura utilize mineral oil. Never mix DOT fluid with mineral oil, as it will instantly destroy the EPDM rubber seals in the slave cylinder, leading to catastrophic fluid leaks into the engine casing.
Phase 2: Basket and Hub Notching Analysis
Once the clutch cover is removed and the pressure plate is off the bench, the next critical inspection point is the clutch basket (outer hub) and inner hub. Most OEM baskets are cast or forged aluminum, while the friction plates feature steel tangs. Over thousands of engagement cycles, the steel tangs hammer into the softer aluminum, creating notches or 'grooves'.
The Feeler Gauge Test: Slide a new friction plate into the basket tangs. Attempt to pass a 0.15mm feeler gauge between the plate tang and the aluminum basket wall. If the gauge slides through, the basket is notched. Notching prevents the plates from expanding outward smoothly when the lever is pulled, resulting in clutch drag, false neutrals, and difficulty finding gear at a standstill. While some mechanics attempt to file these notches smooth, the removal of material alters the basket's harmonic resonance and structural integrity. The only 2026-compliant repair is replacing the OEM basket with a CNC-machined billet alternative from manufacturers like Hinson or Wiseco, which typically range from $280 to $450.
Phase 3: Friction and Steel Plate Measurement Matrix
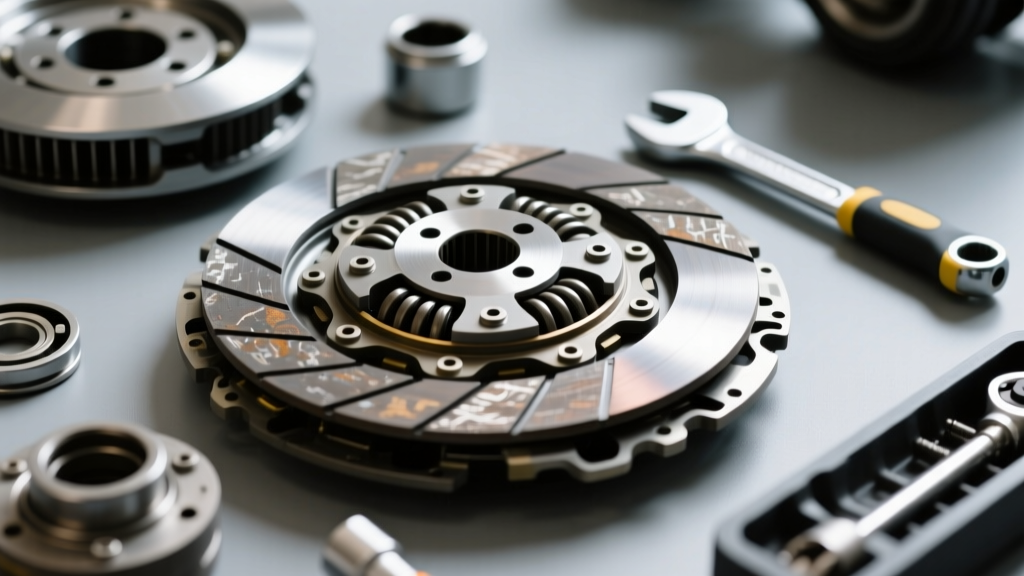
Visual inspection is entirely insufficient for determining clutch plate viability. Friction material can look thick but be completely glazed, while steel plates can suffer from microscopic thermal warping. You must use a digital micrometer and a machinist's straight edge. According to technical teardowns featured on RevZilla's Common Tread, measuring plates against OEM service manual limits is the only way to guarantee proper clamping force.
| Component / Metric | Honda CBR600RR (Sport) | Yamaha MT-07 (Naked) | Kawasaki KX450 (Motocross) |
|---|---|---|---|
| Friction Plate (New) | 3.10 mm | 3.00 mm | 3.00 mm |
| Friction Plate (Service Limit) | 2.60 mm | 2.70 mm | 2.50 mm |
| Steel Plate Warpage Limit | 0.10 mm | 0.10 mm | 0.15 mm |
| Clutch Spring Free Length (New) | 45.5 mm | 49.2 mm | 51.8 mm |
| Spring Service Limit (Min Length) | 43.0 mm | 46.5 mm | 48.5 mm |
Note: Always measure friction plates at three equidistant points around the circumference and average the results. When sourcing replacement kits, heavy-duty Kevlar-lined options from the EBC Brakes Clutch Division (such as the CK or SRC series, priced between $110 and $180) offer superior thermal resistance for aggressive riding styles.
Phase 4: Diagnosing Rider-Induced Abuse vs. Component Failure
How you use the clutch directly dictates the failure mode of the friction material. By examining the burn patterns on the disassembled plates, a trained technician can reverse-engineer the rider's habits.
The 'Riding the Clutch' Burn Pattern
If the friction plates exhibit a uniform, glassy, blackened glaze across the entire surface area, the rider is 'resting' their hand on the lever or slipping the clutch excessively at high RPMs to manage speed. This glaze creates a coefficient of friction drop, causing the clutch to slip under hard acceleration. These plates cannot be sanded and saved; the binder resins have been thermally destroyed. They must be replaced, and the rider must relearn proper lever discipline.
The 'Dropping the Clutch' Impact Fracture
Conversely, if the friction material is cracked, chipped at the edges, or delaminating from the aluminum core, the rider is likely performing high-RPM launch starts or aggressively dumping the lever. This kinetic shock loads the material beyond its shear strength. In these scenarios, upgrading to sintered iron or carbon-fiber friction materials is mandatory to handle the abuse.
Phase 5: Slipper Clutch Ramps and Lubrication Dynamics
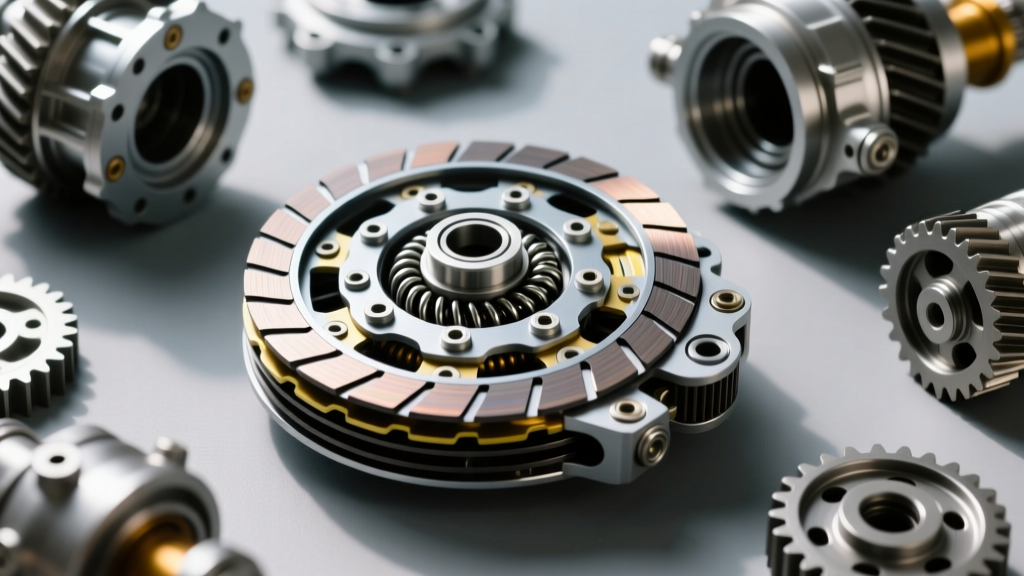
Modern motorcycles heavily rely on Assist-and-Slipper (A&S) clutches to reduce rear-wheel hop during aggressive downshifts. The slipper mechanism utilizes angled ramps on the inner hub and pressure plate. During deceleration, the torque reversal forces the ramps to slide against one another, physically separating the pressure plate from the friction pack.
Inspection Protocol: Check the slipper ramps for galling or deep grooving. If the anti-friction coating has worn through to the base aluminum, the slipper function will bind, leading to rear-wheel lockup during engine braking. Furthermore, verify that the correct weight clutch springs are installed on the slipper ramps. Manufacturers color-code these springs (e.g., green for standard, red for high-torque). Mixing them up alters the slipper engagement threshold.
Expert Lubrication Warning: The wet clutch relies entirely on engine oil for cooling and friction modulation. You must exclusively use oils certified with the JASO MA or JASO MA2 standard. Standard automotive oils contain friction modifiers (like molybdenum) designed to reduce drag in car engines; in a motorcycle, these modifiers will coat the clutch plates and cause immediate, catastrophic slippage. Always pre-soak new friction plates in the exact JASO MA2 oil you intend to run in the engine for a minimum of two hours before installation to prevent dry-start scorching.
Phase 6: Reassembly Torque Specifications and Staking
The final phase of the inspection and rebuild process is precision reassembly. The clutch center locknut secures the entire assembly to the transmission input shaft. If this nut backs off, the clutch basket will wobble, destroying the transmission bearings and primary gear.
- Pressure Plate Spring Bolts: Tighten in a crisscross, star pattern to ensure even clamping. Typical torque spec: 6 Nm to 8 Nm. Over-torquing will strip the soft aluminum threads of the inner hub.
- Center Locknut: Requires a dedicated clutch holding tool (e.g., Motion Pro P/N 08-0411) to prevent the basket from rotating. Typical torque spec ranges from 40 Nm to 55 Nm depending on the application (e.g., Yamaha MT-07 is 43 Nm; Honda CBR1000RR is 54 Nm).
- Staking the Nut: Never use Loctite on the center locknut, as it can migrate onto the friction plates. Instead, use a blunt punch to stake the soft metal collar of the nut into the groove machined on the transmission shaft. Always use a brand new locknut for every rebuild, as the staking collar weakens after being deformed once.
Mastering the mechanics of the clutch system is just as vital as knowing how to use clutch on a motorcycle in the saddle. By adhering strictly to this measurement-driven inspection checklist, you ensure that your drivetrain operates with the precise hydraulic and mechanical tolerances intended by the manufacturer, guaranteeing seamless power delivery and extended component lifespan. For further reading on drivetrain maintenance intervals, consult the CycleWorld Maintenance Archives for model-specific service schedules.