The Anatomy of Hydraulic Clutch Slip in Modern Drivetrains
Clutch slipping is one of the most misunderstood and potentially destructive symptoms in both automotive and motorcycle drivetrains. Unlike mechanical cable systems that require constant manual adjustment as friction material wears, hydraulic clutches are designed to be self-adjusting. However, this self-adjusting nature creates a false sense of security. When a hydraulic clutch begins to slip, the root cause is rarely just a worn friction disc; it is almost always a failure in hydraulic fluid dynamics, master cylinder bypass blockages, or improper pushrod geometry.
As we navigate the 2026 maintenance landscape, understanding the precise symptoms of clutch slip—and knowing how to differentiate them from clutch drag or hydraulic bypass failures—is critical for transmission longevity. Whether you are diagnosing a slipping Concentric Slave Cylinder (CSC) in a Ford Mustang GT or learning how to adjust Harley hydraulic clutch components on a Milwaukee-Eight touring model, the underlying physics of fluid pressure and friction remain identical.
Recognizing the Symptoms: Slip vs. Drag vs. Bypass
Before tearing into the bell housing or primary chaincase, an accurate diagnosis is required. Clutch slip occurs when the friction plates fail to lock the engine's rotational force to the transmission input shaft.
- The RPM Flare: The most universal symptom. Under heavy load (such as accelerating in 3rd gear or climbing a grade), engine RPMs surge without a proportional increase in vehicle speed.
- Thermal Degradation Odor: A distinct, acrid smell resembling burnt brakes or sulfur. This indicates the friction material is glazing or burning due to kinetic energy converting into extreme heat.
- Flywheel Scoring: In severe cases, the slipping generates enough heat to warp the flywheel or melt the adhesive on organic friction facings, leading to catastrophic drivetrain lock-up if ignored.
Expert Warning: Never attempt to 'ride out' a slipping hydraulic clutch. The heat generated at the friction interface can easily exceed 600°F, rapidly destroying the release bearing, warping the pressure plate, and in automotive applications, melting the internal seals of a hydraulic Concentric Slave Cylinder (CSC).
The 'Free Play' Paradox in Hydraulic Systems
In a cable-actuated system, a lack of free play at the lever causes the release bearing to ride against the pressure plate, resulting in slip. Hydraulic systems utilize a compensation port (or bypass port) inside the master cylinder. When the clutch lever or pedal is fully released, the master cylinder piston must retract far enough to uncover this port, allowing fluid to return to the reservoir and relieving pressure on the slave cylinder. If the pushrod is adjusted too tightly, or if the port is blocked by degraded seal material, pressure remains trapped in the line, causing the clutch to slip as the fluid heats and expands.
Case Study: How to Adjust Harley Hydraulic Clutch Setups
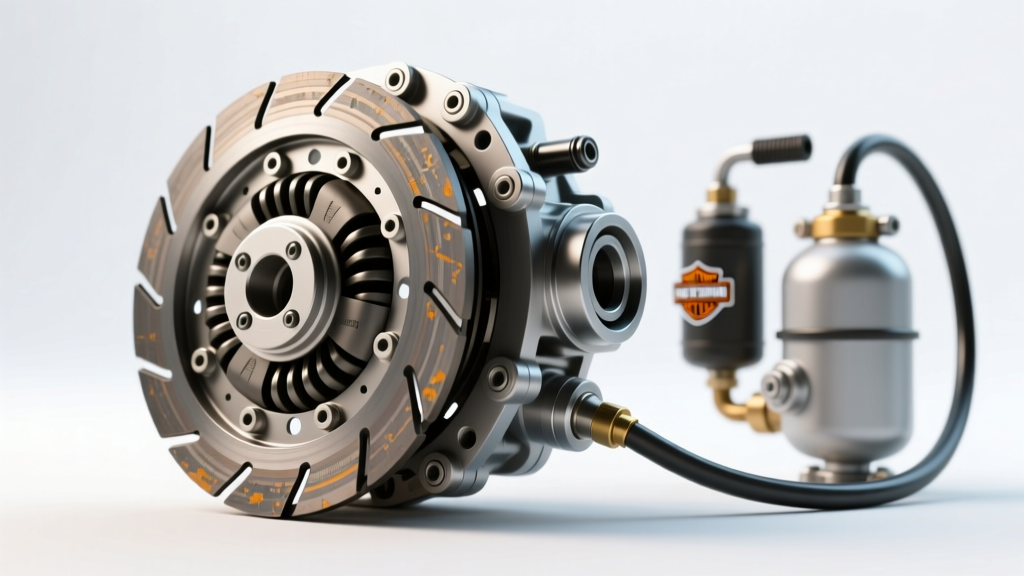
Harley-Davidson transitioned to hydraulic diaphragm spring clutches to reduce lever effort and improve engagement smoothness. However, the V-Twin's primary chaincase environment introduces unique variables. If you need to adjust Harley hydraulic clutch components to cure a slipping condition, you must evaluate three distinct zones: the master cylinder pushrod, the lever geometry, and the primary fluid level.
Step 1: Master Cylinder Pushrod Clearance
The most common cause of hydraulic slip on Twin Cam and Milwaukee-Eight engines is an improperly seated master cylinder pushrod.
- Remove the master cylinder reservoir cap and diaphragm.
- Inspect the pushrod that contacts the internal piston. There must be a microscopic air gap (typically 0.010" to 0.020") between the pushrod and the piston when the lever is fully at rest.
- If the pushrod is pre-loaded against the piston, the compensation port remains blocked. As the primary chaincase heats up, the trapped hydraulic fluid expands, inadvertently applying pressure to the diaphragm spring and causing the clutch to slip.
Step 2: Lever Free Play Verification
While the internal pushrod clearance handles fluid bypass, the external lever requires physical free play to ensure the master cylinder piston fully retracts. Measure the free play at the very end of the clutch lever. The specification is strictly 1/16" to 1/8" of movement before you feel hydraulic resistance. Adjusting the lever pivot bolt or the threaded pushrod clevis (on adjustable aftermarket setups) to achieve this spec is mandatory.
Step 3: Primary Chaincase Fluid Dynamics
Unlike automotive dry clutches, Harley's friction plates operate in an oil bath. Using the wrong fluid or overfilling the primary chaincase is a frequent culprit for slip.
- Fluid Type: Use only dedicated primary fluids (e.g., Harley-Davidson Formula+, AMSOIL V-Twin Primary Fluid, or Mobil 1 Racing 4T). Standard motor oils contain friction modifiers designed for slipping wet clutches (to prevent chatter), which will cause a Harley clutch to slip uncontrollably under load.
- Capacity & Level: Overfilling the primary causes the fluid to foam and splash against the back of the diaphragm spring, applying unintended hydraulic pressure. For most Touring models, the capacity is exactly 32 oz (1 quart). The correct level is measured with the bike upright, resting exactly at the bottom edge of the clutch diaphragm spring.
Diagnostic Comparison: Automotive vs. V-Twin Hydraulic Clutches
To broaden our diagnostic framework, it is highly beneficial to compare the Harley-Davidson wet hydraulic setup with a standard automotive dry hydraulic setup, such as the Tremec T56 Magnum found in modern performance vehicles.
| Diagnostic Feature | Automotive (Tremec T56 / CSC) | Harley-Davidson (Milwaukee-Eight) |
|---|---|---|
| Actuation Type | Concentric Slave Cylinder (CSC) inside bell housing | External Slave Cylinder pushing a mechanical release rod |
| Friction Environment | Dry (Organic or Sintered Iron) | Wet (Oil-bath Kevlar/Paper composites) |
| Hydraulic Fluid | DOT 3 or DOT 4 (Hygroscopic) | DOT 4 or DOT 5 (Silicone, non-hygroscopic) |
| Common Slip Cause | Internal CSC seal bypass or air in the line | Blocked compensation port or primary fluid overfill |
| Self-Adjustment | Automatic via CSC spring tension | Requires manual pushrod/lever free-play verification |
Advanced Troubleshooting: When Adjustment Isn't Enough
If you have verified the pushrod clearance, bled the system, and confirmed proper fluid levels, but the clutch continues to slip, you are likely facing mechanical degradation.
Master Cylinder Bypass Port Blockage
In both automotive and motorcycle applications, the rubber cup seals inside the master cylinder can degrade over time, especially if DOT 4 fluid is left unchanged for more than 24 months. The fluid absorbs moisture, boils, and turns into a corrosive sludge that physically blocks the tiny compensation port. According to AA1Car's guide on hydraulic clutch diagnosis, a blocked bypass port will mimic a slipping clutch because the system cannot relieve line pressure. The fix requires a complete master cylinder rebuild or replacement, followed by a thorough line flush.
Glazed Friction Plates & Contamination
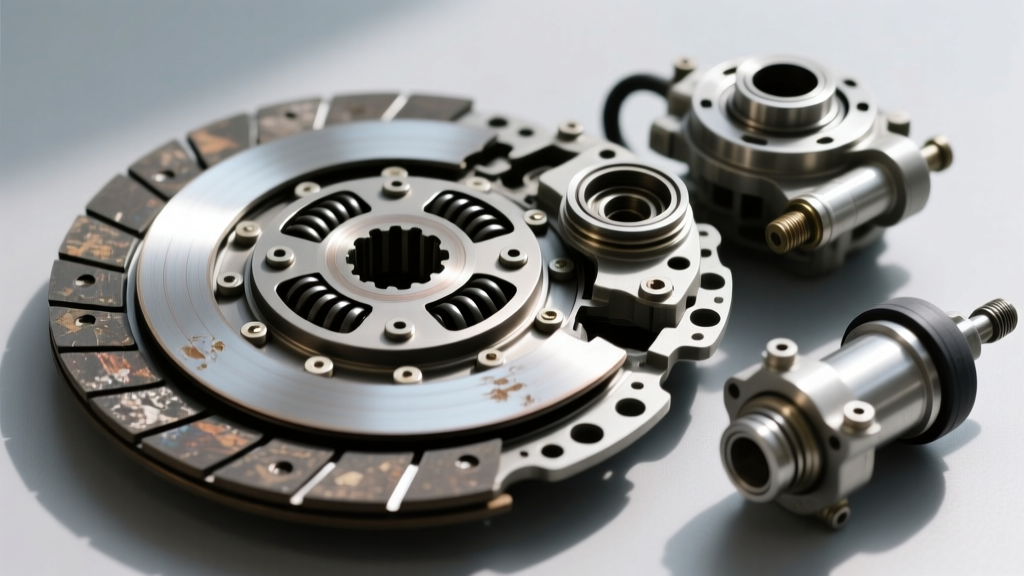
On the Harley side, if the primary chaincase was previously overfilled with standard motor oil, or if the mainshaft seal has leaked engine oil into the primary, the friction plates are likely glazed. Once Kevlar or paper-based wet clutch plates absorb the wrong friction modifiers, they cannot be cleaned. The entire clutch pack (typically 9 friction plates and 8 steel separator plates) must be replaced, and the primary chaincase must be flushed with a dedicated solvent before refilling with the correct 32 oz of primary-specific fluid.
Automotive CSC Internal Bypassing
In vehicles equipped with a Concentric Slave Cylinder, the internal piston seals can wear a groove into the CSC bore. When you press the pedal, instead of moving the release bearing, the fluid simply bypasses the seal internally. This often presents as a combination of slip (failure to fully engage due to weak spring pressure from partial fluid loss) and failure to disengage. Because the CSC is located inside the transmission bell housing, diagnosis requires dropping the transmission to inspect the CSC for weeping fluid.
2026 Preventive Maintenance Framework
Preventing hydraulic clutch slip requires a proactive approach to fluid dynamics and mechanical clearances. Implement this schedule to maximize drivetrain lifespan:
- Every 12 Months / 10,000 Miles: Inspect clutch lever/pedal free play. Verify the master cylinder pushrod is not pre-loaded. Check primary chaincase fluid level (Harley) or CSC weep hole (Automotive).
- Every 24 Months: Flush and bleed the hydraulic clutch line. If your system uses DOT 4, moisture contamination is guaranteed by year two, lowering the fluid's boiling point and increasing the risk of vapor lock and seal degradation. For Harley owners using DOT 5, bleeding is necessary to remove suspended micro-bubbles that cause a spongy lever and inconsistent engagement. Consult RevZilla's comprehensive hydraulic bleeding procedures for proper vacuum or manual bleeding techniques.
- Every 30,000 Miles: Drain and replace the primary chaincase fluid (V-Twin) or inspect the clutch master cylinder reservoir for black sludge (Automotive). Replace the clutch fluid reservoir diaphragm if it shows signs of swelling or tearing.
By understanding the critical relationship between hydraulic pressure, compensation ports, and friction materials, you can accurately diagnose clutch slipping before it results in catastrophic flywheel or transmission input shaft damage. Whether you are maintaining a daily-driven commuter car or learning to properly adjust Harley hydraulic clutch systems for a cross-country tour, precision in fluid management and mechanical clearances is your ultimate safeguard.