The Physics of Drivetrain Chatter in Performance Motorcycles
When pushing a liter-class sportbike on the track or navigating technical single-track on a high-horsepower ADV machine, drivetrain feedback is critical. However, when that feedback degrades into violent clutch chatter or handlebar-shaking vibration during engagement, it destroys lap times, accelerates component wear, and severely limits rider confidence. Clutch chatter is fundamentally a stick-slip friction phenomenon combined with torsional resonance in the drivetrain. As the friction plates grab and release in rapid succession, the resulting kinetic energy travels through the transmission shafts, the chain or belt drive, and ultimately into the chassis.
While many riders and amateur mechanics immediately tear into the crankcase to inspect the clutch basket for notching or measure the steel plates for warping, the root cause of incomplete engagement or poor modulation might actually be located at the handlebars. This brings us to an often-overlooked diagnostic step in high-performance builds: the motorcycle clutch lever replacement and pivot geometry audit. When upgrading to heavy-duty spring kits or carbon-Kevlar friction materials, the mechanical advantage required to properly modulate the clutch pack changes drastically. If your lever geometry cannot match the new clamping forces, micro-slipping occurs, manifesting as severe chatter.
Diagnostic Matrix: Isolating Chatter vs. Vibration
Before ordering a new clutch basket or a complete Barnett Clutches performance kit, you must accurately categorize the feedback you are feeling. Chatter and vibration, while often used interchangeably by riders, stem from entirely different mechanical failures. Use the matrix below to isolate the symptom before turning a wrench.
| Symptom Profile | RPM Range / Load | Primary Mechanical Cause | Performance Upgrade Fix |
|---|---|---|---|
| High-Frequency Chatter (Rapid Grab/Slip) | Mid-RPM, High Load (Corner Exit) | Glazed friction plates, weak springs, or inadequate lever pull ratio causing micro-slip. | Carbon/Kevlar friction plates, stiffer springs, and optimized lever pivot geometry. |
| Low-Frequency Vibration (Pulsing) | Low-RPM, Initial Engagement (Stoplight/Trail) | Warped steel separator plates or uneven pressure plate lift. | Replace steels (check runout with dial indicator), inspect pressure plate bearings. |
| Mechanical Rattle / Clunking | Idle to Low-RPM (Disengaged or Feathering) | Clutch basket tang notching, worn damper springs, or loose primary gear nut. | CNC Billet clutch basket (e.g., Hinson or Wiseco), heavy-duty damper springs. |
| Inconsistent Lever Feel / Sponginess | Variable / Under Hard Braking | Worn lever pivot bushing, stretched cable, or aerated hydraulic fluid. | Complete motorcycle clutch lever replacement with sealed pivot bearings. |
The Hidden Culprit: Lever Geometry and Pull Ratios
Why would a handlebar-mounted component cause internal transmission chatter? The answer lies in mechanical advantage and pull ratios. When you upgrade to a performance clutch pack—such as an EBC CK Series heavy-duty kit—you are often increasing the clamping force by 15% to 30% to handle increased rear-wheel horsepower. If your OEM cast aluminum lever is slightly bent from a previous drop, or if the pivot-to-cable-nipple distance is too short, the lever simply cannot generate enough cable travel to fully seat the pressure plate against the friction stack under heavy load.
This results in the clutch pack operating in a "feathered" or partially engaged state, even when you think it is fully locked. Under hard acceleration, the friction plates slip microscopically, generating immense heat, glazing the friction material, and triggering the stick-slip chatter cycle. Therefore, a precision motorcycle clutch lever replacement is not merely a cosmetic or ergonomic upgrade; it is a vital drivetrain calibration step.
Comparing Performance Lever Architectures
- OEM Cast Levers: Prone to porosity and bending. Pivot tolerances are often loose, leading to a 1-2mm loss in cable pull before the clutch actually begins to disengage. This dead-zone ruins modulation and contributes to chatter.
- CNC Billet Levers (e.g., Pazzo Racing, ASV RC3): Machined from 6061-T6 aluminum with tight tolerances. Many offer adjustable reach and pivot ratios, allowing you to tune the mechanical advantage to perfectly match stiffer aftermarket clutch springs.
- Hydraulic Master Cylinder Upgrades (e.g., Brembo RCS19): For hydraulic clutches, changing the master cylinder piston diameter (from 16mm to 19mm) alters the hydraulic ratio, providing a firmer, more direct feel that eliminates the sponginess masking clutch engagement points.
Step-by-Step Chatter Elimination & Lever Installation
If your diagnostic matrix points to lever-induced micro-slip or if you are performing a comprehensive performance clutch overhaul, follow these exact engineering steps to ensure proper clamping force and eliminate chatter.
- Inspect the Cable and Actuator Arm: For cable-actuated systems, remove the clutch actuator arm from the engine case. Check the splines for rounding. If the arm is worn, no lever upgrade will fix the lost travel. Replace the arm and torque to factory spec (typically 10-12 Nm).
- Measure the Friction Stack: Using a micrometer, measure the steel separator plates. A standard plate is usually 1.6mm to 2.0mm thick. If wear exceeds 0.2mm or runout exceeds 0.1mm, the plates are warped and will cause low-frequency vibration. Replace them with nitrided performance steels.
- Audit the Clutch Basket: Run your fingernail along the basket fingers. If you feel notches deeper than 0.1mm, the basket is hanging onto the friction plates during disengagement, causing drag and subsequent chatter on re-engagement. Upgrade to a hard-anodized or billet basket.
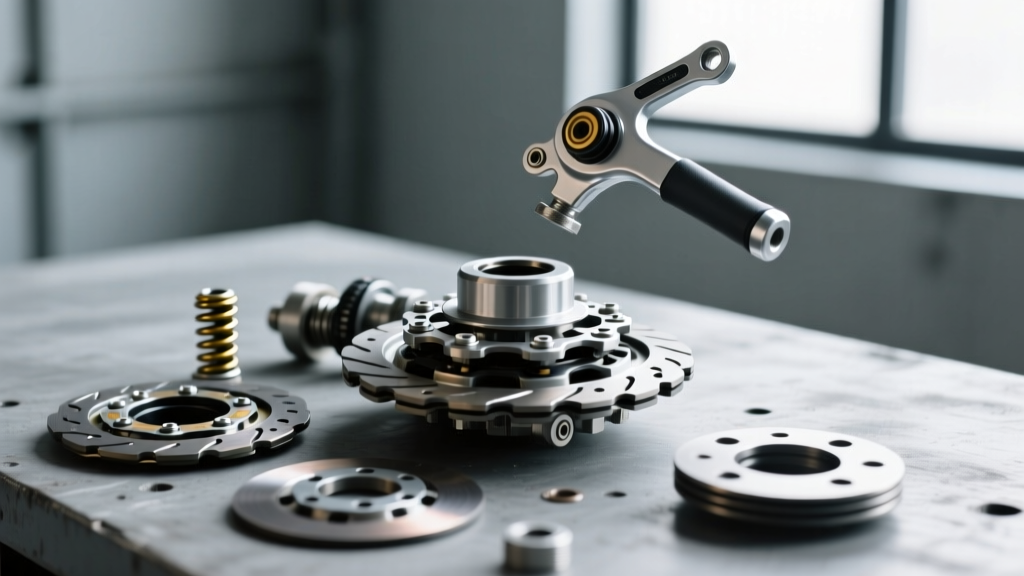
- Perform the Motorcycle Clutch Lever Replacement: Remove the old lever. Clean the pivot perch thoroughly with contact cleaner. Apply a small amount of waterproof marine grease to the pivot bolt and the internal brass bushing of the new CNC lever.
- Torque and Secure: Install the new lever pivot bolt. Critical Spec: Torque the pivot bolt to exactly 10 Nm and apply a drop of Blue Loctite 243. Overtightening will bind the lever, causing inconsistent return and chatter; undertightening will allow lateral play, ruining cable pull geometry.
- Set the Free-Play: Adjust the cable barrel adjuster to achieve exactly 2mm to 3mm of free-play at the lever tip. This ensures the clutch is fully clamped when released, preventing the micro-slip that causes high-RPM chatter.
Cost Breakdown: Performance Clutch & Lever Upgrades
Budgeting for a complete chatter-elimination overhaul requires understanding the cost-to-benefit ratio of each component. Below is a realistic pricing and specification guide for a typical 600cc-1000cc sportbike or performance naked bike (e.g., Yamaha MT-09, Kawasaki ZX-6R).
| Component Category | Example Part / Brand | Estimated Cost (USD) | Critical Installation Spec |
|---|---|---|---|
| CNC Performance Lever | ASV RC3 Pro Pack | $110 - $140 | Pivot Bolt: 10 Nm w/ Loctite 243 |
| Friction Plate Kit | Barnett Carbon/Kevlar | $160 - $220 | Pre-soak in engine oil for 2 hours |
| Heavy-Duty Spring Kit | EBC CK Series Springs | $25 - $45 | Spring Bolt Torque: 8 Nm |
| Billet Clutch Basket | Hinson / Wiseco Billet | $350 - $600 | Primary Nut Torque: 65-85 Nm (Model Dependent) |
| Clutch Cable | Motion Pro Revolver | $40 - $70 | Lubricate inner cable before routing |
Expert Takeaway: Treat the Lever as a Drivetrain Component
"In high-performance motorcycle tuning, the clutch lever is not just an ergonomic touchpoint; it is the primary mechanical linkage dictating the clamping force of your transmission. Ignoring lever geometry when upgrading your clutch pack is a guaranteed recipe for catastrophic chatter and premature friction plate failure. Treat your motorcycle clutch lever replacement with the same precision and torque-spec adherence as you would your internal engine components."
Ultimately, diagnosing clutch chatter requires a holistic view of the entire engagement system. By combining high-friction materials, precision-machined baskets, and a properly ratioed CNC lever, you transform a violent, unpredictable drivetrain into a telepathic extension of your right hand. Whether you are chasing tenths of a second on the road course or navigating rocky inclines on the trail, eliminating micro-slip through proper lever geometry is the hallmark of a true performance build.