The Critical Link Between Lever Free Play and Clutch Noise
Motorcycle wet-clutch systems are marvels of compact mechanical engineering, but they are highly sensitive to actuation geometry. When riders experience unsettling grinding, squealing, or chirping noises from the left side of their engine cases, the immediate assumption is often a catastrophic internal failure. However, in a vast majority of cases, the root cause traces back to improper cable tension or hydraulic pushrod clearance. Knowing how to properly adjust clutch lever motorcycle systems is the first and most critical step in accurate clutch noise diagnosis.
When you adjust clutch lever motorcycle actuation points, you are directly altering the resting position of the clutch release bearing (or pushrod actuator). If free play is too tight, the release bearing remains under constant rotational load against the pressure plate, generating high-pitched squealing and accelerating bearing failure. Conversely, if the lever is too loose, the clutch fails to fully disengage. This causes the friction plates to drag, resulting in grinding during gear changes, false neutrals, and severe notching of the aluminum clutch basket.
As of 2026, with the widespread integration of bidirectional quick-shifters on middleweight and liter-class sportbikes, clutch drag caused by excessive lever free play will instantly corrupt quick-shifter sensor logic. This leads to harsh dog-ring engagements and transmission damage that mimics internal gearbox failure.
Diagnosing Motorcycle Clutch Noises by Sound Profile
Before reaching for the wrenches, you must isolate the acoustic signature of the noise. The sound profile will dictate whether a simple lever adjustment will solve the issue or if a teardown is required. Below is an expert diagnostic matrix for common wet-clutch noises.
| Noise Type | Acoustic Signature | Primary Mechanical Cause | Lever Adjustment Impact |
|---|---|---|---|
| High-Pitch Squeal | Continuous metallic ringing that changes pitch with RPM | Release bearing riding the pressure plate; dry bearing surfaces | Increasing free play eliminates the constant load on the bearing |
| Chirping / Ticking | Rhythmic ticking matching engine speed, loudest at idle | Worn clutch hub dampers or loose clutch basket tangs | Adjustment won't fix; requires hub/basket inspection |
| Grinding (Shifting) | Harsh metal-on-metal crunch when engaging 1st or 2nd gear | Incomplete disengagement due to excessive free play or warped plates | Decreasing free play (tightening) restores full disengagement stroke |
| Rattling (Neutral) | Marbles in a can sound that disappears when the lever is pulled | Clutch basket notching causing plates to rattle at rest | Pulling lever isolates the noise; adjustment cannot cure notching |
Step-by-Step: How to Adjust Clutch Lever Motorcycle Systems
Whether your motorcycle utilizes a traditional steel-braided cable or a modern hydraulic master cylinder, establishing the correct baseline free play is non-negotiable. The industry standard for free play is typically 10mm to 15mm (3/8 to 5/8 inch) measured at the very tip of the lever ball. This equates to roughly 1mm to 2mm of movement at the internal actuator pushrod.
Cable-Actuated Systems: The Two-Point Method
Cable stretch is a primary culprit for shifting noises over time. To properly adjust a cable system, you must use both the upper (lever) and lower (engine case) adjusters.
- Back out both adjusters to their maximum slack positions.
- Set the lower actuator: Locate the clutch actuator arm on the engine case. Loosen the locknut and turn the adjuster screw inward until you feel firm resistance against the internal pushrod. Back the screw out exactly 1/4 to 1/2 turn to establish internal clearance, then tighten the locknut. This step is critical; skipping it causes the release bearing to pre-load, resulting in squealing.
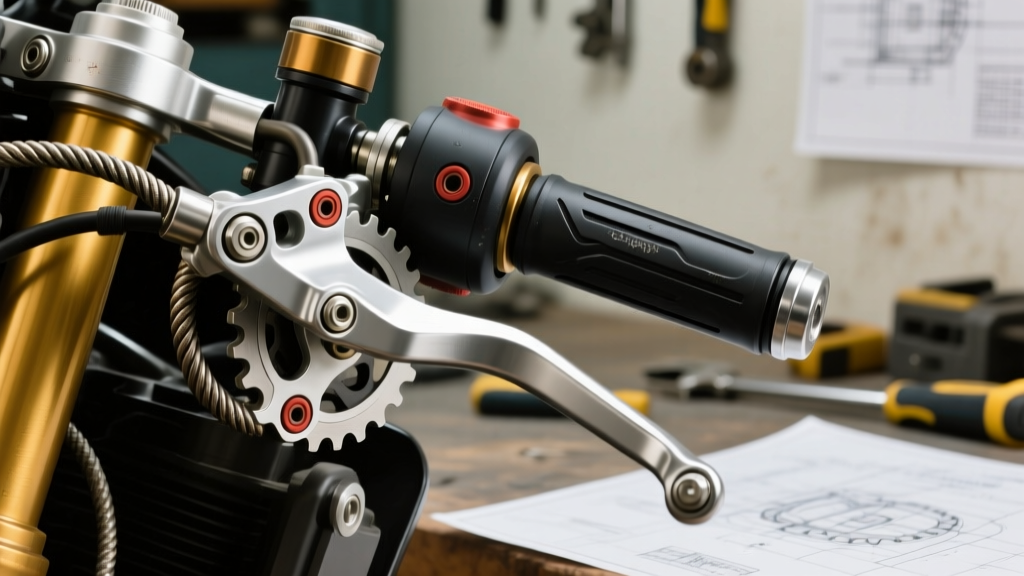
- Set the upper lever: Use the barrel adjuster at the lever perch to dial in the final 10-15mm of free play at the lever ball.
- Verify under load: Pull the lever and cycle through the gears. The engagement point should occur roughly 1/3 of the way out from the grip.
Hydraulic Systems: Master Cylinder Pushrod Clearance
Hydraulic clutches self-adjust for fluid displacement, but they still require physical free play at the master cylinder pushrod. If the pushrod is adjusted too tightly against the master cylinder piston, the fluid return port remains blocked. This causes hydraulic pressure to build as the fluid heats up, essentially 'pulling' the clutch lever for you and causing the release bearing to squeal and the plates to slip.
- Remove the rubber boot from the master cylinder pushrod.
- Loosen the locknut and adjust the pushrod length until there is exactly 1mm to 2mm of lateral play before the piston begins to depress.
- If your hydraulic system is squealing and adjustment doesn't fix it, the master cylinder return port may be clogged with degraded DOT 4 fluid debris, requiring a full rebuild kit (e.g., All Balls Racing Master Cylinder Rebuild Kit, approx. $25-$40).
Advanced Diagnostics: When Adjustment Is Not Enough
If you have verified your free play is within the 10-15mm specification and the noise persists, you are likely dealing with internal component degradation. According to Cycle World Tech archives, ignoring internal clutch noises can lead to catastrophic engine case damage if a shattered basket tang enters the oil pickup screen.
Release Bearing Failure (The Squeal)
If increasing the lever free play to 20mm does not stop the high-pitched squeal, the release bearing is likely scored or completely dry. On many inline-four sportbikes, the release bearing is a sealed unit that cannot be regreased. For example, the SKF 6203-2RS or OEM equivalent (like Honda 22810-MFJ-D01) must be replaced. This requires draining the oil, removing the right-side clutch cover, and unbolting the clutch hub.
Clutch Basket Notching (The Grind and Rattle)
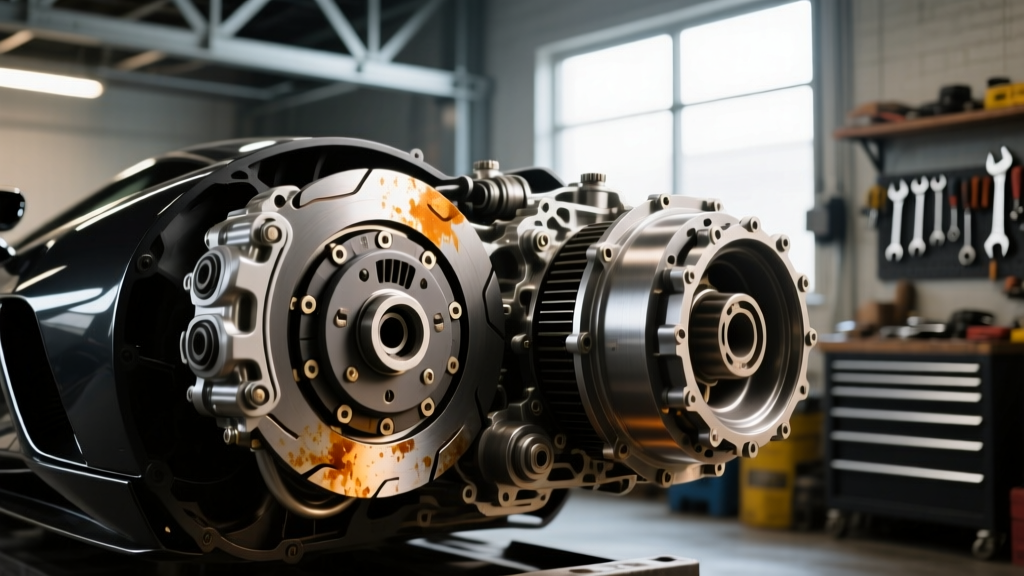
Aluminum clutch baskets develop deep notches where the steel friction plate tangs impact them during aggressive downshifts. This prevents the plates from separating smoothly, causing a grinding sensation and drag even when the lever is fully pulled. While aftermarket solutions like the Hinson Billet Clutch Basket ($300-$380) offer superior longevity, a budget-friendly fix involves carefully filing the notches flat with a flat mill bastard file, though this is a temporary band-aid.
Hub Damper Spring Failure (The Chirp)
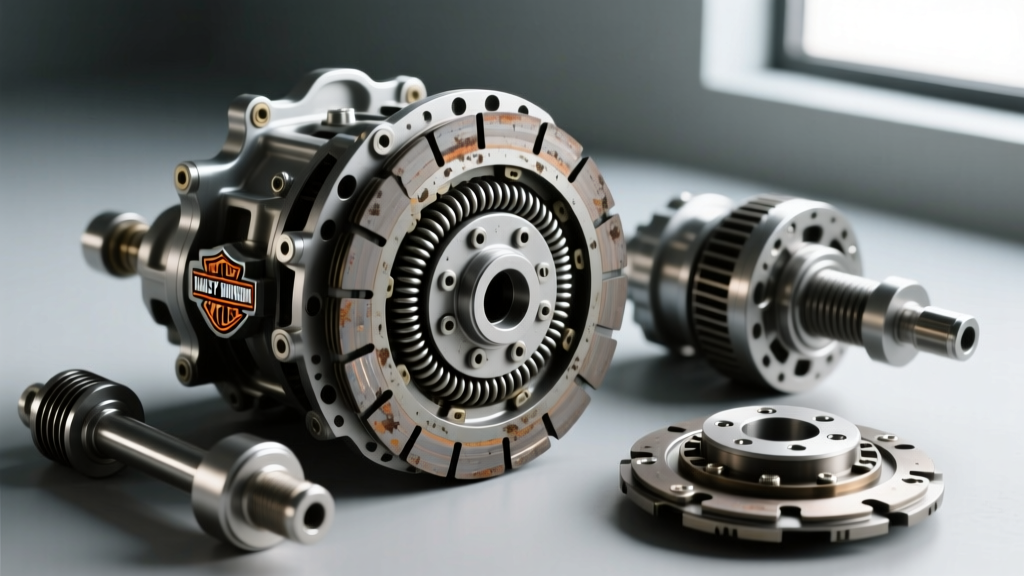
The inner clutch hub contains coil springs or rubber dampers designed to absorb engine pulsations. When these springs break or lose tension, the clutch hub rattles and chirps at idle. Diagnosing this requires removing the clutch center nut and inspecting the damper springs for metal shavings or collapsed coils.
Expert Maintenance: Torque Specs & Part Numbers
When diagnosing clutch noise requires pulling the clutch pack, adhering to exact torque specifications is vital to prevent the clutch center nut from backing out and destroying the transmission input shaft. Below is a reference table for popular platforms frequently serviced in our shop.
| Motorcycle Model | Clutch Center Nut Torque | Clutch Spring Bolt Torque | Recommended Aftermarket Clutch Kit |
|---|---|---|---|
| Honda CBR600RR (2007-2020) | 123 Nm (91 lb-ft) | 8 Nm (71 lb-in) | EBC CK2342 (Kevlar) / CS104 Springs |
| Yamaha MT-07 / FZ-07 | 72 Nm (53 lb-ft) | 10 Nm (89 lb-in) | Barnett Carbon Fiber Kit (508-30-02015) |
| Harley-Davidson Softail (M8) | 70-120 ft-lbs (Hub) | 80-100 in-lbs | Screamin' Eagle Heavy Duty Comp |
| Kawasaki Ninja 400 (2018+) | 118 Nm (87 lb-ft) | 8 Nm (71 lb-in) | EBC SRC Sport Clutch Kit |
Master Mechanic Tip: Always use a dedicated clutch holding tool to lock the hub when torquing the center nut. Attempting to hold the clutch pack by hand or using an impact wrench without a backing tool will warp the pressure plate, guaranteeing a clutch drag and grinding issue immediately upon reassembly. Furthermore, always soak new friction plates in the exact engine oil you plan to run for at least 12 hours before installation to prevent dry-start glazing, which causes severe chatter and squealing.
Summary Checklist for Noise-Free Operation
To ensure your motorcycle shifts seamlessly and operates quietly, follow this diagnostic hierarchy:
- Step 1: Measure lever free play at the ball. Target 10-15mm.
- Step 2: Inspect the cable for fraying or hydraulic fluid for dark contamination.
- Step 3: Verify the lower actuator arm has internal clearance (not pre-loaded).
- Step 4: If squealing persists with correct free play, replace the release bearing.
- Step 5: If grinding persists with correct free play, inspect the basket for notching and plates for warping.
For more in-depth transmission diagnostics and drivetrain maintenance protocols, consult your factory service manual or reference the extensive mechanical archives at RevZilla's Common Tread. Properly maintaining your clutch actuation geometry not only eliminates annoying noises but extends the life of your friction plates and transmission dog rings by tens of thousands of miles.