Understanding the Harley 4-Speed Wet Clutch Architecture
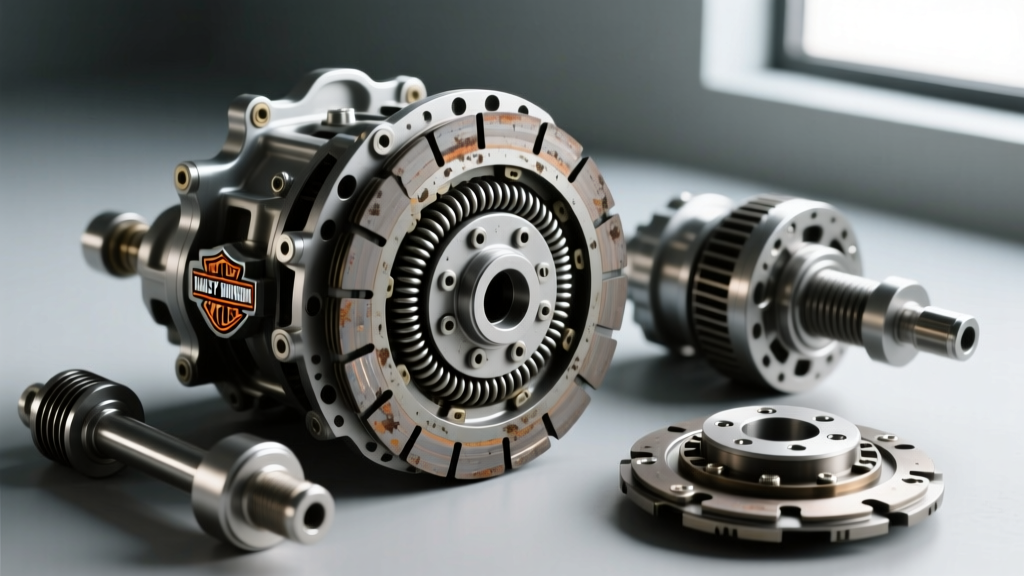
The vintage Harley-Davidson 4-speed transmission—found in legendary Big Twins (Panhead, Shovelhead) and early Ironhead Sportsters—utilizes a robust but highly sensitive wet multi-plate clutch system. Unlike modern hydraulic setups, these early mechanical clutches rely entirely on cable tension, a pushrod mechanism, and precise stack height to achieve full disengagement. When riders encounter a classic harley 4 speed clutch problem, it almost always manifests as clutch drag (the bike creeps forward with the lever pulled, making neutral difficult to find) or a complete release failure (the lever feels stiff and the clutch won't disengage).
As of 2026, the majority of these vintage motorcycles are running aftermarket clutch components, upgraded primary chains, and modern friction materials. While these upgrades offer superior longevity, they often introduce new variables that disrupt the delicate mechanical balance of the original 4-speed release mechanism. This step-by-step guide will walk you through diagnosing, measuring, and adjusting your Harley 4-speed clutch to eliminate drag and restore a smooth, predictable lever feel.
Diagnosing Clutch Drag vs. Release Failure
Before tearing into the primary case, you must isolate the root cause of the symptom. Clutch drag and release failure share symptoms but stem from different mechanical faults.
- Clutch Drag: Often caused by warped steel separator plates, notched clutch basket grooves (preventing plates from sliding apart), or an improperly adjusted internal release screw that fails to push the pressure plate back far enough.
- Release Failure (Stiff/Snapping Lever): Typically the result of a stretched clutch cable, a worn release ramp bearing, a broken clutch spring, or primary chain misalignment causing the clutch shell to bind on the mainshaft splines.
If your motorcycle creeps at stoplights and grinds when shifting into first gear, you are dealing with drag. If the lever pulls hard and snaps back without disengaging the transmission, you have a release mechanism or binding issue.
Step 1: External Cable and Lever Calibration
The most common culprit for a minor harley 4 speed clutch problem is improper cable freeplay. Too little freeplay keeps constant pressure on the release bearing, causing slip and premature wear. Too much freeplay prevents the pushrod from traveling far enough to separate the plates.
- Back off the lower adjuster: Locate the clutch cable barrel adjuster near the primary case. Loosen the locknut and thread the adjuster all the way in to create maximum slack.
- Set lever freeplay: At the handlebar perch, adjust the lever stop screw or barrel adjuster until you have exactly 1/16-inch to 1/8-inch of freeplay measured at the very tip of the clutch lever.
- Secure the lower adjuster: Thread the lower barrel adjuster out until you feel slight resistance against the clutch release arm, then back it off one full turn. Tighten the locknut securely.
Expert Tip: If you have installed modern aftermarket 'easy-pull' lever perches, be aware that they alter the mechanical advantage. You may need to install a heavier-duty clutch spring pack to compensate for the reduced cable pull force, otherwise the clutch will slip under heavy throttle.
Step 2: Internal Release Mechanism Adjustment
If the cable is adjusted correctly but the clutch still drags, the internal release mechanism must be calibrated. This pushes the throw-out bearing against the pressure plate to break the friction lock.
- Drain the primary chaincase fluid and remove the outer primary cover (or just the derby cover on later models).
- Locate the clutch release adjusting screw and locknut in the center of the clutch pressure plate.
- Using a flathead screwdriver and an 11/16-inch wrench, loosen the locknut.
- Turn the adjusting screw inward (clockwise) until you feel it firmly seat against the internal pushrod. Do not overtighten, or you will prematurely load the release bearing.
- Once seated, back the screw out exactly 1/4 to 1/2 turn. This micro-gap is critical; it allows the pushrod to expand with heat without applying constant pressure to the clutch pack.
- Hold the screwdriver perfectly still and tighten the locknut to 90-120 in-lbs.
Step 3: Inspecting the Clutch Pack and Stack Height
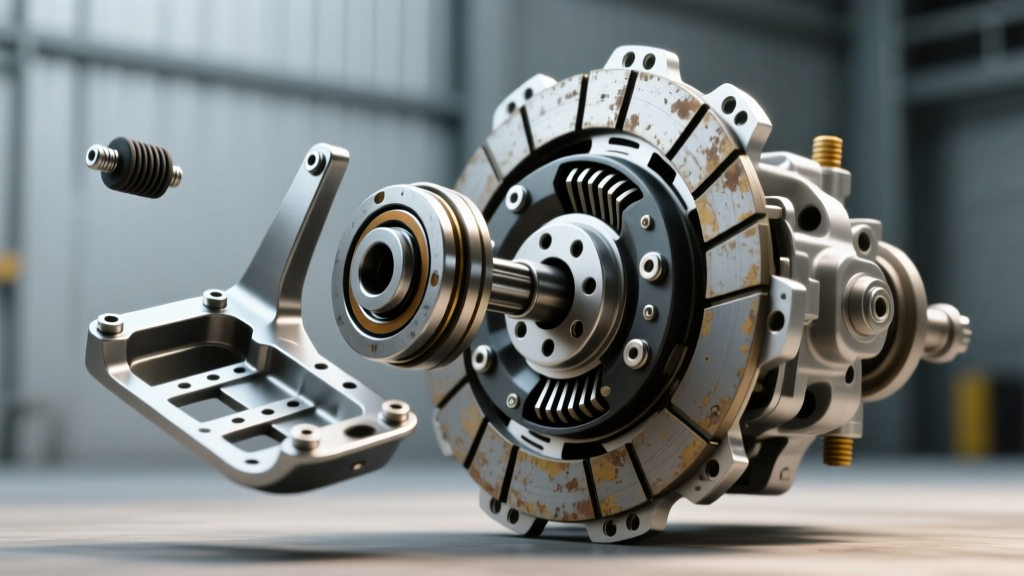
If external and internal adjustments fail to cure the drag, the clutch pack itself is compromised. Vintage 4-speeds are notorious for developing deep grooves (notches) in the aluminum clutch shell. When the tangs of the friction plates get wedged in these notches, the clutch will drag no matter how perfectly the cable is adjusted.
Remove the clutch hub nut. Warning: The mainshaft nut on Harley 4-speeds is a 5/8"-18 UNF Left-Hand Thread. You must use a heavy-duty clutch holding tool and a breaker bar to loosen it. Slide the clutch pack out and measure your components against the specifications below.
| Component | OEM / Standard Spec | Service Limit (Replace If) | Notes for 2026 Rebuilds |
|---|---|---|---|
| Friction Plate Thickness | 0.140 in (3.55 mm) | Less than 0.115 in | Use Kevlar/Aramid only with hardened steel plates to prevent basket notching. |
| Steel Separator Plate | 0.078 in (1.98 mm) | Warped or blued from heat | Check for flatness on a glass surface with a feeler gauge. |
| Clutch Spring Free Length | 2.125 in (54 mm) | Less than 1.950 in | Sagging springs cause uneven pressure plate lift, leading to drag. |
| Clutch Shell Grooves | Smooth, flush walls | Visible notching or burrs | File minor burrs flat; replace shell if notches catch a fingernail. |
When sourcing replacement parts, NOS (New Old Stock) Harley-Davidson components are virtually nonexistent in 2026. Rely on premium aftermarket manufacturers like V-Twin Manufacturing or Barnett for exact-fit friction discs and hardened steel plates that match the original stack height requirements.
Step 4: Primary Chain Tension and Sprocket Alignment
A frequently overlooked cause of release failure is primary chain misalignment. If the engine sprocket and the clutch shell sprocket are not perfectly parallel, the clutch shell will tilt slightly on the mainshaft splines. When you pull the lever, the tilted shell binds against the splines instead of sliding outward, resulting in a stiff lever and incomplete disengagement.
- Check Alignment: Lay a precision straight-edge across the faces of the engine sprocket and the clutch sprocket. They must be perfectly flush. Use primary chaincase shims behind the engine sprocket to correct any offset.
- Set Tension: Adjust the primary chain tensioner so there is exactly 3/8-inch to 1/2-inch of up-and-down freeplay in the center of the bottom run of the chain. Over-tightening the primary chain will pull the clutch shell out of alignment and cause severe drag.
Step 5: Reassembly, Fluids, and Torque Specifications
Proper reassembly is the final barrier against recurring clutch issues. The friction modifiers in modern motor oils have changed drastically over the last decade. Do not use standard 20W-50 engine oil in your primary chaincase; the friction modifiers will cause the wet clutch to slip, while the lack of extreme-pressure (EP) additives will destroy the primary chain and sprockets.
Use a dedicated primary chaincase lubricant (such as Harley-Davidson Formula+ or a high-quality synthetic equivalent designed specifically for wet clutches). The standard fill capacity for most 1970-1984 Big Twin 4-speed primary cases is 32 to 34 ounces. Fill until the fluid level reaches the bottom of the clutch shell diaphragm spring with the bike standing upright.
Critical Torque Specs
- Clutch Hub Nut (Left-Hand Thread): 70-90 ft-lbs. Apply a medium-strength threadlocker (like Loctite 243) to the mainshaft threads before installation.
- Clutch Spring Bolts: 80-100 in-lbs. Do not overtighten, as you risk stripping the soft aluminum threads in the clutch shell.
- Primary Cover Screws: 80-120 in-lbs in a crisscross pattern to ensure the gasket seals evenly without warping the stamped steel or cast aluminum cover.
Final Thoughts on Vintage Clutch Diagnostics
Resolving a harley 4 speed clutch problem requires patience and a methodical approach. By verifying your cable freeplay, precisely setting the internal release screw, measuring your stack height, and ensuring flawless primary chain alignment, you can transform a notchy, dragging vintage transmission into a smooth-shifting machine. For a complete breakdown of aftermarket clutch baskets and heavy-duty spring kits, consult the technical catalogs at J&P Cycles to find the exact part numbers for your specific year and model.