The Physics of the Bowden Cable in Wet Clutch Systems
Unlike the hydraulic slave cylinders found in modern automotive manual transmissions, the majority of motorcycles rely on a mechanical Bowden cable to actuate the clutch release mechanism. While hydraulic systems self-adjust for pad and plate wear, a clutch cable motorcycle setup requires manual intervention to compensate for mechanical stretch, thermal expansion, and friction plate degradation. In a wet multi-plate clutch system, the margin for error is measured in millimeters. Too little free-play results in incomplete clamping force, leading to catastrophic friction plate glazing and steel plate warping under high-RPM load. Conversely, excessive free-play prevents full plate separation, causing clutch drag, false neutrals, and accelerated transmission dog wear.
As we move through the 2026 riding season, modern PTFE-lined cables and maraging steel inner wires have vastly improved longevity, but the fundamental inspection protocols remain unchanged. This technical deep-dive provides a comprehensive clutch system inspection checklist tailored specifically for cable-actuated motorcycle wet clutches.
The 5-Point Motorcycle Clutch Cable Inspection Checklist
Perform this checklist with the engine cold and the motorcycle resting on a rear paddock stand or center stand to ensure the rear wheel can spin freely for drag testing.
1. Lever Free-Play Measurement and Thermal Compensation
The industry standard for clutch lever free-play is 10mm to 20mm (3/8 to 3/4 inch) measured at the outboard tip of the lever ball. However, measuring at the lever is only half the battle. You must also verify the free-play at the engine-side actuator arm.
- Engine-Side Spec: 1.5mm to 3.0mm of lateral play at the lifter arm before resistance is felt.
- Thermal Factor: Aluminum engine cases expand significantly more than the steel inner clutch cable wire when the engine reaches operating temperature (approx. 180°F - 220°F). If you set your free-play to the absolute minimum (10mm) on a cold engine, thermal expansion will pull the cable taut when hot, causing the clutch to slip at the top of 4th and 5th gears.
2. Cable Routing and Chafe-Point Analysis
A clutch cable's lifespan is dictated by its routing. Inspect the entire length of the outer housing for abrasion against the frame, steering head, or engine fins.
- Minimum Bend Radius: Ensure no section of the cable bends tighter than a 4-inch radius. Sharp kinks destroy the inner PTFE liner and cause micro-fractures in the steel wire.
- Steering Sweep Test: Turn the handlebars from full lock-left to full lock-right. The cable must not pull taut or pinch against the frame downtubes. If it does, the cable is either misrouted or the incorrect length for your specific handlebar setup (common after installing aftermarket ape hangers or clip-ons).
3. Actuator Arm and Pushrod Deflection Check
Motorcycles generally use one of two actuation methods: a pushrod system (common on Honda, Kawasaki, and Yamaha) or a ball-and-ramp mechanism (standard on Harley-Davidson Twin Cam and Milwaukee-Eight engines).
- Pushrod Systems: Remove the sprocket cover and inspect the clutch lifter arm. Check for grooving where the cable barrel seats. Ensure the pushrod is not bent; a bent pushrod will bind inside the transmission mainshaft, mimicking the symptoms of a frayed cable.
- Ball-and-Ramp Systems: Inspect the ramp mechanism for pitting. If the ramps are worn, the cable will feel notchy even if perfectly lubricated. Torque the primary chaincase cover bolts to factory spec (typically 84-108 in-lbs for Harley Sportsters) to prevent case distortion that binds the release bearing.
4. Inner Wire Fraying and Barrel Inspection
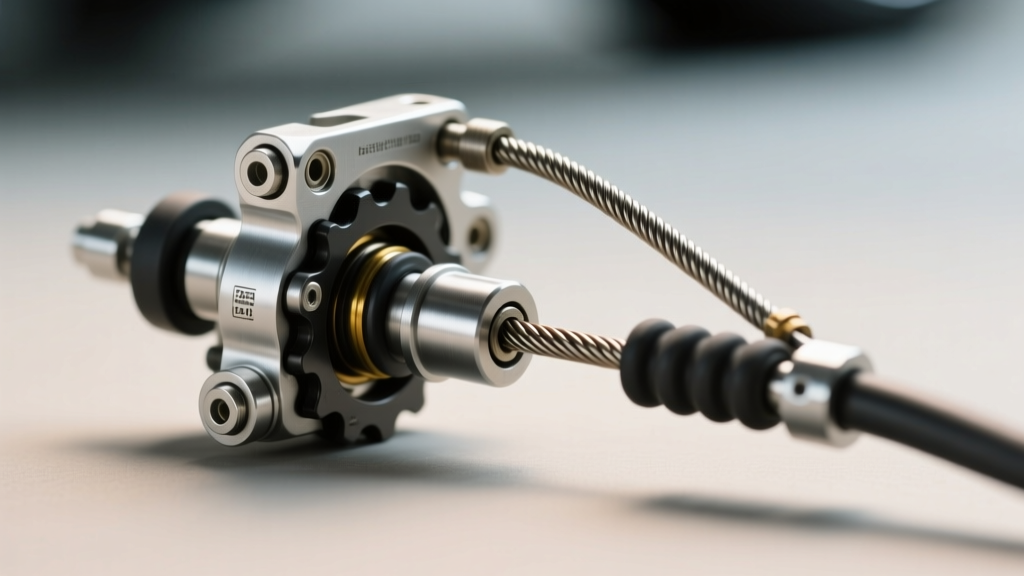
90% of clutch cable failures occur at the termination points. Inspect the soldered barrel that seats into the clutch lever perch. Look for "bird-caging"—where the outer strands of the twisted steel wire begin to separate and splay outward. If you detect even a single broken strand at the lever barrel or the engine-side nipple, immediate replacement is mandatory. A snapped cable in stop-and-go traffic is a severe safety hazard.
5. Adjuster Hardware and Locknut Security
Vibration is the enemy of threaded adjusters. Inspect the knurled adjuster barrels at both the lever perch and the lower engine bracket. Ensure the locknuts are securely tightened against the perch. Apply a single drop of blue Loctite 243 to the lower adjuster threads if you experience persistent loosening due to high-frequency V-twin vibration.
Diagnostic Table: Symptom vs. Cable Failure Mode
Use this matrix to isolate whether your clutch symptom is rooted in the cable assembly or the internal wet clutch components.
| Symptom | Cable-Related Cause | Internal Mechanical Cause |
|---|---|---|
| Clutch slips under heavy acceleration (RPMs rise, speed doesn't) | Cable adjusted too tight; no free-play at the lifter arm. | Glazed friction plates, worn clutch springs (measure for >2mm sag), or incorrect oil (automotive oil with friction modifiers). |
| Difficulty finding neutral; bike creeps forward with lever pulled | Cable stretched or out of adjustment; insufficient pull to separate plates. | Warped steel plates, notched clutch basket fingers, or swollen cork-based friction material. |
| Lever pull is stiff, notchy, or binds | Dry cable liner, frayed inner wire, or tight routing bend radius. | Dry release bearing, damaged ball-and-ramp actuator, or bent transmission pushrod. |
Advanced Diagnostics: When the Cable Isn't the Culprit
Riders often mistakenly blame a stiff or grabbing clutch on a failing clutch cable motorcycle assembly, leading to unnecessary parts replacement. Before ordering a new cable, you must rule out clutch basket notching.
The Notched Basket Diagnosis
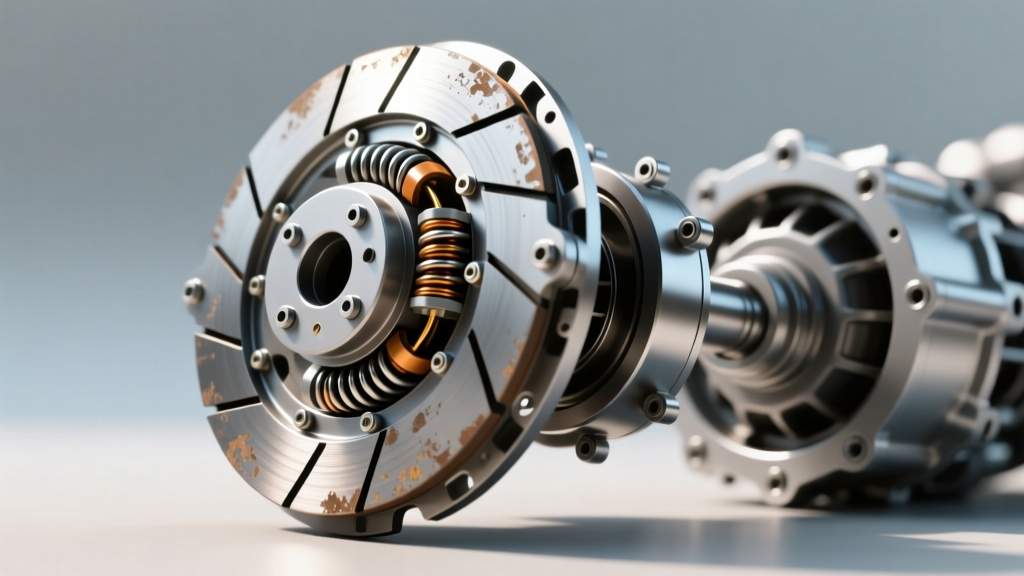
Over time, the tangs of the steel and friction plates hammer into the soft aluminum fingers of the outer clutch basket. This creates microscopic divots or "notches." When you pull the clutch lever, the plates hang up on these notches instead of sliding freely apart.
Pro-Tip: To differentiate between cable friction and basket notching, pull the lever in slowly. If the lever feels smooth but the engagement at the rear wheel is "grabby" or pulsing, you have a notched basket. If the lever itself feels like it is dragging through sand, the issue is in the cable or the release bearing.
Inspect the basket fingers with a fingernail or a feeler gauge. If the divots exceed 0.5mm in depth, the basket must be replaced or machined. For a permanent fix, upgrade to a billet aluminum or hard-anodized clutch basket (e.g., Hinson or Wiseco), which resists notching indefinitely.
Maintenance: Lubrication and Replacement Intervals
Even with modern materials, cable maintenance dictates the feel and longevity of your clutch system.
Proper Lubrication Technique
Never use heavy chassis greases or WD-40 on a clutch cable. Heavy greases attract microscopic grit that acts like lapping compound inside the housing, while WD-40 evaporates and leaves the cable dry.
- Purchase a dedicated cable luber tool (e.g., Motion Pro V-1 Cable Luber, Part #02-0055, approx. $14).
- Clamp the tool over the exposed inner wire just below the lever perch.
- Inject an aerosol PTFE (Teflon) dry lubricant or a dedicated cable oil like Tri-Flow.
- Allow the lubricant to gravity-feed or aerosol-propel down the housing until it drips cleanly from the engine-side actuator arm.
Replacement: OEM vs. Performance Upgrades
When a cable snaps or stretches beyond the adjuster's thread limit, replacement is required. Standard OEM steel cables typically cost between $30 and $50. However, for high-mileage tourers or track riders, upgrading to a performance cable is highly recommended.
- PTFE-Lined Cables: Brands like Motion Pro offer Teflon-lined housings that reduce friction by up to 40%, resulting in a significantly lighter lever pull.
- Kevlar-Reinforced Cables: Barnett Scorpion Kevlar cables ($75-$110) utilize a Kevlar outer sheath and a zero-stretch inner wire. These are essential for heavily modified touring motorcycles with extended handlebars where standard cable stretch would otherwise require constant readjustment.
Conclusion
A meticulous clutch system inspection checklist is the difference between a buttery-smooth friction zone and a stranded motorcycle. By understanding the thermal dynamics of your engine, maintaining proper routing geometry, and utilizing the correct PTFE lubricants, you can extend the life of your wet clutch components and ensure flawless power delivery. For further reading on drivetrain maintenance, consult the Cycle World maintenance archives for model-specific torque specifications and service intervals.