The Drivetrain Impact of Accessory Clutch Cycling
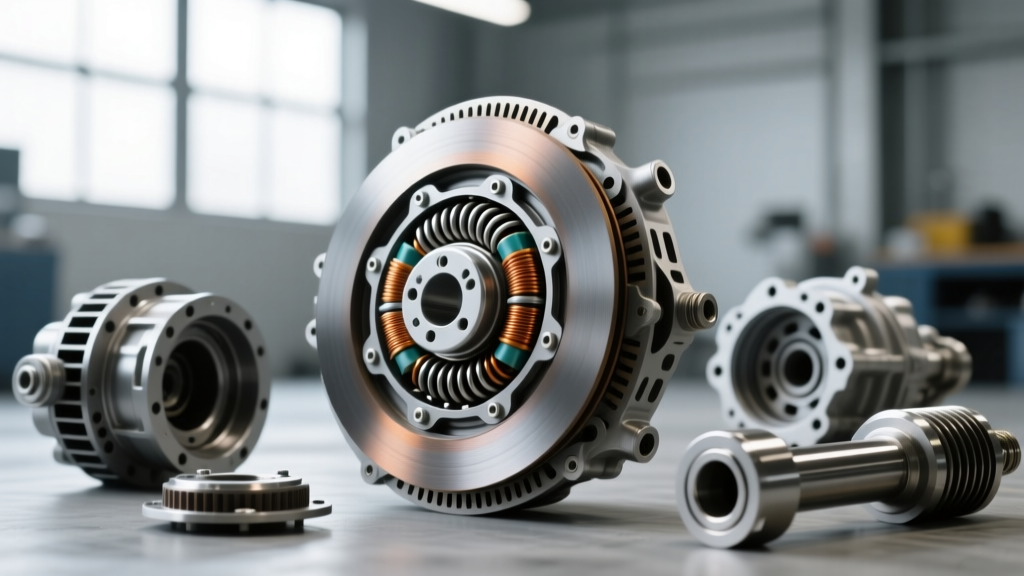
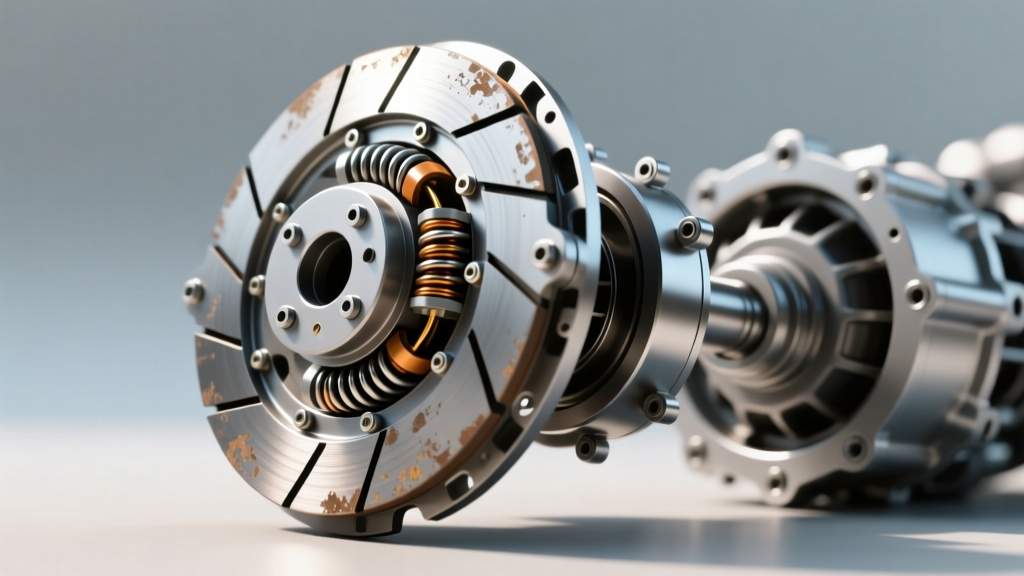
While most automotive technicians associate clutch diagnostics with manual transmission friction discs or torque converter clutch (TCC) lockup, the electromagnetic clutch on your A/C compressor plays a critical role in overall vehicle NVH (Noise, Vibration, and Harshness). When the ac compressor clutch engages and disengages rapidly—a condition known as short-cycling—it introduces severe torsional spikes into the serpentine belt drive. These spikes bypass the harmonic balancer and transfer directly through the engine mounts into the chassis, often mimicking a slipping transmission clutch, a failing dual-mass flywheel, or a severe engine misfire.
As a drivetrain and clutch systems expert, I frequently see vehicles misdiagnosed with transmission shudder when the root cause is a failing A/C clutch coil or a refrigerant pressure fault. This step-by-step guide will teach you how to isolate vibration, noise, and pedal feel anomalies caused by the A/C compressor clutch, complete with exact air-gap specifications, electrical testing parameters, and manifold pressure thresholds.
Symptom Mapping: Vibration, Noise, and Feel
Before grabbing a set of manifold gauges, you must accurately map the NVH symptoms. The electromagnetic friction clutch on the compressor pulley behaves similarly to a transmission clutch; when it slips, chatters, or cycles erratically, the feedback is felt throughout the vehicle.
Chassis Vibration at Idle (The 20-40 Hz Shudder)
When the ac compressor clutch engages and disengages every 3 to 5 seconds, the engine experiences rapid 3-5 horsepower parasitic load spikes. The ECU attempts to compensate via the electronic throttle body (ETB) or idle air control (IAC) valve. This hunting idle, combined with belt slap, induces a low-frequency 20-40 Hz shudder. You will feel this primarily through the steering wheel and the driver’s seat track. Unlike a torque converter shudder which typically occurs at 45-55 mph under light throttle, this vibration is strictly tied to idle or low-RPM stationary operation.
Audible Clatter from the Accessory Drive
A worn friction plate or an excessive air gap will cause the clutch to slip before fully locking. This results in a high-pitched squeal or a rhythmic metallic clatter (chatter) originating from the front of the engine. If the clutch bearing is failing alongside the coil, you will hear a continuous growling noise that changes pitch exactly when the clutch field is energized.
RPM Fluctuation and Drivetrain Lash
In manual transmission vehicles, a short-cycling A/C clutch can cause noticeable drivetrain lash. As the clutch engages, the RPM drops; as it disengages, the RPM surges. This oscillating load can cause the transmission input shaft to rattle against the clutch disc hub splines, creating a false diagnosis of a worn clutch disc damper spring.
Step-by-Step Diagnostic Procedure
Follow this systematic approach to diagnose why the ac compressor clutch engages and disengages erratically, focusing on mechanical, electrical, and thermodynamic fault trees.
Step 1: Mechanical Air Gap and Friction Plate Inspection
The most common mechanical cause of clutch dropout is thermal expansion increasing the air gap beyond the magnetic field’s pull-in capacity.
- Measure the Air Gap: Use a flat feeler gauge to measure the gap between the friction plate (hub) and the pulley rotor at three equidistant points. The specification for most modern compressors (e.g., Denso, Sanden, Delphi) is between 0.015” and 0.030” (0.38mm - 0.76mm).
- Check for Drag: With the engine off and the clutch disengaged, spin the friction plate by hand. It should rotate freely without scraping the rotor. If it drags, the bearing or snap-ring seating is compromised.
- Shim Adjustment: If the gap exceeds 0.035”, remove the center retaining bolt, pull the friction plate using a dedicated puller (e.g., Lisle 45750), and remove one or more spacer shims located on the compressor shaft to restore the gap to 0.020”.
Step 2: Electrical and Coil Resistance Testing
As the electromagnetic coil heats up, its resistance increases. A marginal coil will pull the clutch in when cold, but drop it out when hot, causing the rapid engage/disengage cycle.
- Test Coil Resistance: Disconnect the clutch coil connector. Set your multimeter to Ohms. Measure across the coil terminals. A healthy 12V coil should read between 3.5 and 4.5 ohms at 68°F (20°C). If it reads above 5.5 ohms or shows an open circuit (OL), the coil is internally degraded.
- Voltage Drop Test: Back-probe the clutch connector while the engine is running and the A/C is commanded ON. You must see full battery voltage (13.8V - 14.4V). If voltage drops below 11.5V during engagement, the fault lies in the A/C clutch relay, the PCM driver, or corroded ground circuits, not the compressor itself.
Step 3: Refrigerant Pressure and Short-Cycling Analysis
If the mechanical and electrical systems check out, the rapid cycling is a thermodynamic protection strategy triggered by the Low-Pressure Cutoff (LPCO) switch.
- Connect Manifold Gauges: Attach your gauges to the high and low service ports. According to the Mobile Air Climate Systems Association (MACS), proper diagnosis requires observing dynamic pressures.
- Observe the Low Side: If the system is low on refrigerant, the compressor will pull the low-side pressure down to the LPCO threshold (typically 22-28 PSI for R134a or 40-50 PSI for R1234yf) in a matter of seconds. The switch opens, cutting power to the clutch. Pressure equalizes, the switch closes, and the clutch re-engages.
- Identify Restrictions: If the low side drops rapidly to a vacuum but the high side does not rise proportionally, suspect a restriction in the orifice tube or expansion valve (TXV), causing the LPCO to trip prematurely.
Technical Specifications & Torque Data
When performing clutch replacement or air-gap adjustments, adhering to exact torque specifications is vital to prevent the friction plate from walking off the shaft or damaging the compressor nose bearing. Below are standard reference values for common OEM platforms.
| Compressor Platform | Target Air Gap | Coil Resistance (Cold) | Hub Retaining Nut Torque | Common OEM Application |
|---|---|---|---|---|
| Delphi HT6 / CVC | 0.018” - 0.028” | 3.8 - 4.2 Ω | 11 - 15 lb-ft | GM LS / LT V8 Engines |
| Denso 10S17C / 10PA17C | 0.015” - 0.025” | 3.5 - 4.0 Ω | 8 - 10 lb-ft | Honda K-Series, Toyota GR |
| Sanden SD7V16 | 0.020” - 0.030” | 3.9 - 4.4 Ω | 12 - 16 lb-ft | VW/Audi EA888, ZF 8HP apps |
| Ford FS-10 / 6C15 | 0.015” - 0.028” | 3.6 - 4.1 Ω | 10 - 14 lb-ft | Ford Coyote 5.0L, EcoBoost |
Repair Scenarios and Cost Breakdown
Diagnosing why the ac compressor clutch engages and disengages erratically saves customers from unnecessary transmission or engine mount replacements. Here is what the repair landscape looks like in 2026:
- Air Gap Adjustment (Shim Removal): If the clutch is simply worn and the gap is too wide, removing the hub and taking out a shim costs roughly $80 - $120 in labor. No parts are required unless the snap-ring is damaged.
- Clutch Coil / Friction Plate Assembly Replacement: If the coil is open or the friction surface is glazed/burnt, you can often replace just the clutch assembly without evacuating the refrigerant. Parts range from $60 to $150 (e.g., Standard Motor Products or Four Seasons clutch kits), with labor running $150 - $250 depending on accessory drive clearance.
- Full Compressor Replacement: If the clutch failure was caused by internal compressor seizure or severe shaft seal leakage contaminating the friction surfaces, the entire compressor must be replaced, requiring a full system flush, evacuation, and recharge. Expect this repair to range from $800 to $1,400 depending on the vehicle and refrigerant type (R1234yf is significantly more expensive than R134a).
Final Drivetrain Diagnostic Takeaways
Never ignore the accessory drive when chasing low-frequency NVH complaints. The electromagnetic clutch is a high-load friction device that directly impacts engine harmonics and drivetrain stability. By verifying the air gap, testing the coil's thermal resistance, and monitoring manifold pressures, you can confidently pinpoint the root cause of the shudder. For further reading on modern climate system diagnostics and refrigerant pressure thresholds, consult the technical bulletins available through Standard Motor Products Tech Resources and the SAE International HVAC standards committee. Accurate diagnosis keeps the vehicle on the road and keeps your drivetrain diagnostics sharp.