Understanding Clutch Drag and Incomplete Release
Cable-actuated wet multi-plate clutches are a masterpiece of analog engineering, relying on precise mechanical leverage to overcome immense spring pressure. When you pull the clutch lever, you are fighting against the combined clamping force of the pressure plate springs, which often exceeds 400 to 600 pounds of force on high-performance sportbikes. Any parasitic friction within the Bowden cable routing subtracts directly from your mechanical advantage, leading to incomplete release, commonly known as clutch drag.
Clutch drag occurs when the friction and steel plates fail to fully separate despite the lever being pulled to the handlebar. This results in power transfer to the rear wheel even when the rider intends to be disengaged. While hydraulic systems can suffer from air ingress or degraded fluid, cable-actuated systems primarily suffer from increased friction coefficients inside the cable housing, cable stretching, or routing bind points. Proper maintenance, specifically a thorough motorcycle clutch cable lube procedure, is the first and most critical step in diagnosing and resolving release issues.
Symptoms of Cable-Induced Drag
- Clunky First Gear Engagement: A harsh 'clunk' and rear wheel chirp when shifting from neutral to first gear at a standstill, indicating the input shaft is still spinning due to incomplete disengagement.
- Creeping at Stops: The motorcycle attempts to move forward even with the clutch lever fully pulled to the grip, requiring excessive front brake pressure to hold the bike stationary.
- False Neutrals and Hard Shifting: Difficulty finding neutral at a stoplight, or heavy, resistant gear changes across the entire transmission range because the transmission input shaft remains partially driven.
- Lever Fatigue: A noticeable increase in the physical effort required to pull the lever, often accompanied by a gritty or notchy feel at the pivot point.
Diagnostic Checklist: Isolating the Cable
Before tearing into the engine cases, you must isolate the cable as the primary culprit. According to technical guides from Motorcyclist Online, cable stretch and internal fraying are the most common causes of sudden drag onset. Inspect the cable routing from the lever perch down to the engine actuator cam. Look for sharp bends, zip-ties that are crushing the outer housing, or sections where the cable rubs against the frame or hot exhaust components. If the outer housing is compromised or the inner wire shows 'bird-caging' (frayed strands) near the lever nipple, lubrication will not save it; the cable must be replaced (OEM replacement cables typically range from $45 to $120 depending on the manufacturer).
Step-by-Step Motorcycle Clutch Cable Lube Procedure
If the cable is structurally sound but feels notchy or dry, a complete flush and lubrication is required. Do not use aerosol WD-40 or heavy chassis grease. WD-40 is primarily a solvent and will flash off, leaving the cable dry, while heavy grease is too viscous, attracts abrasive grit, and can gum up in cold weather. Use a PTFE (Teflon) or Molybdenum Disulfide-based liquid cable lubricant, such as Tri-Flow or Motion Pro Cable Lube.
Tools and Materials Required
- Motion Pro Cable Luber V2 (Part #08-0482) or equivalent clamping lubricator tool ($15 - $20)
- PTFE-based liquid cable lubricant with a straw attachment ($10 - $15)
- Shop rags and nitrile gloves
- Feeler gauges for free play adjustment
- Basic hand tools (Allen keys, wrenches for lever perch)
The Lubrication Process
- Slacken the Cable: Turn the barrel adjuster at the lever perch completely inward to create maximum slack. If necessary, loosen the lower adjuster near the engine actuator. Remove the cable from the lever perch to expose the inner steel wire and the nipple.
- Prep the Luber Tool: Slide the rubber sealing cone of the Cable Luber V2 over the exposed inner wire. Push it down until it seats firmly against the opening of the outer cable housing.
- Clamp and Seal: Tighten the knurled collet of the luber tool until the rubber cone compresses and forms an airtight, watertight seal against the outer housing. Do not overtighten to the point of crushing the steel housing.
- Inject the Lubricant: Insert the straw of your PTFE lubricant into the injection port of the tool. Begin injecting. You will see the tool's internal chamber fill with fluid. The pressure forces the lubricant down the length of the cable, pushing out old, degraded grease, moisture, and microscopic metal shavings.
- Cycle and Flush: Have an assistant pull and release the clutch lever at the engine actuator end, or cycle the lever yourself if the cable is removed from the bike. Continue injecting until the fluid emerging from the lower end of the cable runs completely clear and free of black particulate.
- Wipe and Reassemble: Remove the luber tool, wipe down the inner wire and outer housing with a clean shop rag, and reinstall the cable into the lever perch and lower actuator.
Calibrating Free Play: The Critical Final Step
Lubrication is only half the battle; improper free play adjustment is a leading cause of both clutch slip and clutch drag. Free play is the measured distance the lever travels before it begins to pull the inner cable and actuate the release bearing. If free play is set to zero, the release bearing rides constantly against the pressure plate, causing premature wear, overheating, and incomplete engagement (slip). If free play is excessive, the lever hits the handlebar grip before the plates are fully separated, causing drag.
| Motorcycle Category | Typical Free Play Specification | Measurement Point |
|---|---|---|
| Sportbikes (e.g., Yamaha R1, Honda CBR) | 2.0mm - 3.0mm (approx. 1/8 inch) | Measured at the outer edge of the lever perch |
| Cruisers (e.g., Harley-Davidson, Indian) | 3.0mm - 4.0mm (approx. 1/8 to 3/16 inch) | Measured at the lever pivot or grip edge |
| ADV / Dual Sport (e.g., BMW GS, KTM) | 3.0mm - 5.0mm | Measured at the lever perch |
To set the free play, pull the lever gently until you feel the exact point of resistance where the release bearing contacts the pressure plate springs. Use a feeler gauge or a small ruler to measure the gap. Adjust the barrel adjuster at the perch for coarse tuning, and use the lower threaded adjuster near the engine case for fine-tuning. Always secure the locknuts (typically torqued to 7-10 Nm) to prevent vibration from altering your settings.
Advanced Diagnostics: When Lubrication Isn't Enough
If you have successfully lubricated the cable and verified the free play, but the motorcycle still exhibits clutch drag, the issue lies inside the engine cases. As detailed in long-form tech articles on RevZilla's Common Tread, mechanical interference inside the clutch assembly will mimic cable drag.
Clutch Basket Notching
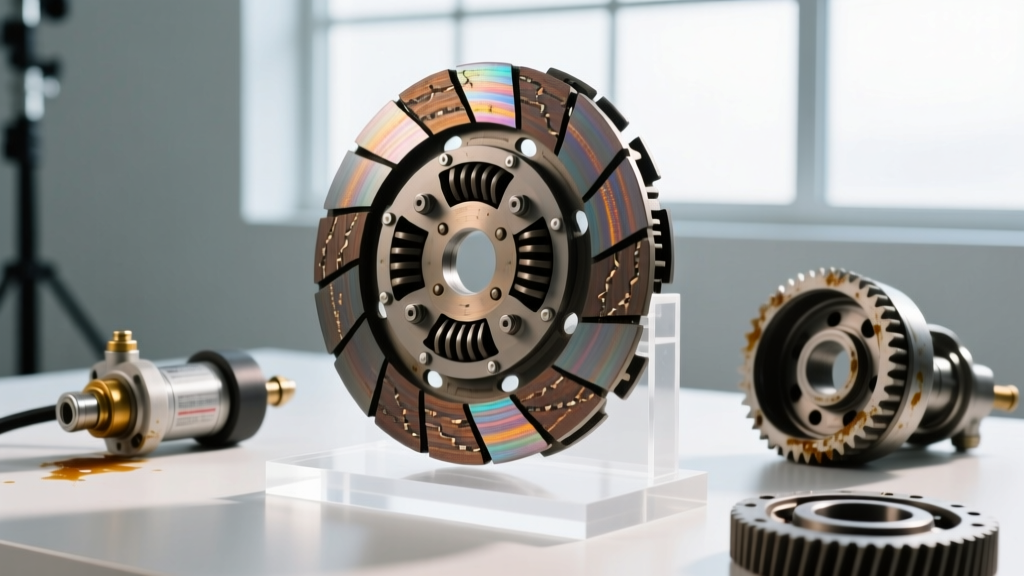
The inner hub and outer basket of a motorcycle clutch are typically made of die-cast aluminum. Over thousands of miles, the harder steel friction plates hammer against the aluminum tangs, carving deep grooves or 'notches' into the metal. When you pull the clutch lever, the friction plates get wedged in these notches and fail to separate, causing severe drag. To diagnose this, the clutch cover must be removed (torque specs for stator/clutch cover bolts are usually 10-12 Nm). Inspect the basket fingers with your fingernail; if it catches in deep grooves, the basket must be replaced with an OEM or hard-anodized aftermarket unit ($150 to $350), or carefully dressed flat with a mill bastard file.
Warped Steel Plates
Aggressive riding, improper oil levels, or 'riding' the clutch can overheat the steel separator plates, causing them to warp. When warped, the plates remain in contact with the friction material even when the pressure plate is lifted. Remove the clutch pack and place each steel plate on a piece of tempered glass. Attempt to slide a 0.1mm or 0.2mm feeler gauge under the plate. If the gauge passes underneath, the plate is warped beyond the manufacturer's service limit and must be replaced. EBC or OEM replacement steel plates are relatively inexpensive ($5 to $8 each) and are vital for a clean release.
Oil Viscosity and JASO MA2 Compliance
Finally, verify your engine oil. Wet clutches rely on the engine oil for cooling and lubrication. Using automotive oils that contain molybdenum-based friction modifiers (often found in API SN Plus 'Energy Conserving' oils) will cause the clutch to slip, not drag. However, using an excessively heavy oil viscosity (e.g., running 20W-50 in a tight-tolerance sportbike designed for 10W-30) can increase the fluid surface tension between the tightly packed plates, contributing to a sticky, dragging sensation. Always use a dedicated motorcycle oil certified to the JASO MA or MA2 standard, which guarantees the correct friction coefficient for wet multi-plate clutch operation.
By systematically eliminating cable friction through proper lubrication, verifying free play tolerances, and inspecting internal mechanical clearances, you can restore the crisp, predictable clutch release required for seamless gear changes and optimal transmission longevity. For more specialized tools and clutch components, manufacturers like Motion Pro offer comprehensive service manuals and precision instruments tailored for these exact diagnostic procedures.