The Mechanics of Motorcycle Clutch Chatter
Clutch chatter is the violent, grab-slip resonance that occurs when the friction plates engage the steel separator plates under load. For performance riders and track-day enthusiasts, this vibration isn't just an annoyance; it degrades lap times, accelerates drivetrain wear, and can lead to catastrophic clutch basket failure. While many riders immediately suspect warped plates or contaminated fluid, the root cause often lies in the actuation system. Understanding how to tighten a clutch cable on a motorcycle is the critical first step in diagnosing and eliminating this harmonic vibration before moving on to expensive internal hardware replacements.
Chatter occurs when the static friction coefficient between the plates is significantly higher than the kinetic friction coefficient. As the cable pulls the pressure plate, the plates lock momentarily, transferring a shockwave through the transmission input shaft. The shaft twists, the plates slip, and the cycle repeats at a high frequency, manifesting as a violent shudder through the handlebars and footpegs. In cable-actuated systems, improper free play exacerbates this by either causing micro-slippage (if too tight) or incomplete, angled engagement (if too loose and dragging).
Diagnostic Matrix: Cable Tension vs. Internal Hardware
Before tearing into the engine cases, you must isolate whether the chatter is a symptom of cable maladjustment or internal mechanical failure. Use the following diagnostic matrix to pinpoint the exact source of the vibration.
| Symptom Profile | Probable Root Cause | Verification Method | Performance Fix |
|---|---|---|---|
| Chatter only at high RPM / hard launches | Weak OEM clutch springs or glazed organic plates | Measure spring free length; inspect plates for bluing | Install EBC SRK springs and sintered plates |
| Chatter accompanied by a metallic 'clack' on engagement | Notched clutch basket tangs | Remove clutch pack and wobble plates on the basket | Upgrade to Hinson or Wiseco billet basket |
| Vibration during low-speed, part-throttle engagement | Insufficient cable free play (cable too tight) | Measure lever play; check for lift-off at the pushrod | Adjust cable barrel and lower case adjuster |
| Chatter worsens as engine temperature rises | Warped steel separator plates or degraded oil | Check plates on a glass surface with a feeler gauge | Replace steels; switch to high-shear synthetic oil |
Step-by-Step: How to Tighten a Clutch Cable on a Motorcycle
If your diagnostic points to actuation issues, proper adjustment is mandatory. As of the 2026 riding season, modern performance motorcycles require exacting tolerances to balance lever feel with complete disengagement. Here is the professional procedure to adjust your cable and eliminate tension-induced chatter.
1. Establish Baseline Free Play at the Lever
The industry standard for most Japanese and European sportbikes (e.g., Suzuki GSX-R, Kawasaki ZX series) is 10mm to 15mm (approx. 3/8 to 5/8 inch) of free play measured at the outer edge of the clutch lever ball. This gap ensures the clutch pushrod is not under constant tension, which would cause the pressure plate to hover, leading to the micro-slippage that breeds chatter.
2. Adjust the Lower Engine Case Actuator
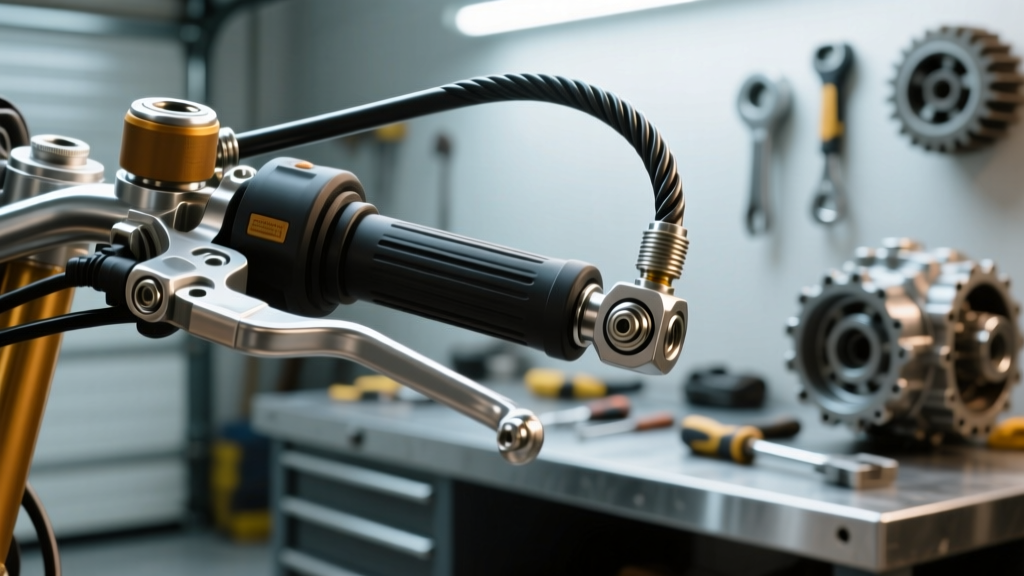
Do not rely solely on the handlebar adjuster barrel. For major adjustments, locate the lower clutch cable adjuster on the engine case.
- Loosen the 12mm or 14mm locknut securing the adjuster screw.
- Turn the inner slotted or Allen screw clockwise to tighten the cable (taking up slack) or counter-clockwise to loosen it.
- Back the screw out until you feel resistance from the internal clutch pushrod, then back it off exactly one-quarter to one-half turn. This creates the vital internal clearance between the pushrod and the pressure plate bearing.
- Tighten the locknut to 7-10 Nm while holding the adjuster screw in place to prevent binding.
3. Fine-Tune at the Handlebar Barrel Adjuster
With the lower actuator set, thread the handlebar barrel adjuster all the way in (clockwise), then thread it out until you achieve the precise 10-15mm lever free play. Secure the rubber dust boot and locknut.
Pro-Tip for V-Twin Cruisers: On Harley-Davidson Sportsters and Dynas, clutch chatter is frequently misdiagnosed as a cable issue when it is actually primary chain slap transferring to the clutch basket. Always verify primary chain deflection (3/8" to 1/2" up-and-down play) before adjusting the clutch cable actuator.
Performance Upgrades to Eradicate Resonant Vibration
If you have perfected your cable tension and the chatter persists under aggressive throttle application, your OEM hardware has reached its performance ceiling. Upgrading to aftermarket components alters the friction characteristics and clamping force, effectively killing the grab-slip cycle.
Friction Material: Organic vs. Carbon/Kevlar
OEM paper-based organic plates are designed for quiet, smooth street engagement, but they glaze easily under track temperatures, leading to erratic friction coefficients and chatter. Upgrading to a Barnett Carbon Kevlar Clutch Kit (typically $190 - $260) provides a linear friction curve. Carbon Kevlar bites aggressively but predictably, eliminating the sudden static-to-kinetic friction spike that causes handlebar shake. Note that Kevlar requires a specific break-in procedure to prevent immediate chatter (detailed below).
Clamping Force: Heavy-Duty Springs
Stiffer springs increase the clamping force, preventing the plates from separating under high-torque loads. EBC SRK Heavy Duty Springs ($35 - $45) increase clamping pressure by 15% to 20% over OEM. This is highly recommended for riders running high-horsepower setups or those who frequently launch the bike, as it forces the plates to lock instantly rather than slipping and chattering.
The Ultimate Fix: Billet Clutch Baskets
Over time, the aluminum tangs of an OEM cast clutch basket develop notches from the impact of the steel friction plates. When the plates catch in these notches during engagement, they bind and release erratically, causing violent chatter. A Hinson Billet Clutch Basket ($380 - $450) is machined from aerospace-grade T6 aluminum and features hard-anodized or stainless steel wear inserts. This guarantees the plates slide smoothly without binding, completely eliminating mechanical chatter. When installing a new clutch center nut, always use a fresh lock washer and torque to factory specifications (e.g., 39 Nm for Suzuki GSX-R750, 59 Nm for Kawasaki ZX-6R).
Bedding-In Performance Friction Materials
A common mistake riders make after upgrading to performance clutch packs is skipping the bedding-in process. If you install a Carbon Kevlar kit and immediately perform a hard launch, the uneven transfer of friction material will cause severe chatter and permanent glazing.
- Initial Soak: Ensure all new friction plates are soaked in the exact same motorcycle-specific wet-clutch oil (JASO MA2 certified) you plan to run in the engine for at least 2 hours prior to installation.
- Heat Cycling: Start the bike and let it idle in neutral for 10 minutes to circulate oil through the clutch pack.
- Progressive Engagement: For the first 50 miles, slip the clutch gently from a stop in 2nd or 3rd gear to generate moderate, even heat across the friction surfaces.
- Cool Down: Allow the clutch to cool completely to ambient temperature. This heat cycle seats the Kevlar fibers to the steel separator plates, establishing a uniform friction layer that prevents future chatter.
Conclusion
Eliminating clutch chatter requires a systematic approach that bridges basic maintenance with high-performance engineering. By mastering how to properly tighten and adjust your motorcycle's clutch cable, you ensure the actuation system is not inducing artificial slip. When combined with targeted upgrades like Carbon Kevlar friction plates, heavy-duty springs, and billet baskets, you can transform a shuddering, unpredictable drivetrain into a precision instrument capable of handling extreme torque and aggressive track-day launches.