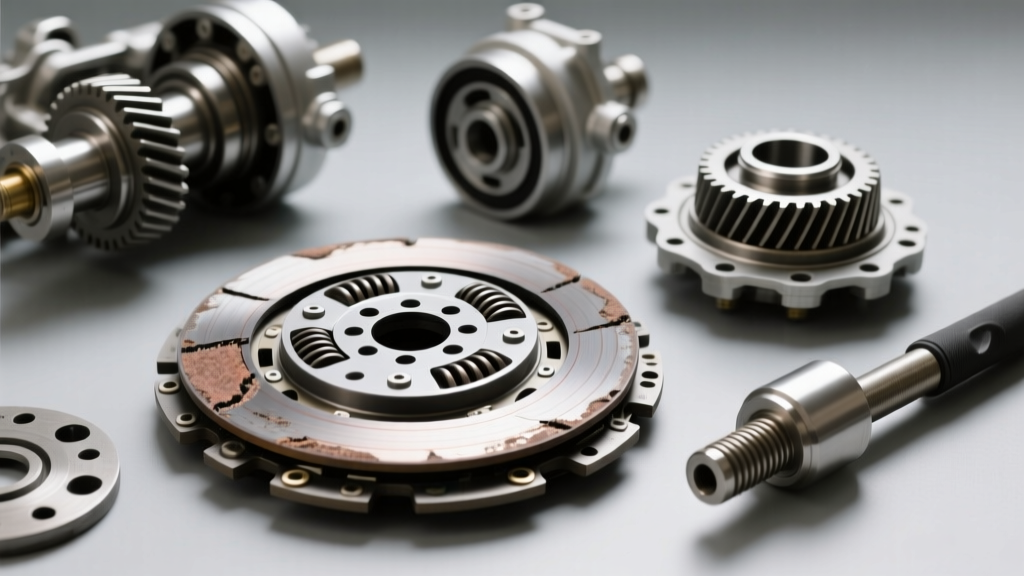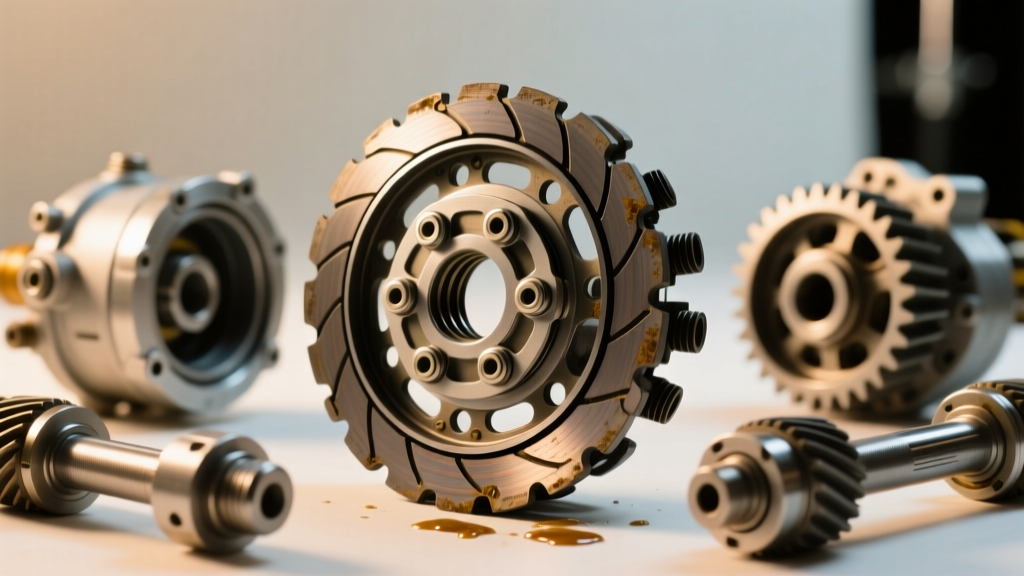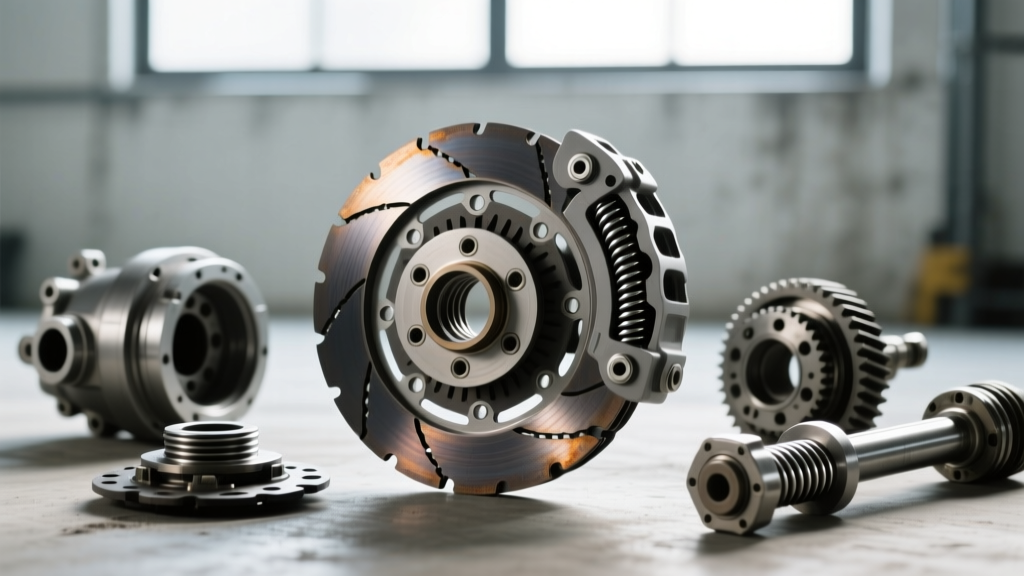
The Intersection of Braking Technique and Clutch Longevity
A frequent question among newer riders and those transitioning from cars to two wheels is: do you have to clutch to brake on a motorcycle? The short answer is no, you do not need to pull the clutch lever immediately when applying the brakes. In fact, pulling the clutch in too early eliminates engine braking, transferring the entire deceleration load to your brake pads and rotors, which accelerates brake wear and increases stopping distances.
However, the relationship between your braking technique and your clutch system's lifespan is deeply intertwined. Failing to pull the clutch lever as the RPMs drop near idle (usually around 2,000 to 2,500 RPM) will cause the engine to lug, stall, or violently jerk the drivetrain, placing immense shock loads on the clutch basket tangs and transmission gears. Conversely, 'riding' the clutch lever while trail-braking into a corner keeps the clutch in the friction zone, generating catastrophic heat and glazing the friction plates. Understanding how to properly diagnose clutch wear is essential for maintaining the drivetrain integrity of any motorcycle.
How Improper Braking Accelerates Wet Clutch Wear
Most modern motorcycles utilize a wet, multi-plate clutch system bathed in engine oil. This design relies on the oil to dissipate the intense heat generated during engagement and disengagement. When a rider habitually rests their fingers on the clutch lever while braking or navigating slow traffic, the pressure plate slightly retracts. This introduces micro-slippage between the friction plates and the steel separator plates.
Because the clutch is slipping, it generates localized temperatures exceeding 400°F (204°C). This heat breaks down the molecular structure of the engine oil, stripping it of its viscosity and friction-modifying properties. Over time, this leads to the friction material delaminating from the aluminum core, contaminating the engine oil with metallic and composite debris, which can subsequently starve the top-end bearings and transmission shafts of proper lubrication.
5 Definitive Signs Your Motorcycle Clutch is Failing
Diagnosing a failing motorcycle clutch requires looking past simple lever feel. Because hydraulic and cable-actuated systems can self-adjust or stretch, lever resistance is a poor indicator of internal clutch health. Instead, look for these precise mechanical symptoms:
1. RPM Surge Without Proportional Acceleration (Slipping)
The most classic indicator of a worn friction pack. When rolling on the throttle in 3rd or 4th gear under heavy load (such as climbing a grade or passing), the tachometer needle will jump disproportionately compared to your actual road speed. This indicates the friction plates have worn past their service limit and can no longer maintain static friction against the steel plates.
2. Clutch Basket Tang Notching
If your motorcycle exhibits a 'notchy' or grabby feel when pulling away from a dead stop, or if the lever feels stiff and binds at the very end of its travel, the aluminum clutch basket is likely notched. The repeated impact of the friction plate tabs against the basket fingers creates divots. When the clutch is pulled, the plates hang up in these divots rather than sliding freely, causing erratic engagement and severe drivetrain chatter.
3. Lever Free-Play Discrepancies
While cable stretch is common, a sudden need to constantly adjust the cable free-play (which should strictly be maintained between 10mm and 20mm at the lever perch) often points to uneven wear across the friction pack or warped steel separator plates. As the plates warp from the heat of aggressive trail-braking, the overall stack height of the clutch pack changes dynamically.
4. Friction Material Glazing and Oil Contamination
If the clutch engages abruptly but slips under high load, the plates may be glazed. This often happens when riders use automotive oils containing friction modifiers (like Molybdenum) instead of the required JASO MA or MA2 certified motorcycle oil. Automotive oils are designed to reduce friction for fuel economy, which is disastrous for a wet clutch that relies on high-friction coefficients to lock the drivetrain.
5. Loss of Clutch Spring Tension (Clutch Fade)
When the clutch is subjected to repeated high-heat cycles (such as track days or heavy stop-and-go traffic), the coil springs or diaphragm springs lose their temper and metallurgical tension. The clutch will feel normal when cold, but after 30 minutes of riding, it will begin to slip as the weakened springs fail to apply adequate clamping force.
Precision Diagnostics: Measuring Friction Plates and Springs
To accurately determine if your clutch has reached the end of its lifespan, you must remove the clutch cover and measure the components with a micrometer and calipers. Guessing based on mileage is a fool's errand; a track-day bike might destroy a clutch in 3,000 miles, while a highway-cruised touring bike might see 80,000 miles on the original plates.
Below is a diagnostic reference table for common motorcycle platforms, outlining the OEM specifications and critical service limits. For deeper technical specifications on heavy-duty replacements, consulting resources like Barnett Clutches Tech Info is highly recommended.
| Motorcycle Platform | OEM Friction Thickness | Service Limit (Replace At) | Spring Free Length Limit | Center Nut Torque Spec |
|---|---|---|---|---|
| Honda CBR600RR (PC40) | 3.00 mm | 2.60 mm | 45.1 mm (Coil) | 69 Nm (51 lb-ft) |
| Kawasaki Ninja 400 (EX400) | 3.00 mm | 2.60 mm | 47.8 mm (Coil) | 64 Nm (47 lb-ft) |
| Yamaha MT-09 / Tracer 9 (CP3) | 3.00 mm | 2.50 mm | 51.2 mm (Coil) | 75 Nm (55 lb-ft) |
| Harley-Davidson M8 Touring | 3.00 mm (0.118 in) | 2.50 mm (0.098 in) | Diaphragm (Inspect) | 150-165 lb-ft (w/ Loctite 262) |
Note: Always measure friction plates at four equidistant points. If the variance between the thickest and thinnest point exceeds 0.2mm, the plate is warped and must be replaced, even if the overall thickness is within spec.
Steel Plate Warpage and the 'Stack Height' Metric
Many mechanics and home wrenches make the critical error of only measuring the friction plates while ignoring the steel separator plates. Under heavy braking and downshifting without rev-matching, the transmission back-torque is transferred through the clutch assembly. This can cause the steel plates to warp.
To check for warpage, place each steel plate on a known flat surface (like a piece of plate glass) and attempt to slide a 0.10mm feeler gauge underneath the center. If the gauge passes, the plate is warped. Warped steel plates prevent the clutch pack from fully disengaging, leading to gear clunking when shifting into first, and preventing full engagement, causing slipping under acceleration.
Furthermore, you must verify the overall clutch pack stack height. Aftermarket performance clutches (such as those from EBC Brakes or Hinson) often utilize different friction material thicknesses. If the total stack height is too low, the pressure plate will bottom out before applying sufficient clamping force. If it is too high, the clutch will never fully engage, resulting in immediate slippage upon reassembly.
OEM vs. Aftermarket: Rebuilding the Basket
When the lifespan indicators point to a full rebuild, you are faced with a choice between OEM and aftermarket components. OEM paper/cork-based friction plates offer incredibly smooth, progressive engagement, making them ideal for touring and commuting. However, they wear faster under high-heat conditions.
For riders who aggressively engine-brake, ride canyon roads, or use the track, upgrading to a Kevlar or Carbon-Kevlar composite friction pack is advisable. These materials can withstand significantly higher thermal thresholds before glazing. However, Kevlar plates require a proper 'break-in' procedure—typically 50 to 100 miles of gentle, varied-RPM riding—to mate the composite material to the steel plates. Skipping this heat-cycling process will result in premature glazing and clutch chatter.
If your clutch basket tangs are heavily notched, simply replacing the plates will not cure the grabby engagement. You must either file the notches smooth with a flat file (a temporary, labor-intensive fix) or replace the clutch basket entirely. Billet aluminum baskets from manufacturers like Hinson or Wiseco feature hard-anodized coatings that drastically reduce tang wear and extend the lifespan of the entire assembly.
Reassembly and Fluid Chemistry Best Practices
When reinstalling the clutch pack, always soak the new friction plates in the exact engine oil you plan to run in the crankcase for at least 2 hours prior to installation. Installing dry plates can cause immediate surface scorching upon the first engagement.
Pay strict attention to the clutch center nut torque specifications. The crankshaft tapers and nut threads must be completely free of oil and debris. On many V-Twin and large-displacement inline-four engines, the center nut requires a high-strength threadlocker (such as Loctite 262) and must be torqued using a specialized clutch holding tool to prevent the transmission main shaft from binding or snapping under the immense rotational force required to reach 100+ lb-ft of torque.
Finally, remember that your clutch lives in the engine oil. Adhering to strict oil change intervals using only JASO MA2 certified fluids ensures the friction modifiers remain stable, protecting your investment and ensuring that your braking and downshifting techniques translate smoothly into mechanical deceleration without destroying your clutch pack.
Summary: Braking, Downshifting, and Clutch Health
To directly answer the premise: you do not need to pull the clutch lever the moment you touch the brakes. Proper technique involves applying the brakes, using engine braking to assist in deceleration, and only pulling the clutch lever just before the engine drops below its idle threshold to prevent stalling. Mastering this technique not only improves your riding safety and chassis stability but drastically extends the lifespan of your wet multi-plate clutch system. Monitor your lever feel, listen for drivetrain chatter, and measure your plates with precision tools to keep your motorcycle's drivetrain operating at peak efficiency.