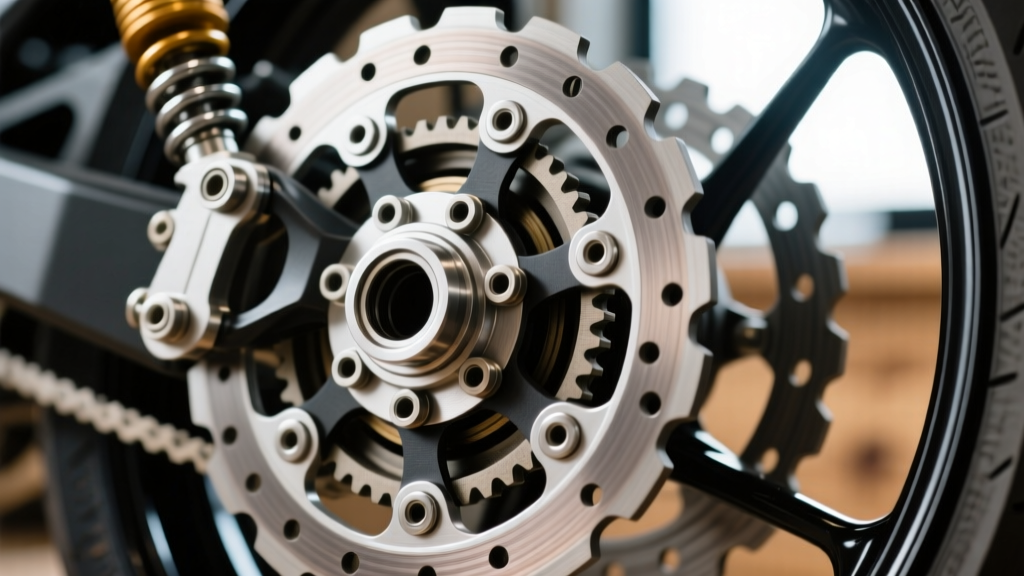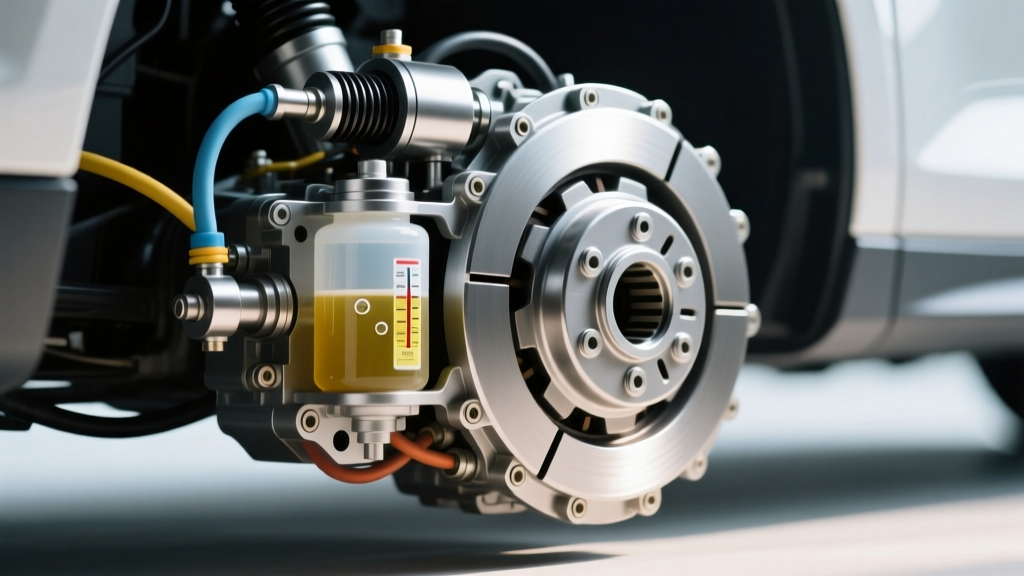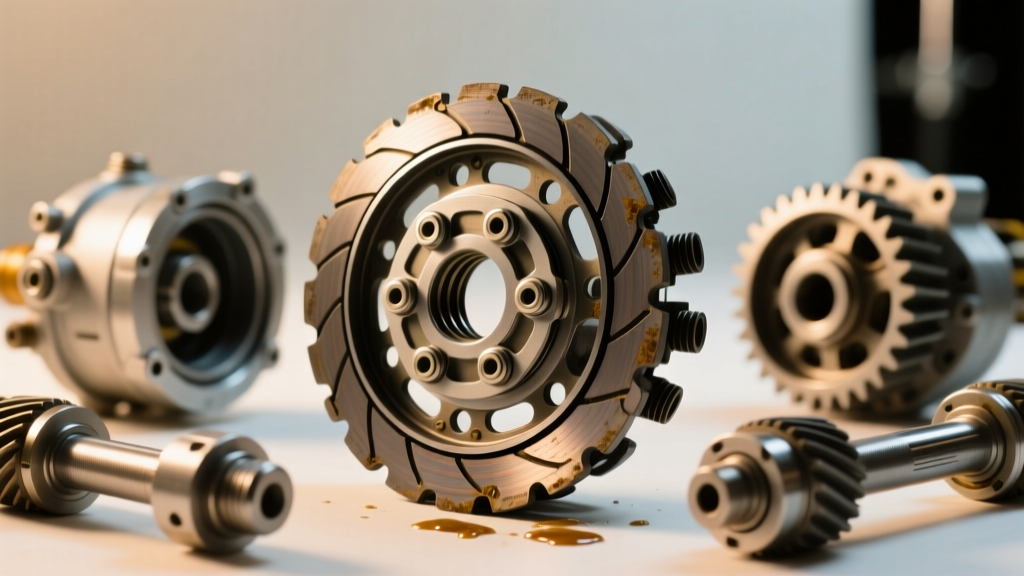
The Paradigm Shift: Leaving the Pedals Behind
For most new drivers, learning to operate a manual transmission means mastering the physical dance between the clutch brake gas pedals on the floorboard. Your left foot modulates the clutch, your right foot balances the brake and gas pedals, and your hands are free to steer. But when you transition to motorcycles and All-Terrain Vehicles (ATVs), that pedal-based muscle memory is entirely upended. On two wheels or four off-road wheels, your left hand operates the clutch lever, your right hand controls the 'gas' (throttle), and your right foot or hand manages the brakes.
This fundamental shift in ergonomics completely changes how clutch abuse occurs and how mechanical failures manifest. In 2026, with modern high-torque off-road machines and advanced motorcycle drivetrains, understanding these unique failure modes is critical. Let us break down the specific clutch problems you will encounter on motorcycles and ATVs, far beyond the realm of standard automotive pedals.
Motorcycle Wet Clutch Diagnostics: Slipping and Dragging
Unlike cars that use a dry clutch enclosed in a bell housing, most motorcycles utilize a 'wet clutch' system. This means the friction plates, steel separator plates, and clutch springs are constantly bathed in the motorcycle's engine oil. This design provides superior cooling and longevity but introduces unique diagnostic challenges for beginners.
Symptom 1: Clutch Slipping Under Load
If you twist the throttle (your equivalent of the gas pedal) and the engine RPMs surge but the motorcycle's speed does not increase proportionally, your clutch is slipping. On a motorcycle, this is rarely a failure of the actuation mechanism; it is almost always an internal friction issue.
- Worn Friction Plates: Over time, the cork or Kevlar friction material wears down. For example, on a popular sportbike like the Honda CBR600RR, a new friction plate measures roughly 3.1mm thick. The factory service limit is 2.6mm. Once they fall below this threshold, the clutch pack lacks the physical thickness to be compressed tightly by the springs.
- Weak Clutch Springs: Springs suffer from heat cycling and metal fatigue. If the free length of a spring drops below the manufacturer's limit (e.g., 39.5mm on many 600cc supersports), clamping force is lost.
- The Wrong Oil (The Beginner's Mistake):strong> This is the most common culprit for sudden slipping. Automotive engine oils often contain molybdenum-based friction modifiers designed to improve fuel economy in cars. In a motorcycle wet clutch, these modifiers coat the friction plates, causing catastrophic slipping. You must only use oils certified with the JASO MA or MA2 standard.
Symptom 2: Clutch Dragging and Creeping
Dragging occurs when the clutch fails to fully disengage, even when you pull the lever entirely to the handlebar. The bike will want to creep forward while in gear with the lever pulled, and finding neutral at a stoplight becomes nearly impossible.
- Notched Clutch Basket: The aluminum basket that holds the plates can develop deep grooves (notches) on its splines from repeated impact. When you pull the lever, the plates get wedged in these notches and fail to separate. You can diagnose this by removing the clutch cover and trying to slide the plates side-to-side; if they hang up, the basket needs replacement.
- Warped Steel Plates: Aggressive starts or excessive slipping can overheat the steel separator plates, causing them to warp and maintain contact with the friction plates even when uncompressed.
ATV Clutch Systems: Manual vs. Centrifugal
When diagnosing ATV clutch problems, you must first identify which system your machine uses. While sport quads like the Yamaha Raptor 700 use a traditional manual wet clutch similar to a motorcycle, utility ATVs like the Honda Rancher 420 often rely on a centrifugal clutch.
Centrifugal Clutch Diagnostics (No Hand Lever)
A centrifugal clutch operates entirely based on engine RPM, eliminating the need for a left-hand lever. Inside the clutch drum, weighted shoes are held inward by springs. As you apply the thumb throttle (gas), RPMs increase, and centrifugal force pushes the shoes outward to grip the inner wall of the clutch drum, moving the ATV.
Common Failure Mode: Slipping and Glazing
If your ATV bogs down or the engine revs freely without transferring power to the wheels, the clutch shoes are likely glazed, or the drum is worn. Because beginners often 'feather' the throttle at low RPMs to crawl over obstacles, the shoes constantly slip against the drum, generating immense heat. This heat melts the friction material into a hard, glassy surface (glazing) that cannot grip the metal drum.
Measurement Spec: Use calipers to measure the inner diameter (ID) of the clutch drum. On many Honda utility models, the standard drum ID is around 118mm, with a strict service limit of 120.5mm. If the drum is oversized, new shoes will not make proper contact.
Control Interface Comparison: Car vs. Moto vs. ATV
Understanding how your inputs affect the drivetrain is key to preventing premature wear. Here is how the traditional car setup compares to off-road and motorcycle configurations.
| Control Interface | Car (Pedals) | Motorcycle (Hand/Foot) | ATV (Thumb/Hand/Foot) |
|---|---|---|---|
| Clutch Actuation | Left Foot Pedal (Hydraulic) | Left Hand Lever (Cable/Hydraulic) | Left Hand Lever or Centrifugal (Auto) |
| Common Abuse | Riding the pedal in stop-and-go traffic | Feathering lever in slow, technical terrain | Slipping clutch to crawl over rocks/logs |
| Primary Failure | Throw-out bearing & pressure plate wear | Friction plate glazing & basket notching | Centrifugal shoe glazing & drum scoring |
| Actuation Maintenance | Bleed hydraulic fluid every 2 years | Adjust cable free-play or bleed DOT 4 fluid | Adjust cable; inspect centrifugal shoes |
Step-by-Step Troubleshooting for Beginners
Before you tear into the engine cases and drain the oil, rule out external actuation issues. The lack of 'pedals' means you are relying on cables and small hydraulic master cylinders that require precise adjustment.
1. Check Cable Free-Play (Cable-Actuated Systems)
If a clutch cable is too tight, it acts exactly like a driver resting their foot on a car's clutch pedal. The throw-out mechanism applies slight, constant pressure to the clutch pack, causing it to slip and burn up.
The Fix: Locate the adjuster at the handlebar perch. You need exactly 10mm to 15mm of free-play measured at the tip of the lever before you feel resistance. If the cable is stretched beyond the adjuster's limit, replace it (OEM cables typically cost $25-$45).
2. Bleed the Hydraulic System (Hydraulic-Actuated Systems)
Many modern dirt bikes and street bikes use a hydraulic master cylinder (using DOT 4 brake fluid) to push a slave cylinder on the engine case. Air in the line causes a 'spongy' lever, preventing full disengagement (dragging).
The Fix: Attach a clear hose to the slave cylinder bleeder valve, open the valve, squeeze the lever, close the valve, and release. Repeat until no air bubbles appear. Note: Never let the master cylinder reservoir run dry during this process, or you will introduce more air.
3. Inspect the Clutch Pushrod and Actuator Arm
On many ATVs and motorcycles, a small steel pushrod passes through the center of the transmission shaft to separate the plates. If the bike has been dropped on the left side, or if the actuator arm has worn a groove into the engine case, the pushrod won't travel far enough to disengage the clutch. Inspect the arm for deep grooves; if present, replace the arm and ensure the pushrod is perfectly straight (roll it on a flat glass surface to check for bends).
When to Upgrade: OEM vs. Aftermarket Solutions
If you have confirmed internal failure, you must decide between OEM replacements and aftermarket upgrades. For beginners, understanding the cost-to-benefit ratio is vital.
- OEM Friction Plates & Springs: Best for trail riders and street commuters. Expect to pay $15-$25 per plate. A full OEM pack usually runs $150-$250. Always soak new cork-based friction plates in fresh JASO MA2 engine oil for at least 2 hours before installation to prevent immediate burnout on startup.
- Aftermarket Clutch Kits (e.g., EBC CK Series): EBC Brakes offers excellent Kevlar-based friction kits that handle higher heat and resist glazing better than OEM cork. A full kit (plates and heavy-duty springs) costs between $120 and $180. (Explore EBC Clutch Kits for specific fitments).
- Billet Clutch Baskets (e.g., Hinson, Rekluse): If your basket is notched, OEM cast aluminum replacements will eventually notch again. Billet CNC-machined baskets (costing $750-$900) feature hardened steel inserts on the splines, making them virtually immune to notching. For serious ATV racers and enduro riders, this is a mandatory upgrade. (Visit the Rekluse Tech Center for advanced installation torque specs and clearances).
Final Torque Specs and Reassembly Advice
When reinstalling the clutch pack, precision is non-negotiable. The bolts that hold the clutch spring retainers in place are small and thread directly into soft aluminum or the inner hub.
Critical Spec: On machines like the Yamaha YFZ450 or Raptor 700, the clutch spring bolts must be torqued to exactly 7.2 lb-ft (10 Nm). Over-torquing will strip the threads, requiring a costly helicoil repair or a new inner hub. Always use a 1/4-inch drive torque wrench and apply a medium-strength threadlocker (blue Loctite) to prevent the bolts from backing out under high-RPM vibration.
By understanding how the transition from clutch brake gas pedals to hand and thumb controls alters drivetrain stress, you can accurately diagnose, repair, and maintain your motorcycle or ATV clutch system for years of reliable off-road and street performance.