Understanding the Motorcycle and ATV Hydraulic Clutch Assembly
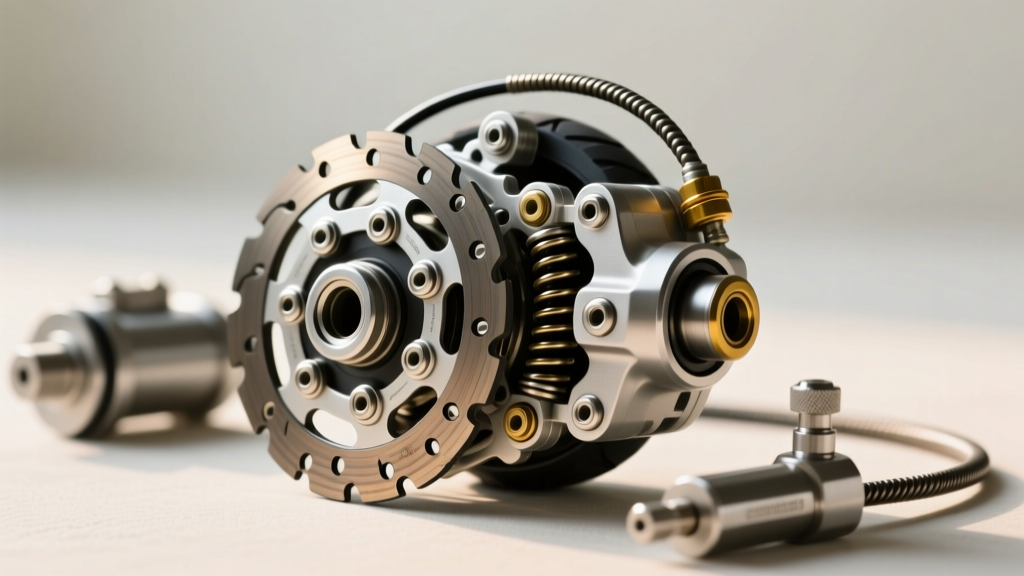
If you have recently transitioned from a cable-actuated dirt bike to a modern motocrosser, or you are wrenching on a side-by-side like the Polaris RZR, you are likely dealing with a hydraulic clutch assembly. For beginners, a hydraulic system can seem like a sealed, mysterious black box. However, understanding its basic anatomy is the first step toward accurate diagnosis.
At its core, a hydraulic clutch setup relies on Pascal’s Law of fluid mechanics. When you pull the lever on the handlebars, you push a piston inside the master cylinder. This pressurizes the hydraulic fluid, which travels through a reinforced line to the slave cylinder (usually mounted near the engine case). The slave cylinder’s piston then pushes a release rod against the clutch pressure plate, compressing the clutch springs and disengaging the friction plates.
While this system offers incredibly smooth lever feel and self-adjusting wear compensation, it is highly susceptible to specific failure modes. Let us break down the most common symptoms, the underlying mechanical causes, and the exact specifications you need to fix them.
Top 4 Symptoms of a Failing Hydraulic Clutch Assembly
1. The Spongy or "Pumping" Lever
The Symptom: You pull the clutch lever, and it feels mushy. You might have to "pump" it two or three times before the transmission actually disengages and allows you to shift into gear.
The Diagnosis: This is the classic sign of air intrusion in the hydraulic line. Unlike brake fluid, which gets incredibly hot, clutch fluid operates at lower temperatures but is still hygroscopic (absorbs moisture). Over time, microscopic air bubbles coalesce, or moisture boils under heavy engine-bay heat, creating compressible gas pockets. Another culprit is a worn master cylinder piston seal allowing fluid to bypass internally rather than pushing down the line.
2. Clutch Dragging and False Neutrals
The Symptom: You pull the lever all the way to the grip, but the bike still creeps forward. Finding neutral while stopped is a frustrating chore, and downshifts are accompanied by loud clunks.
The Diagnosis: The clutch is not fully disengaging. In a hydraulic assembly, this usually means the slave cylinder is not achieving its full stroke. This can be caused by a restricted compensation port in the master cylinder (often clogged by degraded rubber debris), a bent slave cylinder pushrod, or warped steel clutch plates inside the engine. On ATVs like the Polaris Ranger, extreme heat from the exhaust can also cause the hydraulic fluid to prematurely boil, reducing slave cylinder travel.
3. Hard Lever Pull and Lever Creep
The Symptom: The lever feels unusually stiff, or conversely, it slowly creeps back to the grip after you release it.
The Diagnosis: A stiff lever often points to a blocked return port in the master cylinder or contaminated fluid causing the slave cylinder bore to corrode and bind. If the lever creeps back slowly, the master cylinder's internal return spring may be fatigued, or the pivot pin is lacking lubrication.
4. Visible Fluid Weeping
The Symptom: You notice a crusty white or yellow residue around the lever perch, or oily grime coating the engine case near the clutch cover.
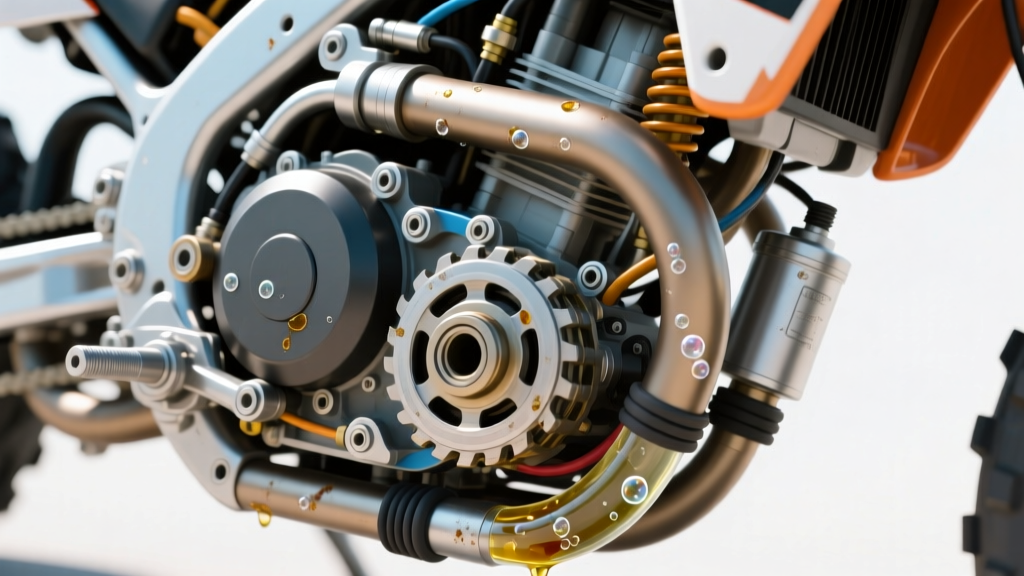
The Diagnosis: Seal failure. The master cylinder reservoir diaphragm, the banjo bolt crush washers, or the slave cylinder main seal have degraded. DOT fluid is highly corrosive to paint and plastics, so catching this early is critical to saving your motorcycle's fairings or your ATV's chassis coatings.
Diagnostic Matrix: Master vs. Slave Cylinder Failures
Determining whether the fault lies at the handlebars or the engine case saves time and money. Use this diagnostic table to isolate the failing component of your hydraulic clutch assembly.
| Symptom | Primary Suspect | Secondary Suspect | Avg. Repair Cost (2026) |
|---|---|---|---|
| Spongy lever, requires pumping | Air in line / Old fluid | Worn master cylinder seal | $15 (Fluid) - $45 (Rebuild Kit) |
| Lever stuck to grip | Master cylinder piston seizure | Collapsed hydraulic hose | $150 - $320 (OEM Master Assy) |
| Clutch dragging, won't disengage | Slave cylinder bypassing | Warped friction/steel plates | $25 (Slave Kit) - $180 (Clutch Kit) |
| Fluid leak at engine case | Slave cylinder pushrod seal | Cracked slave cylinder housing | $20 (Seal) - $120 (Complete Slave) |
The Golden Rule of Fluid Chemistry: DOT vs. Mineral Oil
The most catastrophic mistake a beginner can make when servicing a hydraulic clutch assembly is mixing fluid types. According to Magura's official technical documentation, their specific motorcycle clutch systems require Mineral Oil, whereas Brembo's motorcycle division and most Japanese OEMs (Honda, Kawasaki, Yamaha) mandate DOT 4 or DOT 5.1 fluid.
Expert Warning: Never put DOT fluid into a Mineral Oil system, and vice versa. DOT fluid is petroleum/polyglycol-based and will cause the ethylene propylene diene monomer (EPDM) rubber seals in a mineral oil system to swell, gel, and completely block the hydraulic ports within 48 hours. Conversely, mineral oil will cause DOT system seals to shrink and leak.
Always check the cap on your master cylinder reservoir. It will explicitly state the required fluid. If you are flushing a used motorcycle or ATV and the previous owner's maintenance history is unknown, a complete teardown and replacement of all rubber seals is the only 100% safe method to ensure chemical compatibility.
ATV and UTV Specifics: The Heat Factor
When diagnosing clutch problems on ATVs and UTVs (like the Polaris RZR XP 1000 or Can-Am Maverick), you must account for the operating environment. Unlike a motorcycle where the master cylinder is exposed to ambient airflow, an ATV's slave cylinder is often buried deep inside the engine bay, inches from the exhaust header and CVT housing.
- Heat Shields: Inspect the factory heat shielding around the slave cylinder. If it is missing or damaged, the DOT 4 fluid will easily exceed its 155°C (311°F) wet boiling point, leading to vapor lock and a completely dead clutch lever on the trail.
- Pushrod Wear: ATV clutch springs are significantly stiffer than motorcycle springs to handle high-torque, low-speed crawling. This puts immense lateral stress on the slave cylinder pushrod. Inspect the tip of the pushrod for asymmetrical wear grooves, which can cause the rod to bind in the engine case bore.
- Upgrades: Many off-road enthusiasts upgrade to a braided stainless steel clutch line and a heavy-duty aftermarket slave cylinder (such as those from EBC or Hinson) to resist the extreme thermal expansion and physical abuse of rock crawling.
Step-by-Step: Bleeding the Hydraulic Clutch Assembly
If you have diagnosed air in the system, a proper bleed is required. Do not simply squeeze the lever and hope for the best; follow this torque-spec-accurate procedure:
- Preparation: Wrap the master cylinder in a shop towel. DOT fluid will instantly strip the paint off your gas tank or ATV plastics if spilled. Fill the reservoir with fresh, unopened DOT 4 fluid.
- Attach the Bleeder: Connect a clear vinyl tube to the slave cylinder bleeder valve. Submerge the other end in a catch bottle with a small amount of fluid at the bottom to prevent air back-flow.
- The Pressure Cycle: Slowly pull the clutch lever to the grip. Open the bleeder valve exactly 1/4 turn. Watch the air bubbles travel down the clear tube.
- Close Before Release: Critical Step - Tighten the bleeder valve before you release the clutch lever. Releasing the lever with the valve open will suck air back into the slave cylinder.
- Repeat and Top Off: Repeat this process until the fluid runs perfectly clear and bubble-free. Continuously monitor the master cylinder reservoir; if it runs dry, you will have to start the entire process over.
- Torque Specifications: Once finished, ensure the bleeder valve is snug (usually 5-6 Nm). Check your banjo bolts at the master cylinder; overtightening these will strip the aluminum threads. The standard torque spec for M10 banjo bolts is 20 Nm (14.7 lb-ft). Slave cylinder mounting bolts are typically smaller M6 bolts, torqued to 8-10 Nm (6-7 lb-ft).
Knowing When to Replace the Entire Assembly
Rebuild kits (new seals, springs, and crush washers) cost between $15 and $35 and are perfect for routine maintenance. However, if you inspect the master cylinder bore or the slave cylinder bore and find deep pitting, scoring, or white aluminum oxide corrosion, a rebuild kit will not solve your problem. The abrasive corrosion will shred new rubber seals within a week.
In these cases, you must replace the entire unit. OEM replacement master cylinders typically range from $150 to $250. For riders seeking an upgrade, investing in an aftermarket hydraulic clutch assembly from brands like Magura or Brembo (ranging from $280 to $450) offers superior lever ergonomics, adjustable pivot ratios, and billet aluminum construction that resists corrosion far better than cast OEM parts. Always remember to measure your handlebar clamp diameter (usually 7/8" or 22mm for standard setups, and 1-1/8" or 28mm for fat bars) before ordering a new master cylinder perch.