The Economics of Clutch Cable Diagnostics in 2026
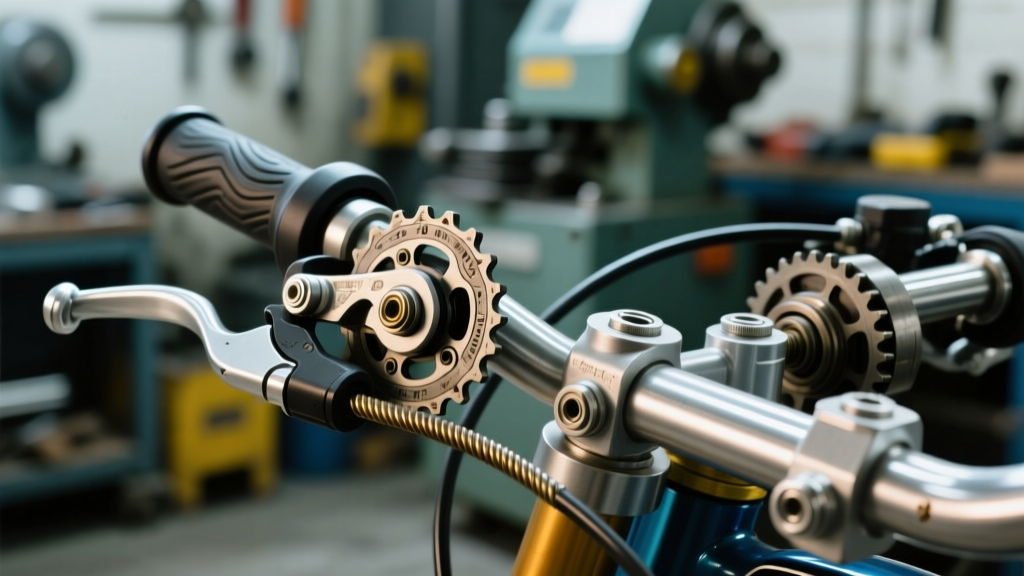
When diagnosing drivetrain engagement issues on micro-mobility platforms, the mechanical linkage remains the most frequent point of failure. For enthusiasts and mechanics working on 49cc to 212cc platforms, the mini bike clutch brake system relies heavily on a braided steel cable to translate lever input into mechanical displacement at the clutch actuator arm. Unlike modern automotive automatic transmissions—such as the GM 6L80 or ZF 8HP, which utilize electro-hydraulic control modules and internal clutch packs—mini bikes and older manual vehicles depend on the physical tensile strength and precise routing of a steel cable. In 2026, supply chain stabilization has normalized the pricing for both OEM and billet aftermarket cables, making it an ideal time to perform a comprehensive cost analysis and diagnostic breakdown of clutch cable problems, adjustment procedures, and replacement economics.
2026 Cost Breakdown: Mini Bike vs. Automotive Systems
To understand the true cost of clutch cable maintenance, we must compare the micro-mobility sector against traditional automotive manual transmissions. While the fundamental physics of clutch engagement remain identical, the material costs, labor hours, and part complexities vary drastically. Below is a comparative cost analysis for 2026, detailing parts, labor, and total replacement costs.
| System Type | Component / Part Number | Part Cost (2026) | Labor Time | Est. Shop Total |
|---|---|---|---|---|
| Mini Bike (Predator 212 / CT200U) | NR Racing Billet Actuator & Cable Kit | $38.00 - $55.00 | 0.5 Hours | $85.00 - $110.00 |
| Automotive (Ford Mustang T-5/T-45) | Fiore Adjustable Clutch Cable (88001) | $65.00 - $85.00 | 1.5 Hours | $245.00 - $320.00 |
| Automotive (Jeep Wrangler AX-5) | Mopar OEM Clutch Cable (52078700AC) | $95.00 - $130.00 | 2.0 Hours | $335.00 - $450.00 |
As highlighted by data from the RockAuto Catalog, automotive clutch cables require extensive interior disassembly to route through the firewall, drastically increasing labor costs. Conversely, a mini bike clutch brake cable is externally routed, allowing for rapid replacement and adjustment, keeping the overall financial footprint relatively low even when upgrading to premium billet components from NR Racing.
Identifying Clutch Cable Failure Modes and Symptoms
Before replacing components, accurate diagnosis is critical. Clutch cable problems typically manifest in three distinct failure modes, each presenting unique symptoms at the lever and the transmission bellhousing.
1. Inner Wire Stretching and Fraying
Standard mini bike cables utilize a 1.5mm inner wire with a breaking strength of approximately 250 lbs, as outlined by SAE International Standards for light-duty control cables. Over time, cyclic loading causes the steel strands to stretch. Symptom: The clutch lever feels 'spongy,' and the mini bike clutch brake fails to fully disengage, resulting in gear grinding or the bike creeping forward while the lever is pulled. In severe cases, fraying at the barrel nipple (where the cable seats in the lever) leads to sudden catastrophic snapping.
2. Outer Housing Collapse and Binding
The outer housing is typically a 5mm coiled steel liner wrapped in PVC. If the cable is routed with tight bends (less than a 4-inch radius), the internal liner can collapse or deform. Symptom: High lever effort. The cable binds inside the housing, preventing the clutch actuator arm from returning to its resting position. This causes the clutch to slip continuously, generating excessive heat and glazing the clutch shoes or friction discs.
3. Barrel and Adjuster Thread Wear
The threaded adjuster at the lever or bellhousing is often made of soft pot metal on OEM mini bikes. Overtightening the locknut can strip the threads. Symptom: Inability to hold freeplay settings. The adjustment nut backs out under engine vibration, leading to sudden slack and loss of clutch disengagement.
Precision Adjustment Procedures and Torque Specs
Proper adjustment of a mini bike clutch brake cable is not about pulling it as tight as possible; it is about engineering the correct freeplay to allow the throwout bearing or clutch shoes to fully seat without premature wear. Follow these exact specifications for 2026 manual clutch conversions and OEM setups.
- Step 1: Lever Freeplay Measurement. Measure the freeplay at the tip of the clutch lever. The ideal specification is 3mm to 5mm (approx. 1/8 to 3/16 inch). This slack ensures that when the engine reaches peak RPM and the clutch bell expands, the cable does not artificially hold the clutch in a partially disengaged state.
- Step 2: Actuator Arm Preload. At the engine case, the clutch actuator arm should have exactly 1mm to 2mm of rotational freeplay before engaging the internal pushrod or clutch shoes. Adjust the inline barrel adjuster to achieve this gap.
- Step 3: Locknut Torque. Once the freeplay is set, secure the 10mm adjuster locknut. The torque specification for standard M6 steel locknuts on billet actuator arms is 8 to 10 Nm (6 to 7.5 lb-ft). Do not exceed this, as crushing the soft aluminum threads on the engine case is a common and costly mistake.
- Step 4: Lubrication. Inject a PTFE-based dry cable lubricant into the housing. Avoid wet greases, which attract silica dust and accelerate inner wire abrasion.
The Hidden Costs of Ignoring Cable Slack
Ignoring a stretched or binding mini bike clutch brake cable leads to cascading mechanical failures that far exceed the $40 cost of a replacement cable. When a cable lacks proper freeplay, it applies constant, low-level pressure to the clutch actuator. On a centrifugal clutch setup, this prevents the shoes from fully locking against the drum, causing severe slipping. The resulting thermal expansion can warp the clutch drum, melt the internal return springs, and transfer excessive heat into the engine crankshaft bearings.
On manual clutch conversions (such as those utilizing a Max-Torque 6.0 or a modified automotive-style pressure plate), constant cable tension keeps the throwout bearing perpetually engaged. This leads to premature bearing seizure, which can score the transmission input shaft and destroy the pressure plate fingers. In the automotive world, a misadjusted cable on a Fox Body Mustang or a Jeep Wrangler will yield the exact same thermal damage to the clutch friction disc. While modern automatics like the GM 6L80 or ZF 8HP avoid mechanical cables entirely by utilizing pulse-width modulated (PWM) solenoids to control clutch pack pressure, the diagnostic philosophy remains identical: any unintended preload on a clutch release mechanism guarantees accelerated wear and catastrophic drivetrain failure.
Final Diagnostic Verdict
Diagnosing and repairing clutch cable problems requires a methodical approach to routing, freeplay measurement, and hardware torque. By investing in high-quality, Teflon-lined cables and billet adjusters, operators can eliminate the spongy lever feel and binding issues that plague OEM setups. Whether you are maintaining a 212cc mini bike or servicing a classic automotive manual transmission, respecting the tensile limits and adjustment tolerances of the cable system is the most cost-effective way to preserve the longevity of your entire drivetrain.