Whether you are tracking your weekend project car or just commuting, a failing manual transmission clutch will eventually leave you stranded. For beginners, the manual gearbox can seem like a dark art, but understanding the friction assembly is entirely logical. Before we grab our wrenches, we must address the most common question asked by novice mechanics: how to know when to change clutch plate assemblies before they cause catastrophic flywheel or transmission damage.
In this 2026 beginner-friendly explainer, we will use the ubiquitous Mazda MX-5 Miata (NC generation, 2.0L 6-speed) as our reference platform. However, the diagnostic principles and procedural steps apply to almost any rear-wheel-drive manual vehicle. We will cover exact part numbers, critical torque specifications, and the step-by-step clutch replacement procedure.
The Diagnostic Checklist: How to Know When to Change Clutch Plate
Diagnosing a worn clutch friction disc does not require pulling the transmission. You can perform a series of physical and dynamic tests in your driveway to determine if replacement is imminent.
1. The Static Stall Test
Find a flat, empty stretch of road or a large driveway. Bring the car to a complete stop, apply the parking brake firmly, and shift into 4th gear. Slowly release the clutch pedal while giving the engine a little throttle (around 2,000 RPM). If the engine immediately bogs down and stalls, your clutch plate still has adequate friction material. If the engine continues to run and the pedal is fully released, the friction disc is entirely worn out and slipping against the flywheel.
2. Dynamic Slip Under Load
While driving in 3rd or 4th gear at roughly 3,000 RPM, apply wide-open throttle (WOT). If you observe the tachometer needle climbing rapidly but your vehicle speed does not increase proportionally, the clutch is slipping. This is often caused by oil contamination from a leaking rear main seal or transmission input shaft seal, or simply worn friction material.
3. Pedal Freeplay and Engagement Point
Measure the clutch pedal freeplay. On most modern hydraulic setups, you should have roughly 0.2 to 0.4 inches (5-10mm) of freeplay before you feel resistance from the clutch master cylinder pushrod. If the engagement point is hovering near the very top of the pedal travel, the throw-out bearing may be worn, or the clutch disc is dangerously thin, altering the geometry of the pressure plate diaphragm springs.
Preparation: Tools, Parts, and Safety
Never attempt a clutch job relying solely on a hydraulic floor jack. You will need high-quality jack stands, a dedicated transmission jack (or a standard floor jack with a ratcheting trans adapter), and a comprehensive metric socket set. For our Mazda NC Miata reference, you will primarily need 10mm, 12mm, 14mm, 17mm, and 19mm sockets, alongside a 1/2-inch drive torque wrench and a 3/8-inch drive inch-pound torque wrench.
Recommended Parts:
- Clutch Kit: Exedy MZK05 (OEM-equivalent organic disc, pressure plate, and alignment tool). You can verify fitment via the Exedy USA Clutch Kits catalog.
- Flywheel: Aisin FWM-006 (OEM replacement). Resurfacing dual-mass or heavily grooved single-mass flywheels is no longer recommended by most machine shops in 2026 due to the risk of removing too much material and altering clutch fork geometry.
- Release Bearing: Mazda NC10-16-510A (Always replace this while the transmission is out).
- Fluid: 1 Liter of DOT 4 Brake Fluid for the hydraulic bleed.
Expert Tip: Before starting, spray the rear subframe bolts, driveshaft flange nuts, and exhaust hardware with a high-quality penetrating oil like PB Blaster or Kroil at least 24 hours in advance. Rusted exhaust hardware is the number one reason DIY clutch jobs take twice as long.
The Core Procedure: Step-by-Step Clutch Replacement
Phase 1: Drivetrain and Exhaust Teardown
- Disconnect the Battery: Remove the negative terminal to prevent accidental starter engagement.
- Remove the Exhaust Mid-Pipe: Unbolt the catalytic converter flange and the rear muffler hangers to drop the mid-pipe, exposing the driveshaft.
- Mark and Remove the Driveshaft: Use a paint pen to mark the driveshaft flange relative to the differential flange. This ensures perfect balance upon reassembly. Unbolt the four 14mm flange nuts and slide the driveshaft forward, wrapping the transmission tail shaft in a plastic bag to prevent fluid leaks and dirt ingress.
- Disconnect Linkages: Remove the shifter knob, unbolt the shifter turret from the transmission, and disconnect the reverse light switch and speedometer sensor wiring harnesses.
Phase 2: Transmission Drop and Extraction
- Support the Engine: Place a floor jack with a block of wood under the engine oil pan to support the motor's weight once the transmission crossmember is removed.
- Remove the Crossmember: Unbolt the four 17mm bolts securing the transmission crossmember to the chassis and the two bolts holding it to the transmission.
- Unbolt the Bellhousing: This is the most physically demanding step. The NC Miata has several 14mm bellhousing bolts, including two upper bolts near the steering shaft that require long extensions and universal joints to reach.
- Lower the Transmission: Slowly lower the transmission jack. Ensure the input shaft clears the clutch fork and pressure plate without hanging on the disc, which can bend the input shaft or damage the pilot bearing.
Phase 3: Flywheel and Clutch Installation
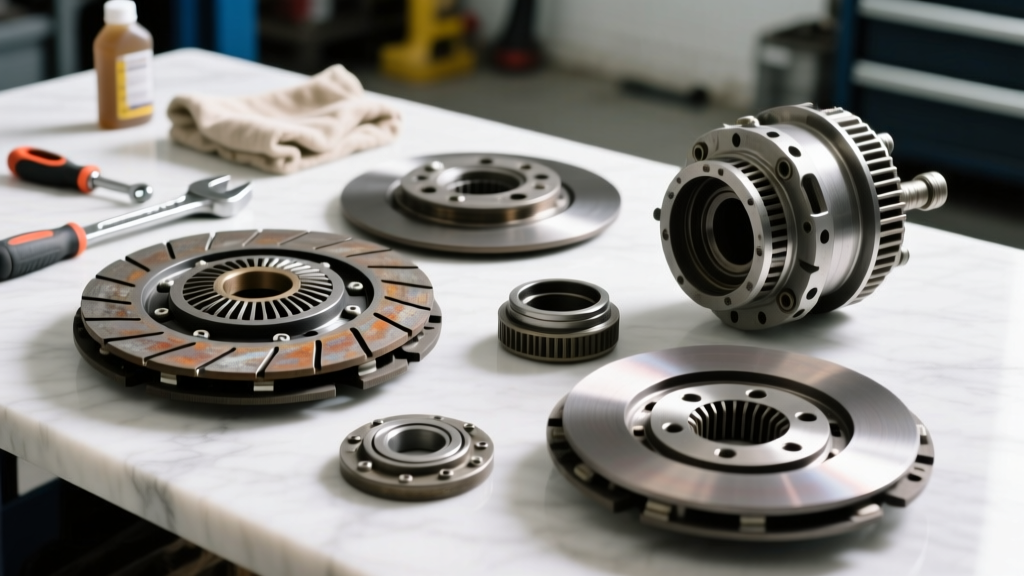
Once the transmission is on the ground, unbolt the six 17mm pressure plate bolts in a crisscross pattern to relieve spring tension evenly. Remove the old pressure plate and friction disc. Inspect the flywheel for heat spots (blueing) or deep grooves. If replacing with the Aisin FWM-006 flywheel, clean the mating surface on the crankshaft with brake cleaner.
| Component | Fastener Size | Torque Spec (lb-ft) | Torque Spec (Nm) |
|---|---|---|---|
| Flywheel to Crankshaft | 17mm (x6) | 71 lb-ft | 96 Nm |
| Pressure Plate to Flywheel | 12mm (x6) | 19 lb-ft | 25 Nm |
| Bellhousing to Engine Block | 14mm / 17mm | 47 lb-ft | 64 Nm |
| Driveshaft to Diff Flange | 14mm (x4) | 40 lb-ft | 54 Nm |
Source reference: Miata.net Torque Spec Database
Alignment: Insert the plastic clutch alignment tool (included in the Exedy MZK05 kit) through the friction disc splines and into the pilot bearing. This ensures the disc is perfectly centered. If the disc is off-center by even a millimeter, the transmission input shaft will not slide through the splines during reassembly. Torque the pressure plate bolts to 19 lb-ft in a star pattern.
Phase 4: Reassembly and Hydraulic Bleeding
Apply a microscopic amount of high-temperature grease to the transmission input shaft splines and the release bearing contact points. Do not over-grease, as excess grease will sling onto the friction disc and ruin your new clutch immediately.
Raise the transmission back into the tunnel. The most frustrating part for beginners is lining up the input shaft with the clutch disc. Have a helper gently rotate the driveshaft flange or use a long prybar to lever the engine block slightly until the transmission slides flush against the bellhousing. Never use the bellhousing bolts to force the transmission onto the engine block; this will crack the aluminum casing.
Once bolted together, reconnect the driveshaft, exhaust, and shifter. Finally, bleed the hydraulic clutch system. Open the 10mm bleeder screw on the external slave cylinder, have a helper pump the clutch pedal three times and hold it down, then close the screw. Repeat until no air bubbles are visible in the DOT 4 fluid line.
Cost Breakdown: DIY vs. Professional Shop
Understanding the financials helps you decide if this weekend project is worth your time. As of 2026, labor rates and parts pricing have shifted, making DIY highly attractive for standard RWD platforms.
- DIY Cost: $350 - $450. This includes the Exedy clutch kit, Aisin flywheel, release bearing, and fresh DOT 4 fluid. (Assuming you already own a torque wrench and jack stands. Sourcing parts via the RockAuto Catalog usually yields the best pricing).
- Professional Shop Cost: $1,100 - $1,600. A typical shop will charge 6 to 8 hours of labor at $130-$160 per hour, plus a markup on OEM dealership parts.
Post-Installation Break-In Protocol
Your job is not done when the car touches the ground. A brand-new organic clutch disc requires a break-in period to mate the friction material to the flywheel surface. For the first 500 miles, avoid wide-open throttle, aggressive launches, and prolonged highway cruising in top gear. Stick to stop-and-go city driving to generate the moderate, cyclical heat required to properly cure the binding resins in the friction material. Ignore this step, and you risk glazing your brand-new Exedy clutch plate, leading to premature slipping and a complete redo of the job.