The Survival Skill: Why Riders Shift a Manual Without a Clutch
For beginners entering the world of off-road motorcycles, sport ATVs, and street bikes, the clutch lever is a vital lifeline for smooth gear changes. But what happens when that lifeline fails? Learning the technique of shifting a manual without a clutch is often born out of pure necessity. When a motorcycle or ATV clutch fails to fully disengage—a condition known as 'clutch drag'—the transmission remains partially engaged even with the lever pulled completely to the handlebar.
This mechanical failure forces riders into a difficult corner: either stall the engine at every stop, or learn to load and unload the transmission using throttle manipulation to limp back to the garage. In this beginner-friendly explainer, we will break down exactly why your motorcycle or ATV clutch is dragging, how to perform the emergency clutchless shifting technique, and the precise diagnostic steps required to fix the underlying wet clutch failure.
Understanding the Motorcycle and ATV Wet Clutch
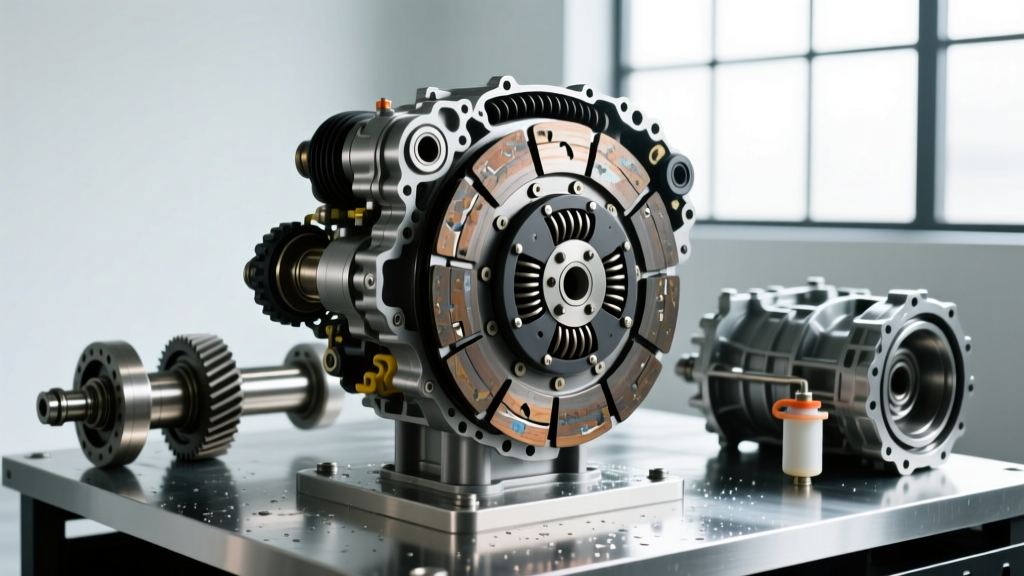
Unlike the dry, single-plate clutch found in a traditional manual car, nearly all motorcycles and ATVs utilize a wet multi-plate clutch system. This assembly operates submerged in engine oil and consists of alternating friction plates (typically lined with cork, Kevlar, or paper-based compounds) and smooth steel drive plates.
When you pull the clutch lever, a cam or pushrod mechanism compresses the clutch springs, separating the friction and steel plates to interrupt power flow from the crankshaft to the transmission input shaft. If any single component in this stack binds, warps, or fails to separate, the clutch drags. As of 2026, modern high-performance dirt bikes and ATVs generate immense torque, making precise clutch maintenance more critical than ever to prevent catastrophic transmission damage.
Top 4 Causes of Clutch Drag (And How to Diagnose Them)
1. Improper Cable Free Play or Hydraulic Air
The most common culprit behind clutch drag is a lack of free play at the lever. If the cable is too tight, or if a hydraulic system has air in the lines, the clutch release mechanism is never allowed to fully return to its resting position. This constant slight pressure causes premature wear and prevents full disengagement when pulled.
- The Spec: Most OEM service manuals dictate 10mm to 15mm of free play measured at the end of the clutch lever perch before you feel resistance.
- The Fix: Adjust the barrel adjuster at the lever or the inline cable adjuster. For hydraulic ATVs (like the Yamaha YFZ450R), bleed the master cylinder using a vacuum bleeder to ensure zero sponginess.
2. Notched Aluminum Clutch Baskets
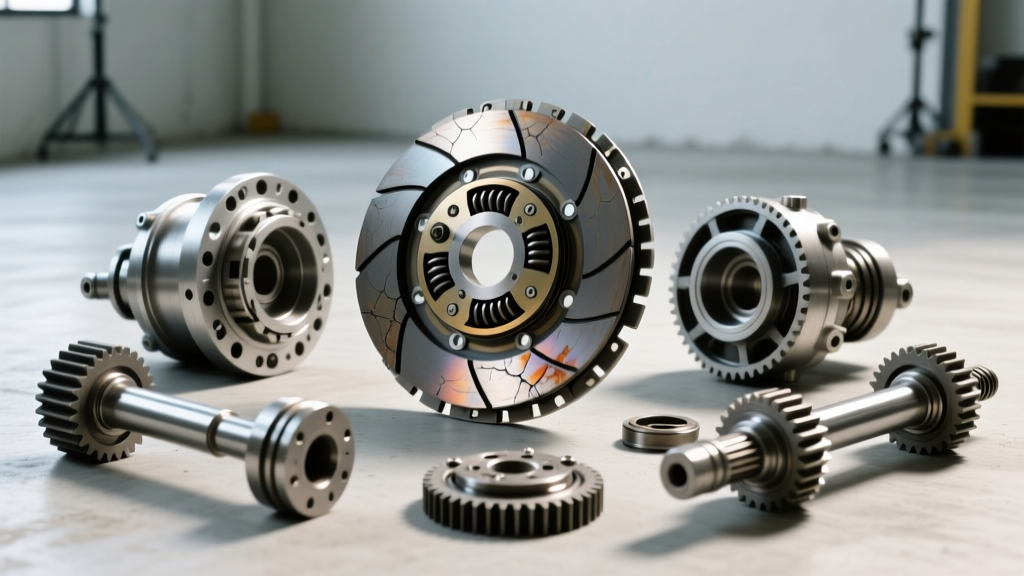
The outer clutch basket connects to the engine's primary drive gear. The tabs of the friction plates slide into the fingers of this basket. Over time, the repeated impact of the steel plates hammering against the soft cast aluminum fingers creates deep grooves or 'notches'. When you pull the clutch lever, the friction plates get physically wedged in these notches, refusing to separate. This is the number one reason dirt bike riders are forced to ride a manual without a clutch.
- Diagnostic Step: Remove the clutch cover and the pressure plate. Grab the outer edge of the friction plates and try to wiggle them laterally. If they catch or bind in the basket fingers, the basket is notched.
- The Fix: Minor notching can be smoothed with a flat mill bastard file. Severe notching requires basket replacement. Upgrading to a CNC-machined billet aluminum basket (such as a Hinson BCR basket, costing roughly $300 to $450) virtually eliminates future notching.
3. Warped Steel Plates from Overheating
ATVs used for mud-bogging, heavy utility pulling, or aggressive motocross starts generate massive heat. When the clutch is 'slipped' excessively to keep the engine in the powerband without moving the vehicle, the steel drive plates can warp. Even a microscopic warp prevents the plates from separating cleanly when the lever is pulled.
- The Spec: Use a micrometer and a machinist's straight edge. A standard 3.0mm steel plate typically has a service limit of 2.8mm or a warp limit of 0.1mm. If light passes under the straight edge, the plate is ruined.
- The Fix: Replace the entire clutch pack. Never mix new friction plates with warped steel plates.
4. Incorrect Oil Viscosity and Friction Modifiers
Using standard automotive motor oil in a motorcycle or ATV is a beginner mistake that destroys wet clutches. Automotive oils (API SN/SP ratings) contain friction modifiers like molybdenum designed to improve fuel economy in cars. In a wet clutch, these modifiers cause the friction plates to glaze, leading to erratic engagement, slipping, and eventual drag as the cork or paper material swells and degrades.
- The Spec: You must use oil certified with a JASO MA or JASO MA2 rating. JASO MA2 guarantees the absence of friction modifiers and ensures the correct coefficient of friction for wet clutch environments. According to AMSOIL's breakdown of JASO MA ratings, using the wrong oil can cause irreversible plate glazing in under 500 miles.
Emergency Limp-Home Guide: Clutchless Shifting
If your clutch completely fails to disengage while out on a trail, you can still navigate back to your truck by shifting a manual without a clutch. This requires matching engine RPM to transmission speed to 'unload' the dog gears.
- Upshifting: Apply upward pressure on the shift lever with your toe. Momentarily roll off the throttle. The exact millisecond the engine torque drops, the transmission will 'unload' and slip into the next gear. Immediately roll back on the throttle.
- Downshifting: Apply downward pressure on the shifter. Roll off the throttle, then quickly 'blip' the throttle to raise the RPMs to match the lower gear's ratio. As the RPMs peak and begin to fall, the gears will slide into place.
- Stopping: Downshift sequentially as you slow. Once in first gear, simply kill the engine using the kill-switch while applying the brakes to come to a complete stop. Restart the engine in neutral or with the rear brake heavily applied.
Diagnostic & Repair Cost Matrix (2026 Estimates)
Use this table to cross-reference your symptoms with the likely mechanical failure and budget accordingly.
| Symptom | Probable Cause | Diagnostic Step | Estimated Repair Cost |
|---|---|---|---|
| Hard to find neutral at a stop; bike creeps forward with lever pulled. | Cable stretch / Lack of free play | Measure lever free play; check inline adjuster. | $15 - $35 (New OEM Cable) |
| Clutch lever feels normal, but transmission won't disengage. | Notched outer clutch basket | Remove pressure plate; wiggle friction plates laterally. | $150 - $850 (OEM Cast vs. Billet) |
| Clutch slips under heavy load, then suddenly drags when hot. | Warped steel plates / Glazed friction material | Measure steel plates with micrometer; inspect for bluing. | $80 - $140 (Full Clutch Pack) |
| Spongy lever feel on hydraulic ATV; poor disengagement. | Air in hydraulic line / Swollen master cylinder seals | Bleed system; inspect fluid for dark contamination. | $40 - $120 (Rebuild Kit / Fluid) |
Precision Reassembly: Torque Specs and Best Practices
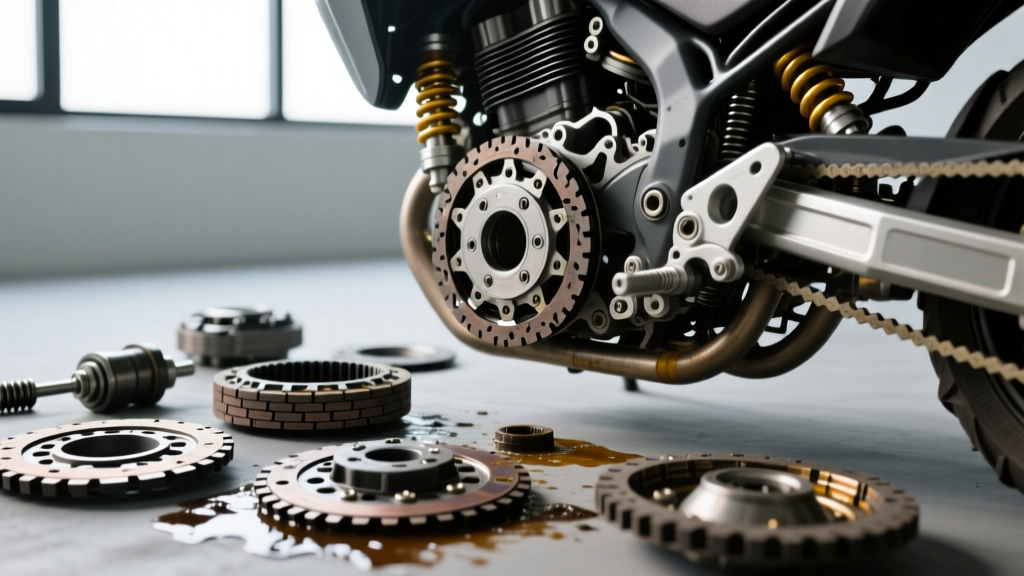
When you tear down the clutch to fix drag, reassembly requires strict adherence to torque specifications and preparation protocols. As detailed in Rocky Mountain ATV/MC's clutch rebuild tutorials, skipping these steps will result in immediate failure.
Critical Preparation Steps
- Soak the Friction Plates: Never install dry friction plates. Submerge them in a pan of fresh JASO MA2 oil for a minimum of 2 hours, though overnight is the industry gold standard. Installing dry plates will cause instant glazing and localized burning upon first startup.
- Stagger the Steel Plates: If reusing OEM steel plates, ensure any stamped markings or slight edge burrs face the same direction to promote smooth oil flow between the plates.
Exact Torque Specifications
The inner clutch hub (boss) is secured to the transmission input shaft by a center nut. This nut is subjected to extreme rotational force and must be torqued perfectly. Always use a dedicated clutch holding tool to prevent the basket from spinning while torquing.
- Honda CRF450R (2017-2026): Clutch center nut torque is 59 lb-ft (80 Nm).
- Yamaha YZ450F / YFZ450 ATV: Clutch boss nut torque is 58 lb-ft (78 Nm).
- KTM 450 SX-F (DDS Clutch): Clutch center nut torque is 59 lb-ft (80 Nm). Note: KTM uses a Belleville washer instead of coil springs; ensure the washer is installed with the convex side facing outward.
Pro-Tip from the Garage: If you are replacing the clutch springs, measure their free length with a caliper before installation. Most OEM springs have a service limit. For example, a spring with a nominal length of 48mm might have a service limit of 45.5mm. If your old springs are sagged below this limit, they are contributing to your clutch drag by failing to apply adequate clamping force to separate the plates cleanly during lever actuation. Always replace springs as a complete set.
Final Thoughts on Clutch Longevity
Having to shift a manual without a clutch is a valuable trail-riding survival skill, but it is a symptom of a neglected drivetrain, not a permanent riding style. By maintaining 10-15mm of lever free play, strictly using JASO MA2 certified lubricants, and inspecting your clutch basket for notching during routine oil changes, you can ensure your motorcycle or ATV clutch disengages flawlessly every single time. For more in-depth teardowns and lever-adjustment walkthroughs, consult RevZilla's comprehensive clutch maintenance guide before your next ride.