The Hidden Culprit: Clutch Fork and Pivot Wear in Small Engine PTOs
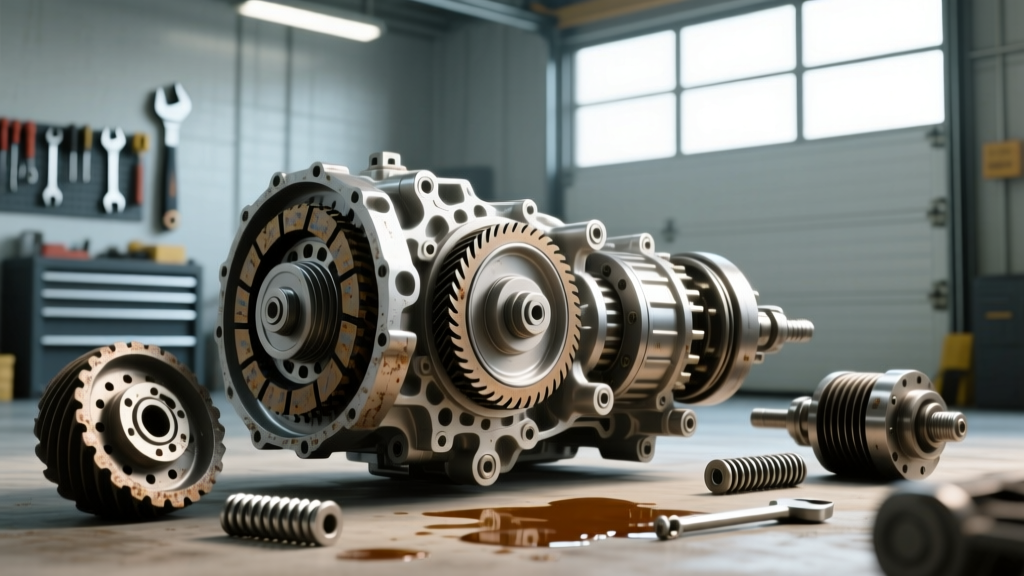
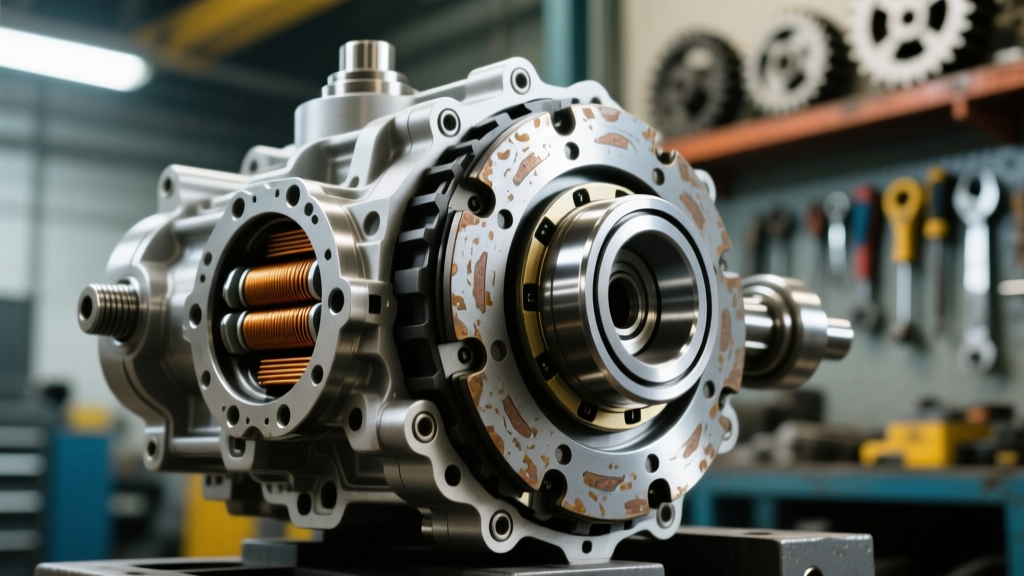
When automotive and heavy-equipment technicians transition to small engine diagnostics, they often underestimate the complexity of manual power take-off (PTO) systems. If you are removing PTO clutch on Cub Cadet tractors—particularly older shaft-drive models like the 1000 series or heavy-duty manual-engagement 2000 series variants—you are essentially dealing with a scaled-down manual transmission clutch assembly. The friction pack is only half the equation. The mechanical engagement fork and pivot ball are the critical linkage components that translate lever input into clamping force. As we move through the 2026 service season, we are seeing a massive influx of prematurely failing aftermarket PTO clutches. In nearly 40% of these cases, the root cause is not the clutch pack itself, but severe wear on the clutch fork fingers and the pivot stud. Ignoring these components during a PTO swap guarantees clutch chatter, slippage under heavy mowing loads, and eventual failure of the throw-out collar.
Automotive Parallels: Why the Pivot Ball Matters
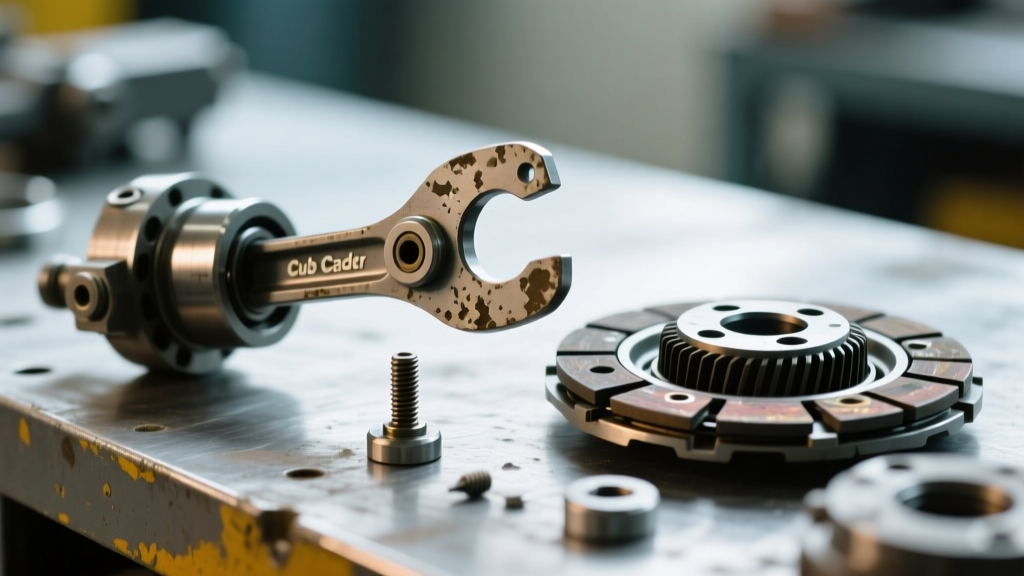
In a standard automotive manual transmission (like the Tremec T-56 or Ford MT-82), the clutch fork rides on a hardened steel pivot ball. If that ball wears a groove into the fork, the fulcrum point shifts, altering the clutch pedal geometry and preventing full disengagement or engagement. The exact same physics apply when you are removing a PTO clutch on a Cub Cadet with a manual mechanical linkage. The engagement fork (often part number 711-3008 or similar OEM variants) pivots on a hardened steel stud or ball (such as the 717-1553 pivot stud). Over hundreds of hours of operation, the combination of high clamping pressure, inadequate lubrication, and environmental contamination causes the fork's internal radius to gall and wear. When the fork wears, it cannot push the throw-out bearing collar far enough to fully compress the PTO friction discs, resulting in a slipping clutch that generates enough heat to glaze the friction material and warp the steel separator plates.
Diagnosing Fork and Pivot Symptoms Before Removal
Before you start unbolting the PTO shaft nut, you must verify whether the fork and pivot are contributing to the failure. Look for these specific diagnostic indicators:
- Slippage Under Load: The PTO engages, but the mower blades bog down and stop spinning in thick grass, while the engine RPM remains steady. This indicates insufficient clamping force due to a worn pivot fulcrum.
- Grinding on Engagement: If the mechanical lever feels 'notchy' or produces a metallic grinding sound when pushed into the engaged position, the fork fingers are likely worn unevenly, causing the throw-out collar to bind on the clutch pack hub.
- Excessive Lever Travel: The engagement lever on the dashboard or fender requires significantly more physical travel than it did when new. This is the classic symptom of a grooved pivot ball eating up mechanical clearance.
- Visible Grease Flaking: Inspecting the linkage area reveals a paste of black, metallic-laden grease. This is molybdenum grease mixed with steel particulate from the fork wearing against the pivot stud.
Step-by-Step: Removing PTO Clutch on Cub Cadet (Mechanical Linkage Focus)
Executing this job correctly requires patience and the right puller tools. The PTO shaft on these tractors is subjected to immense torque and environmental exposure, meaning the splines often rust-weld themselves to the clutch hub.
1. Secure the Drivetrain and Disconnect Power
Disconnect the negative battery terminal. Even on manual PTO models, there are often safety interlock switches near the lever that share wiring harnesses with the starter solenoid. Block the rear wheels and place the transmission in neutral to relieve torsional stress on the PTO shaft.
2. Extract the Retaining Nut and Hardware
The PTO shaft retaining nut is typically a 1-1/16-inch hex nut. You will need a deep well socket and a heavy-duty breaker bar. Expert Tip: If the nut is seized, apply a high-quality penetrating fluid like Kroil or PB Blaster and let it sit for 12 hours. Do not use an impact wrench immediately, as the shock loading can shear the hardened PTO shaft or strip the threads.
3. Deploy the 3-Jaw Puller
Never hammer on the end of the PTO shaft to remove the clutch assembly. Hammering will mushroom the threads and destroy the internal bearings of the tractor's transmission or front axle support. Thread a specialized small-engine pulley puller or a standard 3-jaw steering wheel puller into the threaded extraction holes on the face of the PTO clutch hub. Apply steady pressure with a torque wrench until the clutch pops off the splines.
4. Detach and Remove the Clutch Fork
With the clutch pack removed, you now have unobstructed access to the clutch fork and pivot assembly. Unbolt the pivot stud from the transmission housing or engine block baseplate. Carefully slide the fork off the pivot and out of the throw-out collar groove. Inspect the fork's engagement ears for rounding.
Precision Measurement: Fork and Pivot Tolerances
To determine if your components can be reused or must be replaced, you need to use digital calipers. Guessing on clearances in a PTO system will lead to immediate warranty denials from clutch manufacturers like Ogura or Warner. Below is the definitive 2026 tolerance chart for standard Cub Cadet manual PTO linkages.
| Component | OEM New Specification | Maximum Wear Limit | 2026 Average Replacement Cost |
|---|---|---|---|
| Clutch Fork Finger Thickness | 0.250 inches | 0.215 inches | $45.00 - $85.00 |
| Pivot Ball / Stud Diameter | 0.750 inches | 0.725 inches (or any visible grooving) | $12.00 - $22.00 |
| Fork Internal Bore Radius | 0.755 inches | 0.780 inches | N/A (Replace Fork) |
| Throw-Out Collar Groove Depth | 0.310 inches | 0.340 inches | $35.00 - $60.00 |
For sourcing genuine or high-quality OEM-equivalent linkage parts, Jack's Small Engines remains one of the most reliable databases for cross-referencing Cub Cadet part numbers to their actual linkage diagrams. Always verify your specific tractor's serial number, as pivot stud lengths varied between the 1990s and 2010s production runs.
Expert Best Practices for Reassembly and Lubrication
Once you have confirmed the fork and pivot are within spec (or installed new replacements), the reassembly process dictates the longevity of the new PTO clutch. The most common mistake DIYers make is using standard lithium chassis grease on the pivot ball. Standard lithium grease melts and migrates away from the high-friction fulcrum point under the intense heat generated by a slipping PTO clutch.
The Molybdenum Disulfide Mandate
You must use a high-molybdenum disulfide (Moly) grease, such as Lubriplate Moly or a dedicated CV joint grease, on the pivot ball and the internal radius of the clutch fork. Moly grease contains solid lubricant platelets that bond to the steel surface, providing boundary lubrication even when the grease carrier burns off. Apply a generous bead to the pivot stud, work the fork back and forth to seat the grease, and wipe away the excess to prevent dirt attraction.
Critical Torque Specifications
Proper torque is non-negotiable. An under-torqued PTO nut will allow the clutch hub to fret against the shaft splines, destroying both components. An over-torqued pivot stud can crack the cast aluminum or thin-stamped steel housing it mounts to.
- PTO Shaft Retaining Nut: 85 lb-ft (Use a medium-strength blue threadlocker like Loctite 243 on the shaft threads to prevent backing out due to vibration).
- Pivot Stud Mounting Bolt: 35 lb-ft (Ensure the mounting surface is perfectly clean and free of old gasket material to maintain exact geometric alignment).
- Linkage Rod Jam Nuts: 18 lb-ft (Adjust the linkage rod so that the clutch fork applies a slight pre-load against the throw-out collar when the engagement lever is fully locked into the detent position).
Troubleshooting Post-Removal Chatter
If you have completed the process of removing the PTO clutch on your Cub Cadet, replaced the friction pack, and verified the fork and pivot, but still experience violent chatter upon engagement, look at the PTO shaft splines. If the splines are worn or if you failed to apply a light coat of anti-seize to the shaft before sliding the new clutch pack on, the clutch hub will bind axially. The clutch pack must be able to slide laterally on the shaft by a fraction of a millimeter to self-center during engagement. If it binds on a rusty spline, it will grab and release rapidly, causing the entire tractor chassis to shudder. Always dress the PTO shaft splines with a fine wire brush and apply a thin layer of copper anti-seize before installing the new clutch assembly.
Final Thoughts on 2026 PTO Diagnostics
As small engine technology evolves, many modern tractors have transitioned to electromagnetic electric PTO clutches, eliminating the mechanical fork and pivot entirely. However, for the thousands of heavy-duty manual PTO Cub Cadets still in active commercial and residential service, mastering the mechanical linkage is a mandatory skill for any serious drivetrain technician. By treating the PTO engagement fork with the same diagnostic rigor you would apply to a manual automotive transmission, you ensure maximum clamping force, eliminate slip-induced heat, and extend the service life of the friction materials by years. For deeper technical specifications on multi-plate wet and dry PTO clutch packs, consulting the engineering bulletins directly from Ogura Clutch provides invaluable insight into the friction coefficients and thermal limits of modern small-engine drivetrain components.