The Beginner's Guide to the Clutch Cycle
When you press the left-most pedal in your manual transmission vehicle, you are initiating a precise hydraulic and mechanical ballet. For beginners, understanding how this system operates is the first step toward diagnosing problems. Many drivers ignore early clutch wearing out symptoms until they are left stranded in a parking lot, unable to shift into first gear. To prevent this, we need to break down the two critical phases of clutch operation: disengagement (pressing the pedal) and engagement (releasing the pedal).
Think of the clutch as a bridge between your engine's flywheel and the transmission's input shaft. When the bridge is down (disengaged), you can safely change gears. When the bridge is up (engaged), engine power flows to the wheels. When either of these phases fails, you experience grinding, slipping, or a pedal that sinks to the floor. Let's explore the mechanical realities behind these failures, complete with real-world specifications and diagnostic steps.
Disengagement Issues: When the Clutch Won't Let Go
Disengagement requires the clutch master cylinder to push hydraulic fluid to the slave cylinder, which actuates a fork. This fork pushes the throw-out bearing (TOB) against the pressure plate's diaphragm fingers, lifting the clamping force off the friction disc. If this process is incomplete, the transmission input shaft keeps spinning even when the pedal is floored.
The "Dragging" Clutch and Gear Grinding
If you hear a harsh crunch when trying to shift into first or reverse from a standstill, your clutch is dragging. The friction disc is still partially married to the flywheel. While beginners often assume the disc itself is warped, the culprit is frequently found in the linkage or hydraulics.
- Pivot Ball Wear (Mechanical Linkage): In heavy-duty applications like the Tremec T56 Magnum, the clutch fork rides on a steel pivot ball. Over 80,000 miles of stop-and-go driving, this ball can wear down by 0.050 inches. This seemingly tiny loss of material reduces the throw-out bearing's forward stroke, resulting in incomplete disengagement.
- Air in the Hydraulic Line: Unlike brake fluid, which is subjected to extreme heat, clutch fluid operates in a cooler environment but is highly susceptible to moisture absorption and air ingress. Because air is a gas, it compresses. When you press the pedal, the master cylinder compresses the air bubble rather than moving the slave cylinder piston.
Hydraulic Bypass Valve Failures
Modern hydraulic systems are incredibly sensitive to internal seal degradation. A classic example is found in Honda's K-series engines (such as the 2006-2011 Civic Si). These vehicles are notorious for Clutch Master Cylinder (CMC) internal bypass valve failures. When the internal rubber cup wears, fluid bypasses the piston instead of traveling down the hard line to the slave cylinder. The OEM replacement part (Honda #46920-S5A-A05) features an updated bypass valve design to mitigate this. When bleeding this system, the slave cylinder bleeder valve torque specification is exactly 10 Nm (7.4 lb-ft)—overtightening will strip the soft brass threads.
Engagement Issues: When the Clutch Won't Bite
Engagement is the clamping phase. As you release the pedal, the pressure plate's diaphragm springs force the friction disc against the flywheel. Symptoms of engagement failure include RPM flares (slipping) without a corresponding increase in vehicle speed, or violent shuddering (chatter) when pulling away from a stoplight.
Glazed Friction Material and Oil Contamination
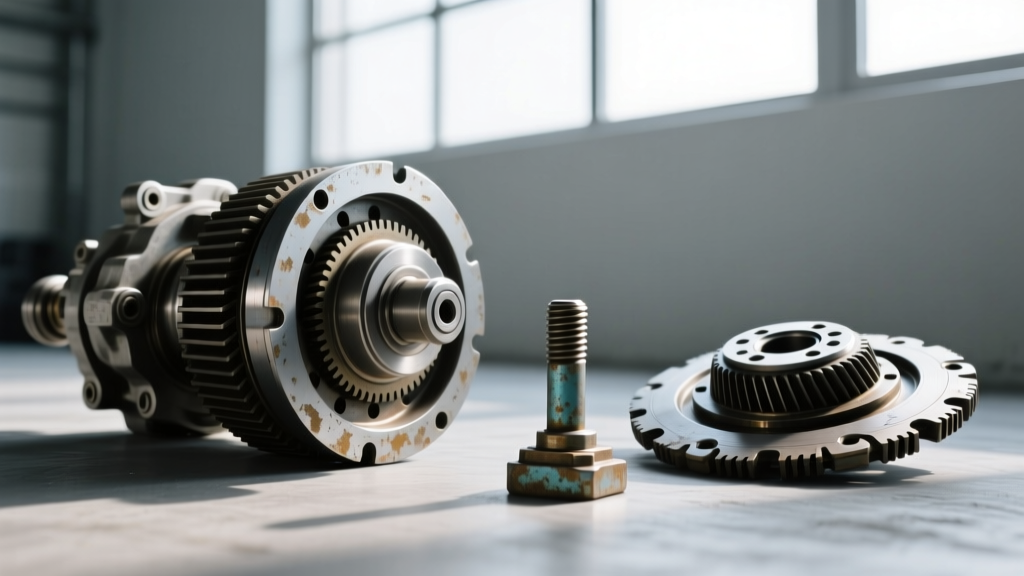
According to LuK's RepXpert diagnostic portal, a slipping clutch is rarely caused by the friction material simply "wearing thin." More often, the friction face becomes glazed due to excessive "riding" of the clutch pedal, which generates surface temperatures exceeding 600°F. This heat melts the binding resins in the organic friction material, creating a glass-like surface that cannot grip the flywheel.
Oil contamination is another fatal engagement killer. A leaking engine rear main seal or transmission input shaft seal will weep oil onto the disc. Organic clutch facings act like a sponge, absorbing the oil and permanently destroying the friction coefficient. If you find oil on the friction disc, replacing the clutch without fixing the seal is a guaranteed waste of money.
The Critical Role of Flywheel Step Height
Beginners often overlook the flywheel when diagnosing engagement issues. For engines like the GM LS-series (found in Corvettes, Camaros, and Silverados), the flywheel features a specific "step height"—the distance between the friction surface and the pressure plate mounting surface. The factory specification for LS flywheel step height is between 0.020" and 0.040". If a machine shop resurfaces the flywheel but forgets to maintain this step, the pressure plate diaphragm will sit at the wrong angle. This results in a clutch that either engages violently at the very top of the pedal travel or slips under heavy load because it cannot achieve full clamping force.
Cable vs. Hydraulic Systems: A Diagnostic Comparison
Understanding your vehicle's actuation type is vital for troubleshooting. Here is how the two primary systems compare regarding maintenance and failure points:
| Feature | Hydraulic Clutch Systems | Cable-Actuated Clutch Systems |
|---|---|---|
| Common Vehicles | Modern sports cars, trucks, late-model imports | Classic muscle cars, older economy cars, heavy-duty vintage trucks |
| Primary Failure Point | Master/Slave cylinder seal leaks, air in fluid | Cable stretching, fraying, or binding in the housing |
| Adjustment Method | Self-adjusting (requires bleeding if pedal feel changes) | Manual adjustment via threaded rod at the clutch fork |
| Pedal Feel | Consistent, linear, easily modulated | Can become stiff or notchy as cable ages |
Real-World Repair Costs and Torque Specifications
Diagnosing clutch basics and troubleshooting is only half the battle; understanding the financial and mechanical requirements of the repair is the other. If your diagnosis points to a failing system, here is what you can expect regarding costs and assembly specifications.
Estimated Repair Costs (2026 Market Rates)
- Clutch Master & Slave Cylinder Replacement: $150 - $450 (Parts and Labor). Internal slave cylinders (concentric throw-out bearings) require transmission removal, pushing labor costs to the higher end of this spectrum.
- Flywheel Resurfacing: $75 - $150. Note that dual-mass flywheels (DMF) found in modern diesel and turbocharged gas engines cannot be resurfaced and must be replaced ($800 - $1,400 for the part alone).
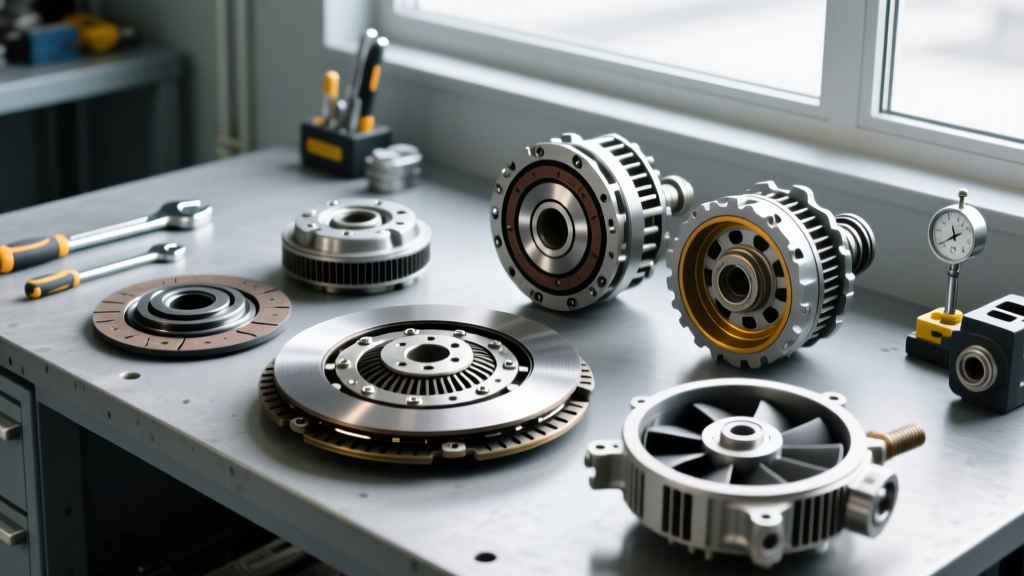
- Full Clutch Kit Replacement (e.g., LuK RepSet or Sachs): $1,200 - $2,500. This includes removing the transmission, replacing the disc, pressure plate, TOB, and pilot bearing, and torquing the pressure plate to spec.
Critical Torque Specifications
When reinstalling the clutch assembly, precision is non-negotiable. Uneven torque on the pressure plate will warp the cover, leading to immediate chatter and premature diaphragm spring failure.
- Pressure Plate to Flywheel: Typically 15 to 35 lb-ft depending on the engine. For a Honda K20, the spec is 19 lb-ft (26 Nm). For a GM LS 5.3L, the spec is 33 lb-ft (45 Nm).
- Tightening Sequence: Always use a crisscross (star) pattern, tightening in three progressive steps (e.g., 10 lb-ft, then 20 lb-ft, then final spec) to ensure the pressure plate seats evenly against the friction disc.
- Throw-Out Bearing Retainer: Usually 7 to 12 lb-ft. Over-torquing the TOB collar can crack the cast-aluminum transmission bellhousing.
Expert Tip: Never use an impact wrench to install a pressure plate. The sudden shock loads can stretch the mounting bolts beyond their yield point, causing them to snap under the thermal expansion of a hot engine. Always use a calibrated beam-style or click-type torque wrench.
Summary: When to Seek Professional Help
Recognizing early clutch wearing out symptoms—whether it is a spongy pedal indicating hydraulic failure, or a grinding gear pointing to pivot ball wear—saves you from catastrophic drivetrain damage. If you are comfortable bleeding a hydraulic line or adjusting a cable, these are excellent DIY starting points. However, if your diagnosis requires dropping the transmission to measure flywheel step height or inspect the friction disc for oil contamination, it is time to consult a professional drivetrain specialist. Proper diagnosis today prevents a double-repair bill tomorrow.