Introduction to Manual Clutch System Diagnostics
When a driver reports slipping, chatter, or incomplete disengagement, the immediate assumption is often a worn friction disc. However, a true manual clutch system is a complex integration of hydraulic actuation, mechanical linkage, rotational mass, and friction materials. Misdiagnosing a hydraulic fault as a mechanical failure, or blaming a chattering clutch on the friction material when the root cause is driveline NVH (Noise, Vibration, and Harshness), leads to costly comebacks and frustrated customers.
As of 2026, with the proliferation of high-torque turbocharged four-cylinder engines and advanced Dual-Mass Flywheels (DMF), systematic diagnosis is no longer optional. This technical deep-dive provides a comprehensive manual clutch inspection checklist, utilizing precise measurements, OEM torque specifications, and industry-standard diagnostic protocols to isolate the exact point of failure.
Phase 1: Pedal Assembly and Hydraulic Circuit Verification
Before dropping the transmission, the hydraulic actuation circuit must be verified. Over 40% of perceived 'clutch drag' or 'slipping' issues originate in the hydraulic system, not the bellhousing.
Master Cylinder and Pushrod Audit
Inspect the clutch master cylinder pushrod clearance. There must be a slight amount of free play (typically 0.020 to 0.040 inches) at the pedal pad to ensure the master cylinder piston fully retracts and uncovers the compensation port. If the pushrod is adjusted too tightly, the piston will block the port, causing fluid expansion from engine heat to build pressure and slightly engage the clutch, leading to premature slip and friction material glazing.
Slave Cylinder Travel and Fluid Hygroscopy
Measure the slave cylinder or Concentric Slave Cylinder (CSC) travel. For heavy-duty applications like the TREMEC T-56 Magnum, minimum travel requirements often sit between 0.500 and 0.750 inches. If travel is insufficient, inspect the hydraulic lines for ballooning and the fluid for moisture contamination. DOT 3 and DOT 4 fluids are hygroscopic; moisture lowers the boiling point and introduces vapor lock under heavy thermal loads. We recommend a complete fluid exchange using a Motive Power Bleeder set to 15 PSI with fresh, sealed DOT 4 or OEM-specified mineral oil (common in European applications like BMW and Porsche).
Phase 2: External Release Mechanism and Bellhousing Audit
Once the transmission is separated from the engine block, the release mechanism requires meticulous inspection. Wear here alters the clutch pedal geometry and causes erratic engagement.
- Release Fork and Pivot Ball: Inspect the pivot ball for galling and the fork pad contact points for asymmetric wear. A worn pivot ball changes the fulcrum point, reducing effective slave cylinder stroke. Replace stamped steel forks with heavy-duty cast or billet alternatives if wear grooves exceed 0.030 inches.
- Throwout Bearing Preload: For constant-contact systems, verify the bearing face for uneven wear patterns, which indicate a misaligned bellhousing or a bent transmission input shaft.
- Bellhousing Concentricity: Use a dial indicator to check bellhousing runout relative to the crankshaft centerline. Maximum allowable runout is typically 0.005 inches. Excessive runout forces the release bearing to cock on the transmission bearing retainer collar, causing premature failure and clutch chatter.
Phase 3: Flywheel and Friction Material Teardown Metrics
The core of the manual clutch inspection lies in the rotational assembly. Visual inspection is insufficient; precision measurement tools are mandatory.
Flywheel Runout and Step Height
Mount a magnetic base dial indicator (e.g., Mitutoyo 2416S) to the engine block or bellhousing and measure the flywheel friction surface runout. The absolute maximum limit is 0.005 inches (0.12 mm). Runout exceeding this specification will cause the pressure plate to pulse, resulting in severe clutch chatter during takeoff. Additionally, measure the 'step height' between the friction surface and the pressure plate mounting pad. If the flywheel has been resurfaced multiple times, the step height will increase, reducing the clamping load of the pressure plate diaphragm spring and causing high-RPM slipping.
Dual-Mass Flywheel (DMF) Integrity
If the vehicle utilizes a DMF, check for rotational lash and radial play. Most OEMs specify a maximum rotational free-play of 10 degrees (approximately 6 teeth on the ring gear). Furthermore, inspect the bellhousing for signs of grease or oil flung from the DMF's internal bearing and grease cavity. A leaking DMF will contaminate the clutch disc, necessitating full replacement.
Clutch Disc Hub and Marcel Spring
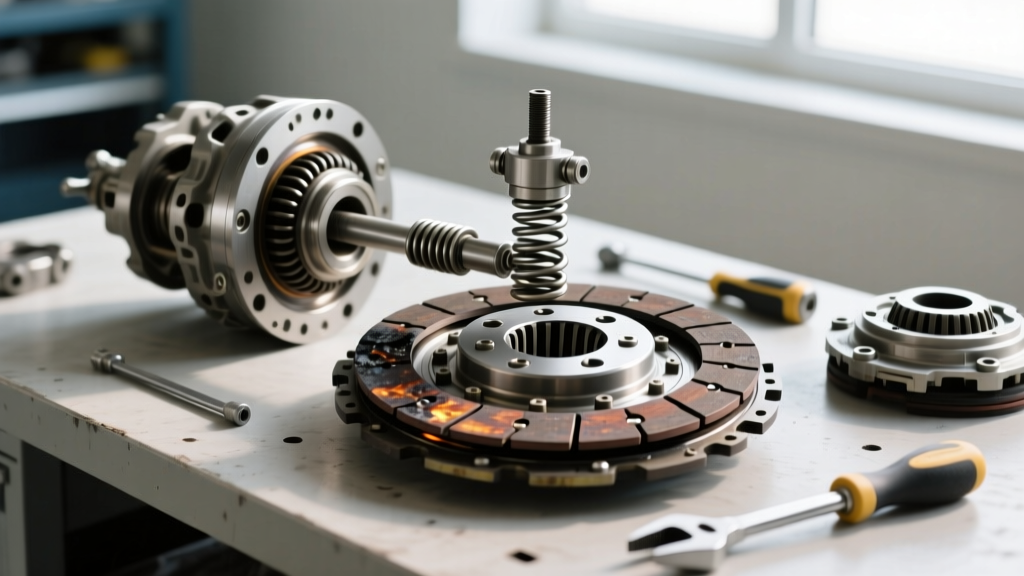
Slide the new or inspected clutch disc onto the transmission input shaft. Check for radial spline play. Any play exceeding 0.010 inches indicates severe hub wear, which will manifest as a metallic 'clunk' upon engagement. Inspect the marcel springs (the wavy steel segments between the friction pads). If they are crushed flat or heat-blued, the disc has been subjected to extreme slip conditions, often caused by the driver 'riding' the pedal or a stuck hydraulic release bearing.
Technical Reference: Wear Limits and Torque Specifications
The following table outlines critical diagnostic thresholds and installation specifications for standard high-performance and OEM manual clutch systems.
| Component | Specification / Limit | Diagnostic Tool | Failure Consequence |
|---|---|---|---|
| Flywheel Runout | Max 0.005 in. (0.12 mm) | Dial Indicator | Clutch chatter, release bearing wear |
| DMF Rotational Lash | Max 10° (approx. 6 teeth) | Degree Wheel / Visual | Idle rattle, harsh engagement |
| Slave Cylinder Travel | 0.500 in. - 0.750 in. | Calipers / Ruler | Incomplete disengagement, gear grind |
| Input Shaft Spline Play | Max 0.010 in. radial | Feeler Gauge | Clunking on engagement, hub failure |
| Pressure Plate Fingers | Max 0.020 in. groove depth | Depth Micrometer | Slipping under load, pedal vibration |
| Flywheel Bolts (ARP) | 85 ft-lbs (with Ultra-Torque) | Calibrated Torque Wrench | Catastrophic flywheel detachment |
Phase 4: Driveline NVH and Motor Mount Isolation
According to diagnostic frameworks published by AA1Car, technicians frequently misdiagnose broken motor mounts or worn differential bushings as 'clutch chatter.' If the friction surfaces and flywheel runout measure within specification, the inspection must expand to the driveline.
Inspect the engine and transmission mounts for collapsed rubber or separated hydraulic fluid. When a mount fails, the powertrain shifts axially under torque load. This movement physically pulls the clutch cable or alters the hydraulic line geometry, momentarily reducing clamping force and inducing a violent shudder that perfectly mimics a contaminated or warped clutch disc. Furthermore, inspect the rear main seal and transmission input shaft seal; even a minor weep will wick onto the friction material via capillary action, destroying the coefficient of friction.
Sourcing and 2026 Replacement Considerations
When replacement is verified through this checklist, sourcing quality components is critical. A premium OEM-equivalent kit, such as a LuK RepSet PRO or Sachs Performance kit, typically ranges from $350 to $550 in 2026. These kits include the matched friction disc, pressure plate, release bearing, and often a specialized alignment tool and pilot bearing.
For high-torque applications, upgrade to a billet-strap pressure plate to prevent diaphragm distortion under high centrifugal loads. As noted in the Centerforce Installation Guidelines, it is imperative to use a clutch alignment tool that perfectly matches the input shaft spline count and pilot bearing inner diameter. Forcing the transmission into place without proper alignment will bend the friction disc hub, causing immediate drag and preventing the clutch from fully disengaging.
Final Torque Sequence
When reinstalling the manual clutch assembly, the pressure plate bolts must be torqued in a strict star pattern to prevent warping the cover. For standard M8x1.25 pressure plate bolts, the final torque is typically 25 to 30 ft-lbs. Flywheel bolts require even more precision; if using an aftermarket fastener kit like the ARP 200-2802, follow the manufacturer's specific lubrication and torque protocol (often 85 ft-lbs using ARP Ultra-Torque) to ensure the clamping load is sufficient to handle the engine's peak torque output without shearing the fasteners.
Expert Insight: 'Never use compressed air to clean a bellhousing or clutch disc during inspection. Asbestos is largely banned, but modern ceramic and Kevlar composite dusts are still hazardous respiratory irritants. Furthermore, compressed air can force microscopic debris into the pilot bearing and release bearing seals, guaranteeing a premature failure.' - TREMEC Driveline Service Advisory.
By adhering to this rigorous manual clutch inspection checklist, technicians and advanced DIYers can eliminate guesswork, accurately identify the root cause of drivability issues, and ensure a permanent repair that restores factory-level engagement and longevity.