The Intersection of Drivetrain Accessory Diagnostics and HVAC Performance
While AutoGearNexus is globally recognized for deep-dive transmission, torque converter, and drivetrain diagnostics, the Front-End Accessory Drive (FEAD) system requires equal mechanical scrutiny. A failing accessory component can mimic transmission whine, snap serpentine belts, and leave you stranded. One of the most complex diagnostic paradoxes we see in the shop is the ac clutch engaging no cold air scenario, especially when accompanied by abnormal auditory feedback from the compressor hub. When the electromagnetic clutch clicks on but the cabin remains warm, and the compressor emits chirping, squealing, or grinding noises, you are dealing with a multi-variable failure encompassing electrical, mechanical, and thermodynamic systems.
In 2026, with the widespread adoption of R1234yf refrigerant and variable-displacement compressors, diagnosing these symptoms requires moving beyond simple pressure switches. You must correlate the acoustic signature of the clutch assembly with manifold gauge readings and electromagnetic coil resistance. This expert guide will walk you through the precise diagnostic protocols for isolating clutch noise and thermodynamic failure, ensuring you replace the correct component the first time.
Auditory Triage: Decoding Chirping, Squealing, and Grinding
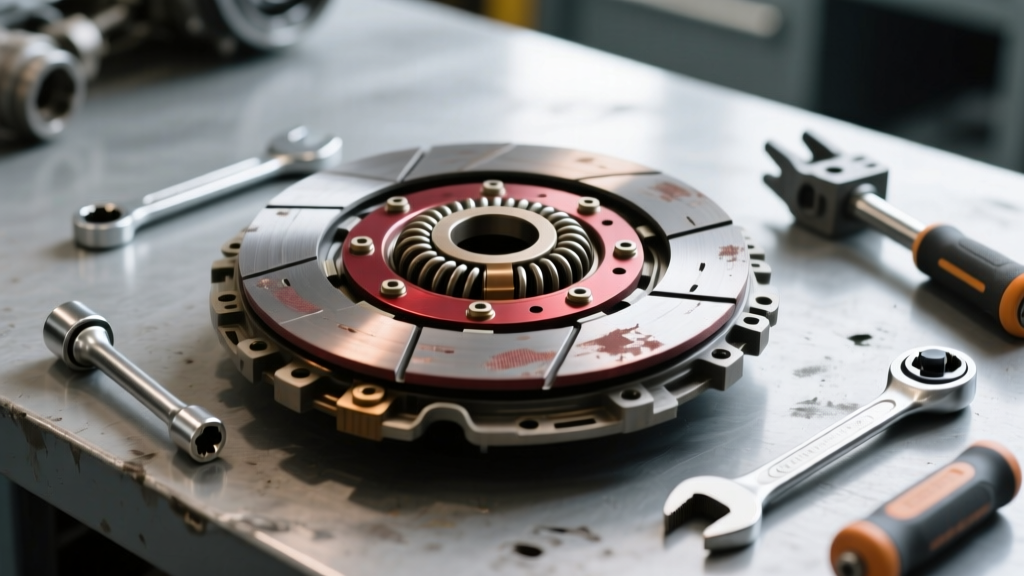
The acoustic signature of a failing AC compressor clutch is your most immediate diagnostic tool. Because the clutch assembly consists of a pulley bearing, an electromagnetic coil, and a friction hub plate, each failure mode produces a distinct frequency and cadence.
Chirping: The Air Gap and Belt Alignment Issue
A rapid, high-pitched chirping sound that occurs precisely when the clutch engages—and sometimes persists while driving—usually points to an excessive air gap or belt misalignment. The electromagnetic coil must generate sufficient magnetic flux to pull the friction plate against the pulley rotor. If the air gap exceeds the manufacturer specification (typically 0.020 to 0.030 inches, or 0.5mm to 0.75mm), the magnetic field weakens. The plate will rapidly make and break contact with the rotor, causing a metallic chirp. Furthermore, if the clutch hub shim has worn down or the belt tensioner is weak, the serpentine belt will chirp against the pulley flanges under the sudden rotational load of the compressor engaging.
Squealing: Friction Surface Contamination and Slip
A continuous, aggressive squeal upon engagement indicates that the clutch is commanded on, but the friction surfaces are slipping. This is rarely a belt issue if the belt and tensioner are verified; instead, it points to contamination on the clutch friction surfaces. Compressor shaft seal leaks often allow PAG (Polyalkylene Glycol) or POE (Polyol Ester) oil to migrate onto the clutch rotor. When the coil energizes, the oil-soaked friction plate slips violently against the pulley face, generating intense heat and a burning rubber smell. In an ac clutch engaging no cold air situation, this slipping means the compressor shaft is not being driven, resulting in zero refrigerant circulation and warm cabin air.
Grinding: Bearing Failure vs. Internal Compressor Seizure
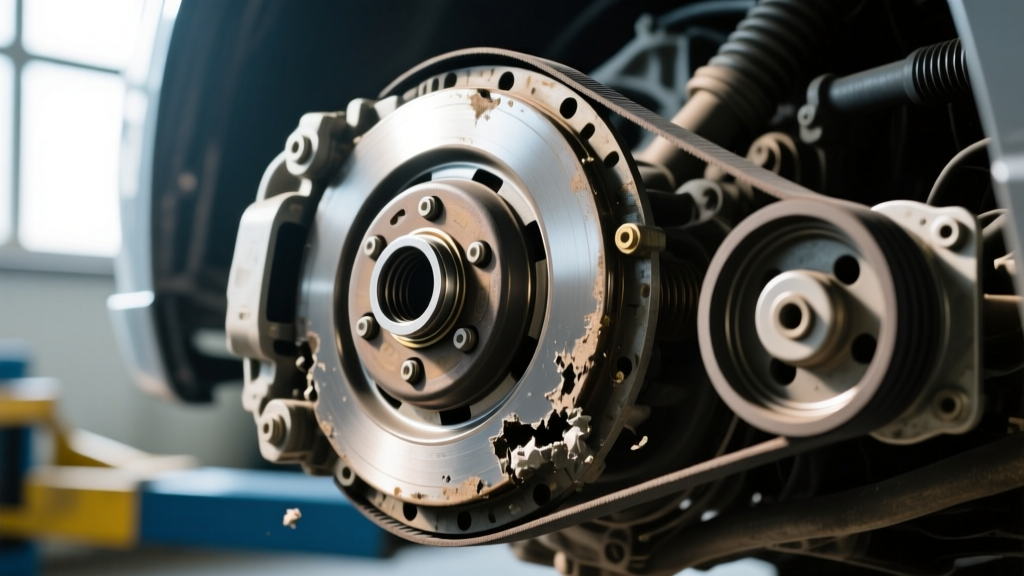
Grinding requires immediate isolation using a mechanic's stethoscope. You must determine if the grinding originates from the pulley bearing or the internal swash plate/pistons of the compressor. If the grinding is present when the AC is OFF and the pulley is freewheeling, the double-row angular contact pulley bearing is failing. If the grinding only occurs when the clutch is ENGAGED, the electromagnetic coil is successfully locking the hub, but the internal compressor bearings or pistons are seizing due to catastrophic lubrication failure or metallic debris ingestion. Forcing a slipping clutch to engage a seized compressor will eventually snap the serpentine belt, potentially destroying your power steering and alternator in the process.
Diagnostic Matrix: Noise, Pressure, and Electrical Correlations
Use the following diagnostic matrix to cross-reference your auditory findings with thermodynamic and electrical data. This structured approach eliminates guesswork and prevents unnecessary compressor replacements.
| Noise Signature | Clutch State | Manifold Pressures (R134a @ 85F) | Electrical / Mechanical Verification | Probable Root Cause |
|---|---|---|---|---|
| Intermittent Chirp | Engaged but slipping | Low: 80 PSI / High: 90 PSI (Equalized) | Air gap measures > 0.040 inches | Excessive air gap; worn friction plate or missing shim |
| Continuous Squeal | Engaged, heavy slip | Low: 0 PSI / High: 0 PSI (Empty) | Visual confirmation of oil on rotor face | Shaft seal leak contaminating friction surfaces |
| Metallic Grinding (AC OFF) | Disengaged (Pulley freewheeling) | N/A (Clutch not commanded) | Stethoscope isolates noise to pulley hub | Pulley bearing failure; requires pulley/clutch kit |
| Deep Grinding (AC ON) | Locked and dragging | Low: 10 PSI / High: 400+ PSI (Blockage) | High amp draw on coil circuit (> 5 Amps) | Internal compressor seizure; swash plate failure |
Step-by-Step Expert Troubleshooting Protocol
When faced with the ac clutch engaging no cold air symptom paired with noise, follow this exact sequence to protect your diagnostic equipment and accurately isolate the fault.
Phase 1: Electrical Verification (The Coil Circuit)
Before connecting manifold gauges, verify the electromagnetic coil. Disconnect the clutch connector and set your multimeter to Ohms. Measure the resistance across the coil terminals. A healthy 12V clutch coil (such as the widely used Four Seasons 47983 or Denso equivalent) should read between 3.0 and 5.0 ohms at 68°F (20°C). If you read infinite resistance (open circuit) or less than 1.5 ohms (shorted internally), the coil is dead. Note that a failing coil can draw excessive amperage, overheating the wiring harness and causing the PCM to disable the clutch relay, which explains why the clutch might click once and then disengage.
Phase 2: Mechanical Air Gap and Shimming
If the coil is electrically sound but the clutch chirps or fails to pull in fully, measure the air gap. Use a tapered feeler gauge between the friction plate and the pulley rotor. The specification is almost universally 0.020 to 0.030 inches. If the gap is too wide, the magnetic field cannot overcome the physical distance. Remove the center retaining bolt (typically 10mm or 12mm, torqued to roughly 15 Nm with blue Loctite 242), pull the friction plate, and remove one of the precision shims (usually available in 0.5mm and 1.0mm thicknesses). Reinstall the plate, torque the bolt to spec, and re-measure. This $5 shim adjustment fixes over 30% of premature clutch slip complaints in high-mileage vehicles.
Phase 3: Thermodynamic Manifold Testing
If the clutch is locking up perfectly (no slip, no chirp) but you still have no cold air and a grinding noise from the compressor body, connect your manifold gauge set. According to the EPA's MVAC diagnostic guidelines, an R134a system at 85°F ambient should show a low-side pressure of 35-40 PSI and a high-side pressure of 200-250 PSI. If the clutch is engaged but both gauges read equalized static pressure (e.g., 80 PSI on both sides), the compressor's internal reed valves are shattered or the swash plate is detached. The clutch is turning the shaft, but the shaft is no longer pumping refrigerant. This internal mechanical failure generates the deep grinding noise and mandates a full compressor replacement, alongside a mandatory system flush and orifice tube/expansion valve replacement to remove metallic debris.
Repair Economics: Clutch Assembly vs. Full Compressor Replacement
Understanding the financial and labor implications of these repairs is critical for shop owners and DIY enthusiasts alike. In 2026, parts pricing for HVAC components has stabilized, but labor remains a significant factor due to the complexity of modern engine bays.
- Clutch Coil and Pulley Kit: If the issue is isolated to a bad coil, worn friction plate, or failing pulley bearing, a complete clutch assembly kit (e.g., UAC CL 1001C or Denso 471-8112 clutch kit) costs between $80 and $160. This repair can often be performed without evacuating the refrigerant system, saving $150-$250 in recovery and recharge labor, provided there is enough clearance to use a clutch puller/installer tool on the vehicle.
- Shimming and Cleaning: If the noise is due to air gap or minor contamination, a shim kit and brake cleaner cost less than $25. This is the most cost-effective intervention but requires precise measurement.
- Full Compressor Replacement: If the grinding is internal or the shaft seal has catastrophically failed, you must replace the entire compressor. A premium OEM-style compressor ranges from $350 to $750. When factoring in refrigerant recovery, system flushing with specialized solvent, receiver-drier replacement, and R1234yf or R134a recharge, the total shop bill frequently exceeds $1,200 to $1,800. As noted by the Mobile Air Climate Systems Association (MACS), failing to flush the system after an internal compressor failure will result in the new compressor ingesting leftover debris, leading to a secondary failure within weeks.
Authoritative References and Final Best Practices
Diagnosing an AC compressor clutch requires the same methodical rigor as rebuilding a ZF 8HP transmission or diagnosing a slipping torque converter. Never assume the clutch is the root cause of a no-cool condition without verifying system pressures and coil resistance. Always use a stethoscope to differentiate between pulley bearing noise and internal piston knock. By combining auditory triage with precise electrical and thermodynamic measurements, you can accurately resolve the ac clutch engaging no cold air paradox, ensuring reliable climate control and protecting the integrity of the entire front-end accessory drive system.