The Mechanics of Clutch-Type Limited Slip Differentials
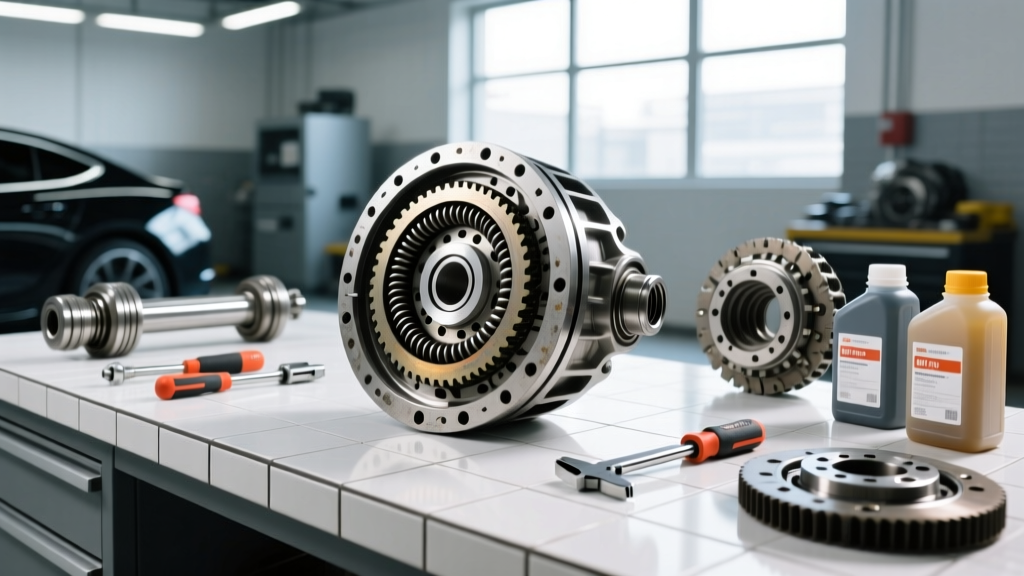
To properly service a limited slip differential (LSD), you must first understand the internal friction mechanics that differentiate it from an open carrier. While open differentials rely entirely on unrestricted spider gears, clutch-type LSDs utilize alternating packs of sintered iron friction discs and steel separator plates. These packs are compressed by preload springs (often an S-spring or heavy coil springs) to provide baseline locking torque before wheel slip occurs.
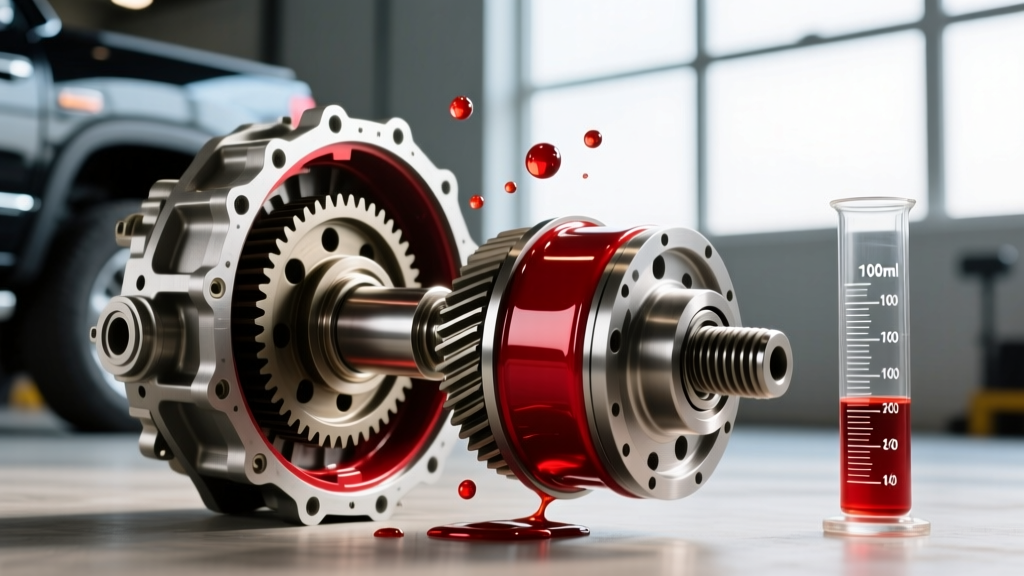
When torque bias exceeds the preload threshold, the clutch packs slip, generating immense heat and shearing the gear oil. This is why specialized friction modifiers are mandatory for clutch-type units like the Ford Traction-Lok, GM G80 (Eaton Gov-Lok), and Auburn Cone clutches. Conversely, helical gear-based systems like the Eaton Truetrac do not utilize friction clutches and therefore do not require friction modifiers, relying purely on gear mesh binding for torque bias.
Why Dropping the Rear Differential Cover is Mandatory
Unlike modern transaxles or some late-model independent rear suspension (IRS) aluminum housings that feature dedicated drain and fill plugs, classic solid-axle designs require the complete removal of the rear differential cover to drain the fluid. Iconic axles such as the Ford 8.8-inch, the GM 8.6-inch 10-bolt, and the Dana 44 rely on a sealed pan interface.
Removing the rear differential cover provides a critical secondary benefit: visual inspection. Draining fluid via a plug hides internal failures. By dropping the cover, you can inspect the ring and pinion gear teeth for pitting, check the spider gear cross-pin for wear, and evaluate the metallic debris collected on the housing magnet. A fine, dark paste on the magnet is normal clutch wear; shiny metallic flakes or chunky steel shards indicate catastrophic bearing or gear failure.
Stamped Steel vs. Cast Aluminum Covers
OEM stamped steel covers are notorious for warping when over-torqued or pried off improperly, leading to chronic weeping. Upgrading to a cast aluminum aftermarket cover (such as those from PML or Mag-Hytec) costs between $160 and $280 but offers distinct advantages:
- Increased Capacity: Deep pans add 1.5 to 2.5 quarts of fluid, acting as a larger thermal sink.
- Cooling Fins: External ribs increase surface area for convective heat dissipation.
- Magnetic Drain Plugs: Many aftermarket covers include both a fill plug and a magnetic drain plug for future fluid swaps without pulling the cover again.
Gasket vs. RTV Silicone: The Sealing Debate
When reinstalling the rear differential cover, the sealing method dictates your leak-free lifespan. Permatex 'The Right Stuff' 1-Minute RTV is favored by many off-road builders for its gap-filling properties, but it makes future removal a nightmare and risks silicone beads breaking off and clogging the pickup or pinion bearings.
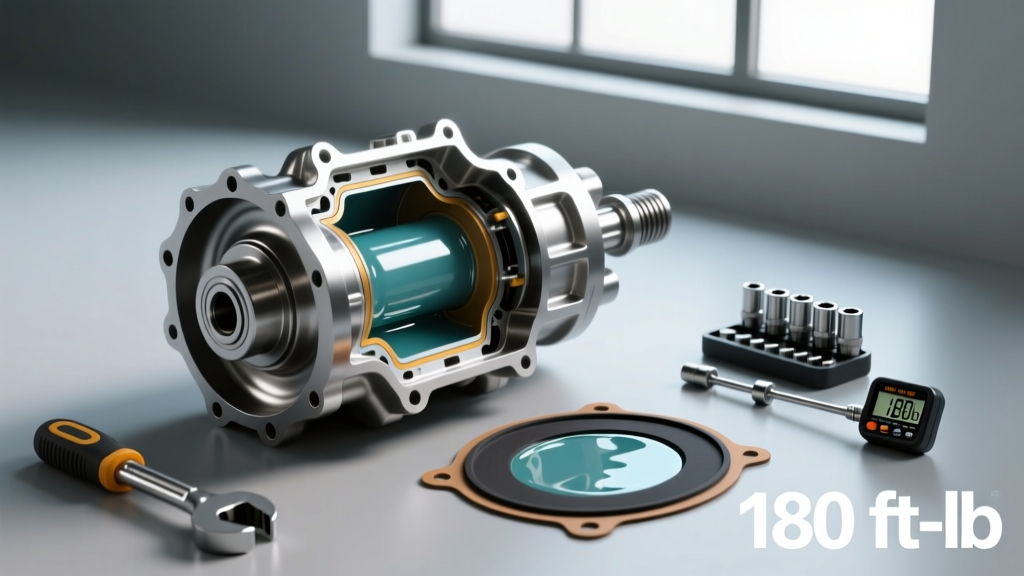
For daily drivers and street-performance applications, a high-quality rubber or cork composite gasket is superior. For example, the Fel-Pro RDS 55393 gasket for the GM 8.6-inch axle features molded rubber with compression limiters. These limiters prevent the stamped steel cover from crushing the gasket and warping when torqued down. Always apply a thin dab of high-tack gasket sealant to the cover side to hold the gasket in place during installation.
Step-by-Step Rear Differential Cover Service Procedure
Follow this exact sequence to ensure a clean, leak-free service and optimal LSD performance.
- Preparation: Jack the rear axle safely onto jack stands. Ensure the axle housing is level so the fluid drains completely. If the vehicle is lifted, the pinion angle may trap up to half a quart of fluid.
- Bolt Extraction: Break the cover bolts loose using a 1/2-inch or 13mm socket (depending on the axle). Leave the top two bolts threaded in by three turns. Use a flat-head screwdriver to gently pry the bottom edge of the cover, allowing the fluid to drain into a catch pan without the cover falling into your lap.
- Mating Surface Prep: Remove the remaining bolts. Scrape the axle housing mating surface with a plastic razor blade. Never use a metal scraper on the axle housing, as gouges will create permanent leak paths. Wipe clean with aerosol brake cleaner.
- Inspection: Check the differential cover magnet. Clean it thoroughly. Inspect the clutch pack windows for excessive dark sludge, which indicates burnt friction material.
- Reinstallation: Position the gasket on the cover. Thread all bolts hand-tight. Torque the bolts in a crisscross star pattern to the manufacturer specification. For the Ford 8.8-inch, the spec is 28-38 lb-ft (target 33 lb-ft). For the GM 10-bolt (8.6-inch), it is 22 lb-ft. Over-torquing will warp the cover flange.
Fluid Capacities and Friction Modifier Matrix
Selecting the correct gear oil and friction modifier ratio is the most critical variable in LSD maintenance. Below is a reference matrix for common solid-axle applications.
| Axle Type / LSD Model | Base Fluid Capacity | Gear Oil Specification | Friction Modifier Requirement |
|---|---|---|---|
| Ford 8.8" (Traction-Lok) | 2.5 - 2.8 Quarts | 75W-140 Synthetic | 4 oz Motorcraft XL-3 (or equivalent) |
| GM 8.6" 10-Bolt (G80 Gov-Lok) | 2.1 - 2.4 Quarts | 75W-90 Synthetic | None (GM G80 requires NO modifier) |
| Dana 44 (Trac-Loc Clutch) | 2.0 - 2.5 Quarts | 80W-90 or 75W-90 | 3 oz Mopar LSD Additive |
| Auburn Cone-Type | Varies by Housing | 80W-90 Non-Synthetic | 3 oz Auburn High-Performance Additive |
Note: Always consult your specific differential builder. Adding friction modifier to a GM G80 Gov-Lok can cause the locking mechanism to slip and fail to engage, while omitting it from a Ford Traction-Lok will result in violent low-speed chatter.
The Critical 'Figure-8' Burn-In Procedure
Pouring the fluid and friction modifier into the rear differential cover cavity is only half the battle. The modifier must physically embed itself into the microscopic pores of the sintered iron friction discs. If you immediately take the vehicle onto the highway, the clutches will chatter aggressively because the modifier is pooling at the bottom of the housing.
The Burn-In Protocol: Find an empty, dry parking lot. Drive the vehicle in 10 to 15 continuous figure-8 patterns at 5 to 10 MPH. Keep the steering wheel turned to full lock during the turns. This forces the outer wheel to spin faster than the inner wheel, intentionally slipping the clutch packs and generating the mild heat required to bond the friction modifier to the discs.
After completing the figure-8s, drive normally for 20 miles. If a slight chatter persists upon tight turns, add an additional 1 oz of friction modifier and repeat the process. Do not exceed the manufacturer's maximum modifier volume, or the differential will act like an open unit, losing its torque-biasing capability.
Troubleshooting LSD Chatter and Cover Weeps
Even with perfect rear differential cover sealing and fluid specs, issues can arise. Here is how to diagnose the two most common post-service complaints.
Persistent Chatter After Burn-In
If the differential chatters (a rhythmic clicking or shuddering sensation from the rear axle during tight turns) after the burn-in procedure and maximum modifier dosage, the clutch packs are likely glazed or worn out. You will need to pull the rear differential cover again, remove the carrier, and rebuild the clutch packs. For a Ford 8.8 Traction-Lok, the Eaton 19588-010 rebuild kit costs around $65 and includes new friction discs, steel plates, and an S-spring.
Pinion-Side Cover Weeping
If fluid weeps specifically from the top pinion-side edge of the rear differential cover, the stamped steel cover is likely warped inward from previous over-torquing. Place the cover on a known flat surface (like a piece of plate glass or a granite countertop). Use a rubber mallet to gently tap the bolt flanges back into a flat plane. If the cover is severely deformed, replace it with a flat-machined cast aluminum unit to guarantee a permanent seal.
For comprehensive guides on identifying your specific axle housing and gear ratios before ordering parts, refer to the Ring & Pinion Axle Identification Guide. Proper identification ensures you purchase the correct gasket profile and fluid volume for your exact differential carrier.