Demystifying the Pressure Plate: Cars vs. Dirt Bikes
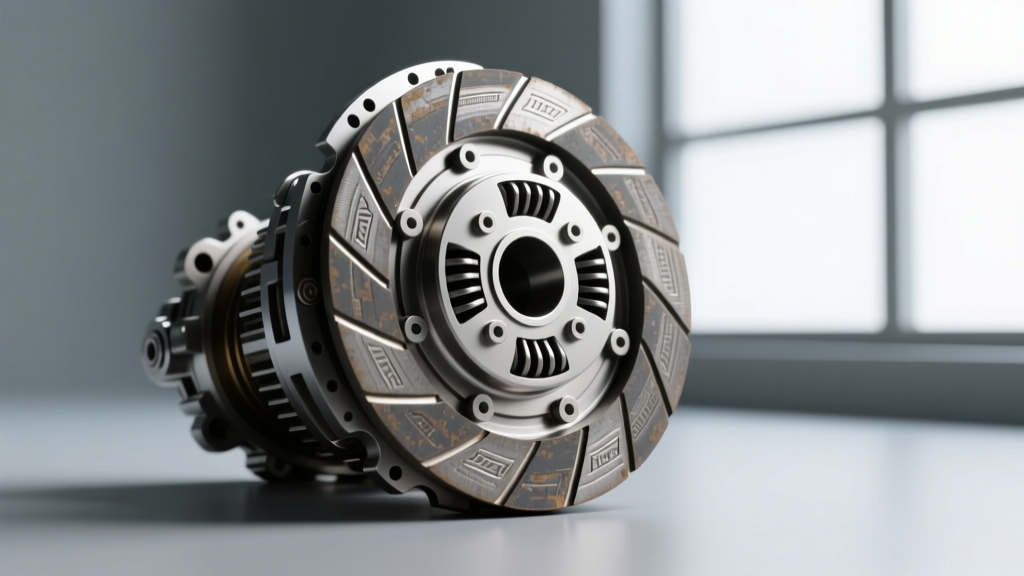
When most automotive enthusiasts hear the term "pressure plate," they immediately picture a heavy, cast-iron diaphragm assembly from a manual car transmission. However, if you are wrenching on a mini-moto like the Kawasaki KLX110, the terminology and mechanics shift entirely. Understanding this distinction is the first step in mastering your KLX110 clutch kit upgrade.
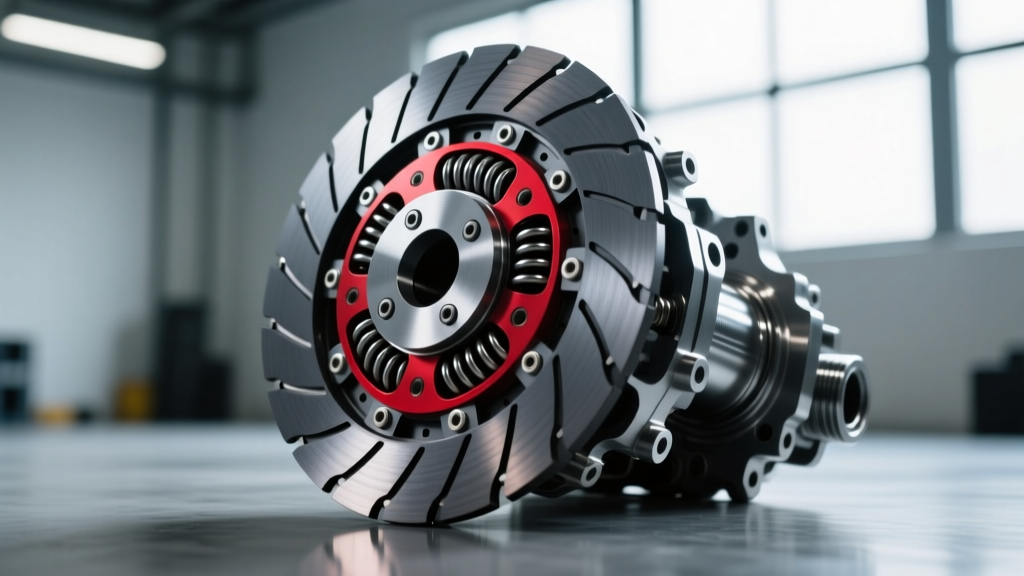
In a standard automotive dry clutch, the pressure plate uses a large diaphragm spring to clamp a single friction disc against the flywheel. In a motorcycle wet clutch—and specifically within the KLX110 engine case—the "pressure plate" is actually a clutch lifter plate. This outer plate compresses a stack of alternating friction and steel plates using multiple small coil springs. As of 2026, the aftermarket for the KLX110R and KLX110RL has evolved significantly, offering beginners and seasoned riders alike a variety of lifter plate materials and spring rates to customize lever feel and power delivery.
Inside the KLX110 Wet Clutch Ecosystem
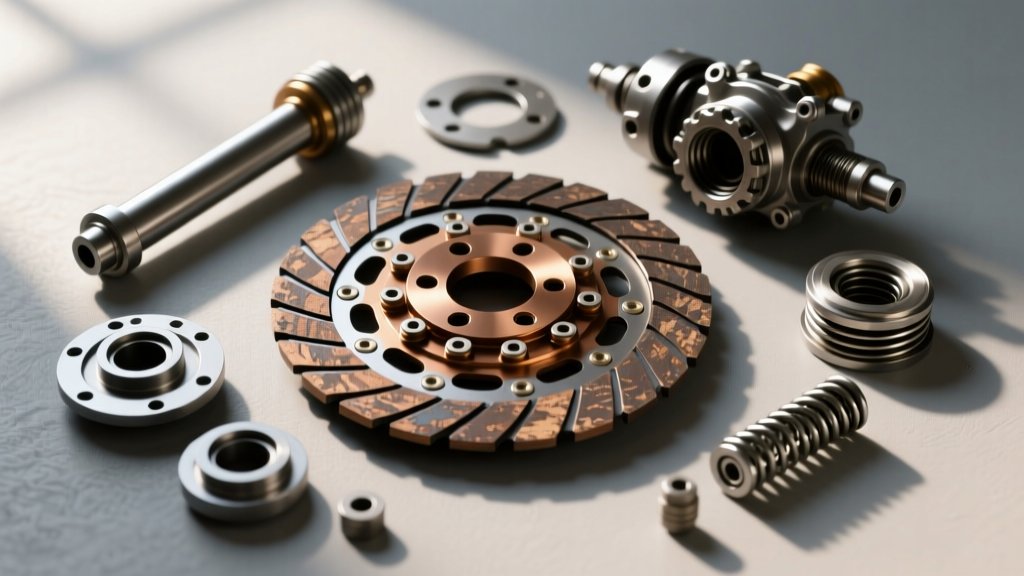
Before selecting components, you need to understand how the clutch pack functions inside the oil-bathed environment of the KLX110's right-side crankcase cover. The clutch basket holds the steel plates, while the inner hub holds the friction plates. The lifter plate (pressure plate) sits on the very outside, secured by small bolts.
- Friction Plates: Coated in cork, Kevlar, or carbon composite. They grab the steel plates when compressed.
- Steel Plates: Provide the hard mating surface for the friction material and dissipate heat into the engine oil.
- Clutch Springs: Push the lifter plate inward to lock the pack together.
- Lifter Plate (Pressure Plate): Distributes the spring force evenly across the entire clutch pack.
When you pull the clutch lever, a cam mechanism pushes a rod through the center of the engine, which physically lifts this outer plate away from the pack, breaking the friction and allowing the bike to shift gears.
Types of KLX110 Pressure Plates (Lifter Plates)
Not all pressure plates are created equal. When shopping for a KLX110 clutch kit, you will generally encounter two distinct types of lifter plates. Selecting the right one depends on your engine modifications and riding style.
1. OEM Cast Aluminum Lifter Plates
The factory Kawasaki lifter plate (OEM Part # 13088-0012 or 13088-0014 depending on the exact year) is made from cast aluminum. It is lightweight, cost-effective, and perfectly adequate for stock engines and beginner trail riders. However, cast aluminum is porous and susceptible to warping under extreme thermal loads. If you are running a big bore kit or riding aggressive motocross tracks, the cast plate can slightly deform, leading to uneven clutch pack compression and premature slipping.
2. Billet CNC Aluminum Lifter Plates
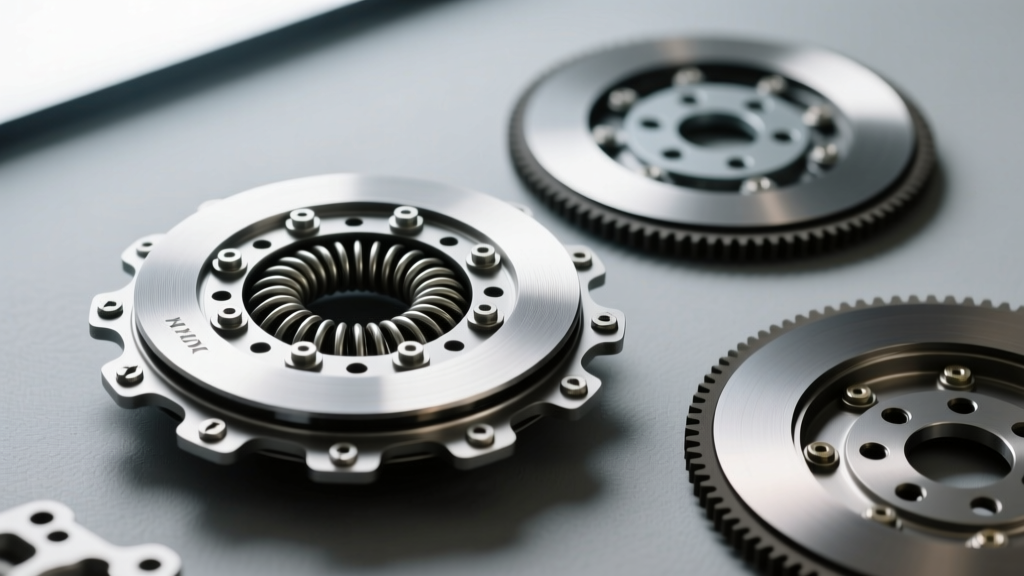
Upgrading to a billet CNC-machined pressure plate (available from brands like Hinson, Rekluse, or high-end import kits found via Rocky Mountain ATV/MC) is a game-changer for modified bikes. Billet aluminum is denser, stronger, and dissipates heat far more efficiently than cast aluminum. More importantly, billet plates resist warping, ensuring that your heavy-duty clutch springs apply perfectly even pressure across the entire friction surface. This eliminates the "grabby" feel that often plagues worn cast plates.
Spring Rates and Clutch Pack Compression
You cannot discuss the pressure plate without addressing the springs that push it. The KLX110 uses a set of small coil springs. Upgrading your KLX110 clutch kit usually involves installing stiffer springs to increase the clamping force of the lifter plate. According to friction material experts at EBC Brakes, increasing spring pressure by 15% to 25% is usually sufficient to handle aftermarket engine mods without making the clutch lever too stiff for a child or beginner to pull.
Beginner Warning: Do not mix and match spring lengths. Even a 1mm difference in spring free-length across the pressure plate will cause uneven clamping, resulting in clutch slip under heavy throttle and rapid degradation of your friction plates.
KLX110 Clutch Kit Selection Matrix
Use the table below to determine which pressure plate and spring combination is right for your specific build.
| Setup Type | Pressure Plate Material | Spring Rate | Best Application | Est. Cost (2026) |
|---|---|---|---|---|
| OEM Baseline | Cast Aluminum | Stock (OEM) | Trail riding, kids, stock 112cc | $45 - $65 |
| Heavy Duty | Cast Aluminum | +15% Stiffer | Adult riders, mild exhaust/intake mods | $70 - $95 |
| Billet Pro | CNC Billet Aluminum | +25% Stiffer | Racing, 143cc+ big bore kits | $160 - $240 |
Critical Installation Torque Specs & Common Mistakes
The most common point of failure for beginners installing a KLX110 clutch kit is destroying the pressure plate hardware. The lifter plate is held on by four or five tiny 6mm flange bolts. Because they are small, they are incredibly easy to snap.
The 6mm Bolt Trap
Many beginners use a standard 3/8" or 1/2" drive ratchet and guess the tightness. This almost always results in shearing the head off the 6mm bolt inside the clutch hub, requiring a painful drilling and extraction process. The factory service manual specifies a torque setting of 7 to 8 Nm (62 to 71 inch-pounds).
- Use a 1/4" drive torque wrench calibrated in inch-pounds, not foot-pounds.
- Set the wrench to roughly 65 in-lbs.
- Tighten the bolts in a crisscross (star) pattern to ensure the pressure plate seats evenly against the clutch pack without binding.
Friction Plate Soaking
Another critical step often missed by novices is pre-soaking the friction plates. Because the KLX110 uses a wet clutch system, the friction material must be fully saturated with oil before startup. Submerge your new friction plates in the exact engine oil you plan to run (typically a 10W-40 JASO-MA rated motorcycle oil) for a minimum of 2 to 4 hours before installing them under the pressure plate. Installing them dry will cause immediate glazing and permanent clutch slip the moment you start the engine.
Troubleshooting Lever Feel and Slippage
After installing your new KLX110 clutch kit, the real test is on the track. If the clutch lever feels incredibly stiff but the bike still slips under load, your pressure plate may be warped, or your friction plates were not soaked properly. Conversely, if the lever feels light but the bike creeps forward excessively in gear with the lever pulled in, your clutch cable needs adjustment at the perch, or the actuator cam on the lifter plate side is worn. By understanding the vital role the pressure plate plays in the wet clutch ecosystem, you can confidently diagnose issues and select the exact components needed to keep your KLX110 hooking up out of every corner.