Introduction: The Mechanics of the Direct Drive Centrifugal Clutch
While AutogearNexus is renowned for deep-dives into automotive drivetrains like the ZF 8HP and GM 6L80, the fundamental physics of torque transfer, centrifugal engagement, and gear reduction apply universally across mechanical systems. The Kenmore Direct Drive washer (manufactured by Whirlpool) utilizes a fascinating mechanical layout: a 2-speed gearcase (effectively an automatic transaxle) paired with a centrifugal clutch assembly. When undertaking a Kenmore washer clutch replacement, you are essentially dropping the appliance's 'transmission' to service the engagement mechanism. This guide bridges automotive transmission removal procedures with appliance repair, providing exact part numbers, torque specifications, and mechanical insights for the DIY technician in 2026.
Diagnostic Flow: Clutch vs. Gearcase vs. Brake Band
Before unbolting the gearcase, accurate diagnostics are critical. In automotive terms, you wouldn't pull a manual transmission for a slipping clutch without first checking the hydraulic throw-out bearing. Similarly, verify the failure mode of your washer:
- Motor runs, agitates, but basket won't spin: The centrifugal clutch lining is worn down to the metal, or the spin tube is seized to the brake tube due to rust.
- Motor runs, but no agitation and no spin: The motor coupler (part 285753A) has sheared. This is the 'flex plate' of the washer and fails to protect the gearcase input shaft.
- Loud grinding or 'ratcheting' noise during spin: The brake band (part 285792) is failing to release, or the clutch drum is scoring against the brake housing.
- Gearcase oil on the floor: The input shaft seal or main cover gasket has failed. Oil contamination on the clutch lining will cause severe slip, mimicking an automotive rear-main seal leak destroying a manual clutch disc.
Buyer's Guide: Selecting the Right Clutch Assembly (2026 Market)
The aftermarket for appliance drivetrain components has expanded significantly. When sourcing your Kenmore washer clutch replacement kit, you must match the spring tension and lining material to your typical load profiles. According to RepairClinic's OEM Clutch Assembly Data, using an under-spec clutch for heavy commercial loads will result in premature glazing.
| Kit Type | Part Number | Lining Material | Spring Tension | Best Application | Avg Price (2026) |
|---|---|---|---|---|---|
| Standard OEM | 285785 | Organic Composite | Factory Spec | Normal Residential Loads | $35 - $45 |
| Heavy Duty | 285785A | Kevlar-Reinforced | +15% Stiffer | Commercial / Heavy Towels | $45 - $60 |
| Budget Aftermarket | W10006355 | Semi-Metallic | -10% Weaker | Light Duty / Rental Units | $20 - $30 |
Expert Recommendation: Always opt for the OEM 285785 or the Heavy Duty 285785A. The semi-metallic budget variants tend to generate excessive heat during the spin-up phase, which can warp the clutch drum and transfer damaging thermal loads to the gearcase input shaft seal.
Phase 1: Cabinet and Agitator Extraction
To access the 'transmission', the outer cabinet must be removed. Unlike modern automotive unibody teardowns, the Kenmore Direct Drive uses a wrap-around steel cabinet secured by two brass spring clips.
- Release the Cabinet Clips: Insert a stiff putty knife exactly 2.5 inches from the left and right edges of the top console seam. Push straight back to depress the brass retaining clips while lifting the console.
- Disconnect the Lid Switch: Unplug the 3-wire lid switch harness. This is your safety interlock, akin to the neutral safety switch on an automotive transmission.
- Remove the Agitator: Pop off the fabric softener dispenser cap. Use a 1/2-inch square drive ratchet extension (or a 7/16-inch hex socket on older models) to remove the agitator stud. Pull the agitator straight up. If it is seized by calcium buildup, use an agitator puller tool or loop a belt under the base and pull upward.
Phase 2: Spanner Nut and Spin Tube Removal
With the agitator removed, the inner wash tub and spin tube are exposed. The spin tube is splined to the gearcase output shaft and retained by a large spanner nut.
- Tool Requirement: You must use a specialized spanner wrench (Part TB123A). Attempting to use a hammer and punch on the nut's notches will gall the aluminum threads, ruining the spin tube.
- Thread Direction: The spanner nut has standard right-hand threads. Turn counter-clockwise to loosen. Because the torque spec from the factory is roughly 80 ft-lbs, place the spanner wrench on the nut and strike the handle sharply with a rubber mallet to break it free.
- Extract the Spin Tube: Once the nut and block drive are removed, lift the spin tube straight off the gearcase shaft. Inspect the bronze bushing inside the top of the spin tube. If it shows deep scoring, the spin tube must be replaced, or it will destroy the new clutch drum.
Phase 3: Dropping the Gearcase (Transmission)
The gearcase is a heavy, oil-filled aluminum casting. Treat it with the same care as a dropped automotive transaxle.
- Disconnect the Water Pump: Use a flathead screwdriver to pop the two silver retaining clips off the water pump. Slide the pump forward off the motor shaft. (Do not disconnect the hoses unless necessary to avoid messy coolant-style spills).
- Disconnect the Motor Harness: Unplug the main 3-pin or 4-pin wiring harness from the drive motor.
- Remove the Mounting Bolts: The gearcase is secured to the base plate by three 1/2-inch hex-head bolts. Support the weight of the gearcase (approximately 15 lbs) with your knee or a floor jack. Remove the two front bolts and the single rear bolt.
- Extract the Assembly: Tilt the gearcase slightly toward the motor to clear the clutch drum from the brake band housing, then slide the entire gearcase and motor assembly out from under the chassis.
The Neutral Drain Assembly: The Hidden Culprit Behind Misdiagnoses
In automotive diagnostics, blaming the torque converter for a failed valve body is a classic rookie mistake. The appliance equivalent is replacing the clutch when the gearcase's neutral drain assembly has failed. Inside the Kenmore gearcase, a plastic cam and latch mechanism (often called the neutral drain kit, part 388253) prevents the spin tube from engaging during the agitation cycle. If the plastic tabs on this cam shear off due to age and heat cycling, the gearcase will remain in neutral, and the clutch will spin freely against the brake drum without turning the basket. Before ordering a new clutch, manually rotate the gearcase input shaft with a power drill. If it agitates but never 'locks' into spin mode after a brief pause, your issue is internal to the gearcase, not the external clutch assembly. Opening the gearcase requires draining the 15-16 oz of 15W-40 gear oil and splitting the aluminum casing, a process akin to rebuilding a manual transmission. For more on internal gearcase teardowns, the ApplianceBlog Direct Drive Technical Forums offer excellent exploded diagrams.
Clutch Swap and Reassembly Specifications
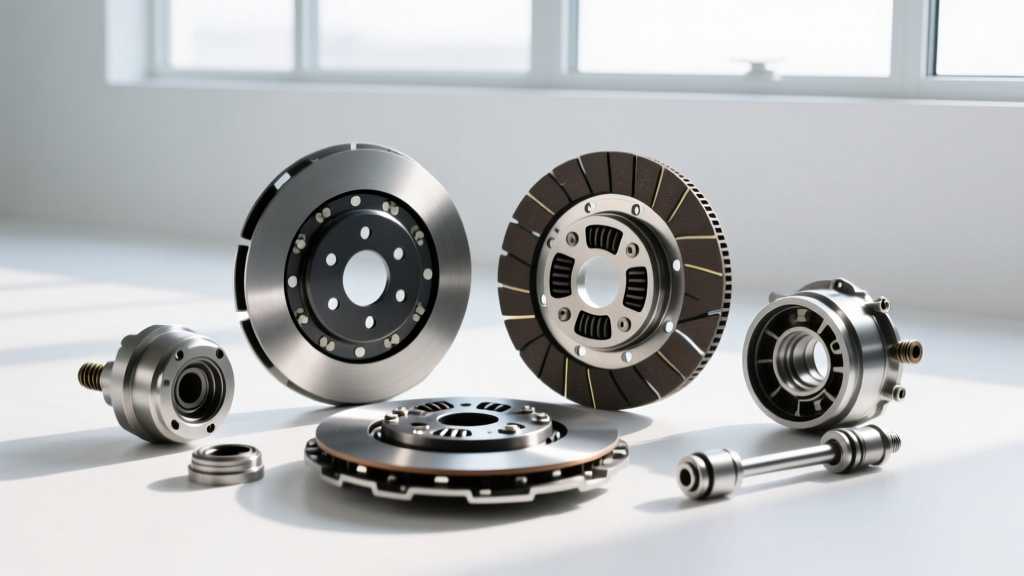
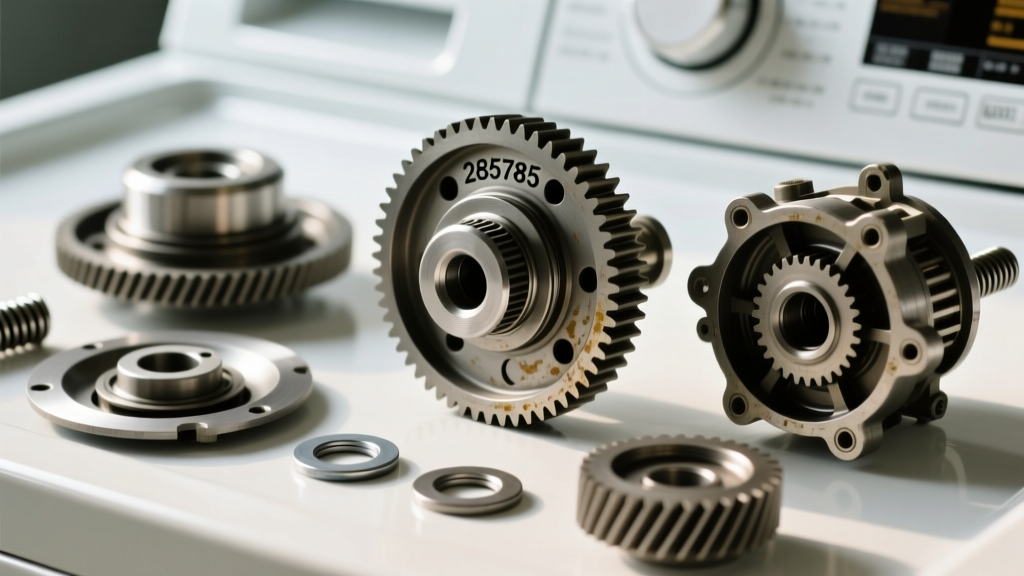
With the gearcase on the workbench, the clutch assembly sits atop the input shaft, held in place by a large C-clip (retaining ring).
- Disassembly: Use heavy-duty snap-ring pliers to expand the C-clip and remove it. Slide off the clutch drum, the tension spring, and the friction lining assembly. Note the orientation of the spring; the tighter coil faces the gearcase body.
- Inspection: Wipe down the gearcase input shaft splines. If you feel any burrs or rust, lightly dress them with a fine wire brush and apply a microscopic film of synthetic grease. Do not over-apply, as excess grease will migrate to the clutch lining.
- Reassembly: Slide the new clutch lining, spring, and drum onto the shaft. Ensure the clutch drum's actuating tab aligns perfectly with the slot in the brake band. This tab is what releases the brake when the motor shifts into spin mode. Reinstall the C-clip, ensuring it is fully seated in the groove. If the C-clip is not fully seated, the clutch will eject under centrifugal force, causing catastrophic failure.
Edge Cases: Input Shaft Seals and Oil Contamination
The most common edge case in a Kenmore washer clutch replacement is discovering that the new clutch is slipping due to gearcase oil contamination. The gearcase input shaft seal (part 285357) is a standard lip seal, much like an automotive axle seal. Over 15 years of use, the rubber hardens and the garter spring loses tension. If you see a ring of dark, viscous oil slung around the inside of the clutch drum, the seal has failed. You must replace the input shaft seal before reinstalling the gearcase. Furthermore, if the original clutch was heavily oil-soaked, you must thoroughly clean the brake drum surface with automotive brake cleaner. Any residual oil will cause the new clutch to slip during the high-torque spin-up phase, generating enough heat to melt the plastic drive block.
Final Torque Specs and Testing
When reinstalling the gearcase into the chassis, torque the three 1/2-inch mounting bolts to 15-20 ft-lbs. Over-torquing can warp the base plate and cause severe vibration during the 600 RPM spin cycle. Reinstall the spanner nut and tighten it securely with the spanner wrench, followed by the block drive and agitator bolt (torque the agitator bolt to 10-15 ft-lbs). Before running a full load, perform a 'dry spin' test. Listen for the distinct 'clunk' of the neutral drain latch releasing and the brake band disengaging. If the spin cycle engages smoothly and accelerates to full RPM without a burning smell, your transmission removal and clutch replacement was a complete success. Always refer to Sears PartsDirect Service Manuals for model-specific wiring variations if your unit utilizes an advanced electronic timer rather than a mechanical cam switch.