The Anatomy of PTO Clutch Chatter and Driveline Vibration
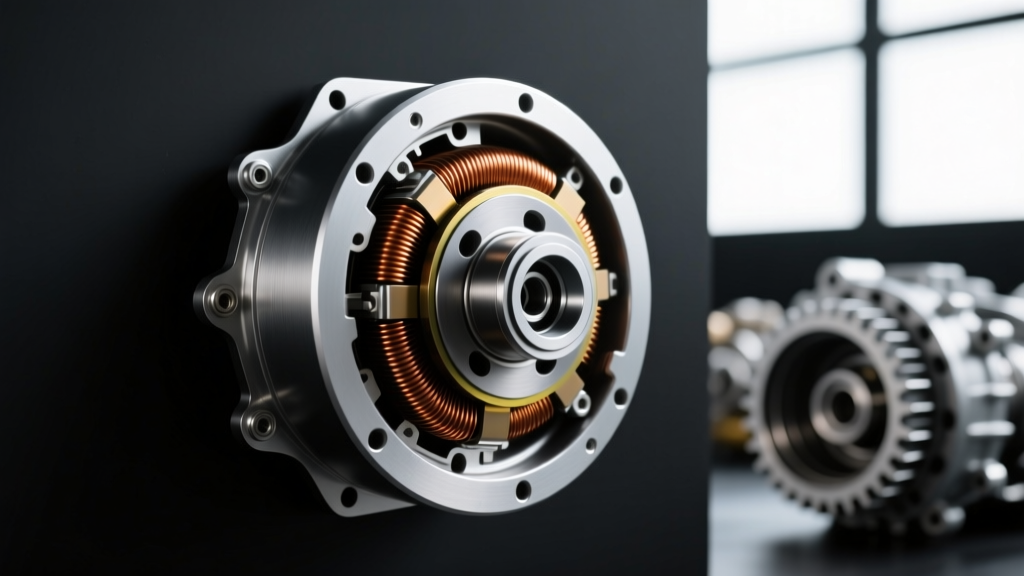
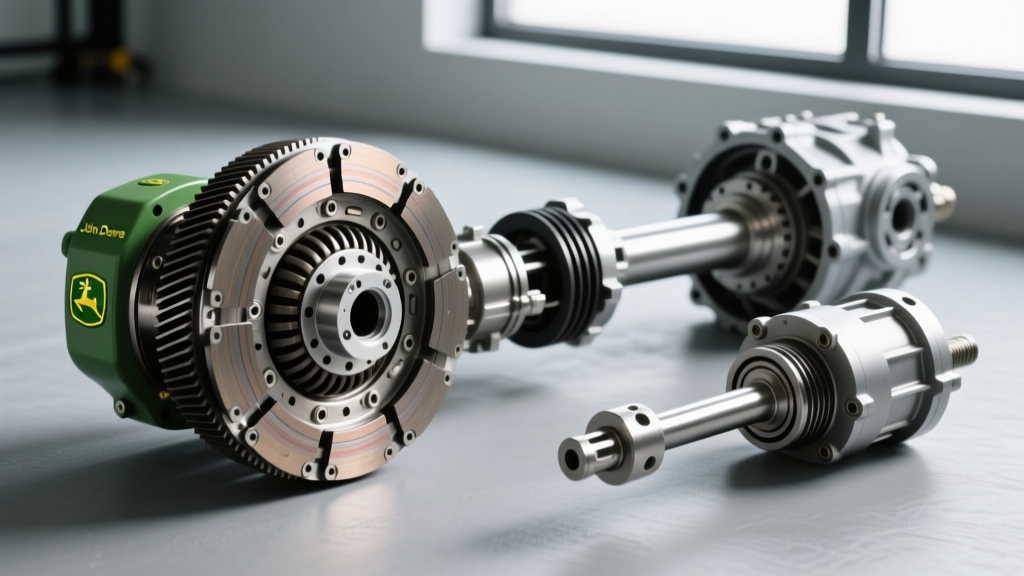
In the realm of heavy-duty commercial landscaping and agricultural drivetrains, power take-off (PTO) systems endure immense mechanical stress. When operators experience severe engagement shudder or high-RPM harmonic resonance, the root cause is often traced back to the electromagnetic PTO clutch assembly. Performing a precise john deere electric pto clutch removal is not merely a routine maintenance task; it is a critical diagnostic intervention required to save the engine crankshaft, main bearings, and driveline components from catastrophic fatigue failure.
As of 2026, modern commercial zero-turn mowers (like the John Deere Z900R series) and compact utility tractors utilize high-torque electric PTO clutches that demand exact diagnostic protocols. Clutch chatter and vibration are frequently misdiagnosed as simple wear, leading to repeated failures. True drivetrain diagnostics requires separating engagement chatter from rotational vibration, identifying electromagnetic degradation, and executing performance-oriented upgrades.
Engagement Chatter vs. Rotational Vibration: A Diagnostic Framework
To properly diagnose the driveline, technicians must categorize the vibration into two distinct failure modes:
- Engagement Chatter (Low-Frequency Shudder): Occurs strictly during the 0.5 to 1.5-second window when the PTO switch is activated. This is characterized by a violent grabbing and slipping cycle. Causes include a warped armature, contaminated friction surfaces (oil or moisture ingress), uneven slip-ring wear, or a voltage drop across the wiring harness that prevents the electromagnetic coil from fully seating the armature instantly.
- Rotational Vibration (High-Frequency Harmonic Resonance): Occurs continuously while the PTO is engaged and the engine is at operating RPM (typically 2800–3200 RPM). This indicates a physical imbalance. Culprits include a degraded elastomer layer inside the clutch's harmonic balancer, a bent pulley, a wallowed-out crankshaft keyway, or failing engine main bearings that can no longer dampen the gyroscopic mass of a 15 lb spinning clutch.
Step-by-Step John Deere Electric PTO Clutch Removal
Removing a seized or failing electric PTO clutch requires specialized techniques to avoid damaging the crankshaft threads or the engine block's front seal. Galvanic corrosion between the steel clutch hub and the crankshaft is the primary adversary in these assemblies.
Preparation and Electrical Disconnect
Before applying any wrenches, disconnect the negative battery terminal and unplug the PTO wiring harness. Inspect the connector pins for micro-corrosion. According to Warner Electric's official troubleshooting guidelines, a voltage drop of even 0.8 volts at the connector can cause the clutch to slip and chatter during engagement, mimicking mechanical failure. Test the coil resistance with a multimeter; most heavy-duty 12V John Deere PTO clutches should read between 2.5 and 4.0 ohms. An infinite reading indicates an open internal coil, while a reading below 2.0 ohms suggests shorted windings.
Overcoming Galvanic Seizure
The central retaining bolt on John Deere commercial mowers and tractors is typically torqued to high specifications and secured with threadlocker. 1. Secure the Clutch: Wrap a heavy-duty Kevlar strap wrench around the clutch body, or use a specialized PTO anti-rotation tool that locks into the pulley grooves. Never use channel locks or pipe wrenches, as deforming the outer housing will ruin the air gap tolerances. 2. Break the Bolt Free: Use a 1/2-inch drive impact wrench with a deep impact socket (commonly 1-1/8" or 30mm depending on the specific engine model, such as the John Deere 4.5L diesel or Kawasaki FX series). 3. Extract the Assembly: Once the bolt and washer are removed, the clutch should slide off. If it is seized, apply a high-quality penetrant like Kroil to the crankshaft interface. Never use an open flame or excessive heat gun temperatures above 250°F (121°C), as this will melt the internal epoxy encapsulating the electromagnetic coil.
Pro-Tip: If the clutch remains seized after penetrating oil, thread two M8x1.25 or 5/16"-18 bolts (depending on the specific hub) into the threaded extraction holes on the clutch face. Tighten them evenly in alternating half-turns to push the clutch off the crankshaft without scoring the keyway.
Performance Upgrades: Eliminating Vibration at the Source
When diagnosing chronic chatter on high-torque diesel or large-displacement gas engines, replacing the clutch with an identical OEM unit is often a temporary fix. The performance upgrade market offers heavy-duty electromagnetic clutches designed with advanced friction materials and superior harmonic dampening. Upgrading to a high-performance unit eliminates the slip-stick chatter that destroys drivelines.
| Specification | Standard OEM Clutch | Warner Xtreme Torq (XT) | Ogura Super Series |
|---|---|---|---|
| Friction Material | Standard Organic | High-Temp Ceramic/Kevlar Blend | Sintered Metallic Pucks |
| Static Torque Rating | 1,200 in-lbs | 2,200+ in-lbs | 1,800 in-lbs |
| Harmonic Dampener | Standard Rubber Elastomer | Heavy-Duty Polyurethane | Visco-Elastic Fluid Ring |
| Max Operating Temp | 225°F (107°C) | 300°F (149°C) | 275°F (135°C) |
| Estimated Cost (USD) | $180 - $250 | $350 - $450 | $320 - $400 |
For applications experiencing severe engagement chatter due to high-inertia implements (such as heavy rotary cutters or snow blowers), the Ogura Super Series or Warner XT clutches provide the immediate electromagnetic grab required to prevent micro-slipping. Micro-slipping generates the intense friction heat that warps the armature and initiates the chatter cycle.
Torque Specs, Air Gap, and Reassembly Best Practices
The reassembly phase of the john deere electric pto clutch removal process is where most driveline vibrations are inadvertently introduced. Precision is non-negotiable.
Crankshaft and Keyway Inspection
Before installing the new or upgraded clutch, inspect the crankshaft keyway. A wallowed-out keyway will cause the clutch to rock microscopically under load, creating a destructive harmonic vibration that will quickly destroy the engine's front main seal and thrust bearings. If the keyway shows wear, install a stepped oversize key or utilize a high-strength metal epoxy (like Marine-Tex) combined with a new, perfectly fitted key to eliminate slop.
Setting the Critical Air Gap
The air gap between the armature and the rotor face dictates the magnetic flux density. If the gap is too wide, the clutch will slip and chatter upon engagement. If it is too tight, the clutch will drag and overheat when disengaged. 1. Use a non-magnetic brass or plastic feeler gauge. 2. The target air gap for most heavy-duty John Deere PTO applications is 0.012" to 0.014". 3. Measure at three equidistant points around the circumference. If the gap varies by more than 0.003" across the face, the armature is warped or the mounting flange is bent, and the unit must be replaced or shimmed.
Final Torque and Thread Locking
Clean the crankshaft threads with brake cleaner to remove all oil and old threadlocker residue. Apply a medium-strength, high-temperature threadlocker (such as Loctite 262 or 271) to the central retaining bolt. Torque the central bolt to the manufacturer's exact specification. For most John Deere commercial Z-Trak gas engines, this is typically 74 to 85 ft-lbs. For heavy-duty diesel utility tractors utilizing front PTO adapters, torque specs can exceed 250 ft-lbs. Always reference the specific John Deere technical manual for your engine serial number. Reconnect the wiring harness, apply dielectric grease to the connector pins to prevent future voltage-drop-induced chatter, and test the engagement under load.
Addressing Underlying Drivetrain Harmonics
If the new performance clutch is installed to exact torque and air-gap specifications, yet a high-frequency rotational vibration persists at 3000 RPM, the diagnosis must move deeper into the drivetrain. Check the engine mounts for elastomer degradation, inspect the harmonic balancer on the opposite end of the crankshaft for slipping, and verify that the implement driveshaft is properly phased and balanced. A PTO clutch is often the messenger; eliminating chatter requires ensuring the entire rotational mass of the driveline is perfectly harmonized.