The Classic Symptom: Rear Differential Groan on Tight Turns
If you own a Honda CR-V, Pilot, Element, or Ridgeline equipped with the Real Time AWD system, you may have experienced a distinct, shuddering groan from the rear axle during slow, tight turns. This is the hallmark symptom of degraded rear differential fluid. While many drivers mistake this for a failing transmission or a seized wheel bearing, it is almost always a friction modifier issue within the rear differential clutch pack. Performing a targeted honda differential fluid change is the primary diagnostic and corrective step for this specific AWD binding issue.
In this comprehensive troubleshooting guide, we will break down the mechanics of the Honda Real Time AWD dual-pump system, outline the exact diagnostic procedures to confirm rear differential bind, and provide the factory-specified double-flush service routine required to restore silent, seamless torque transfer.
The Figure-8 Test: Confirming Rear Differential Bind
Before draining a single drop of fluid, you must verify that the groaning noise is indeed originating from the rear differential clutch pack chatter. Honda technicians rely on a standardized diagnostic maneuver known as the Figure-8 Test.
- Locate a dry, paved, open area free of traffic.
- Roll all windows down and turn off the audio system.
- Turn the steering wheel to full lock (either left or right).
- Accelerate gently in a continuous figure-8 pattern at speeds between 5 and 10 mph.
- Listen closely to the rear axle. A rhythmic, shuddering groan or binding sensation that pulses with the rotation of the wheels confirms clutch pack chatter.
Diagnostic Note: If the noise is a high-pitched whine that changes pitch strictly with vehicle speed (regardless of steering angle), you are likely dealing with a failing pinion bearing or ring-and-pinion gear wear, not a fluid friction issue.
Understanding the Honda Dual-Pump Mechanism
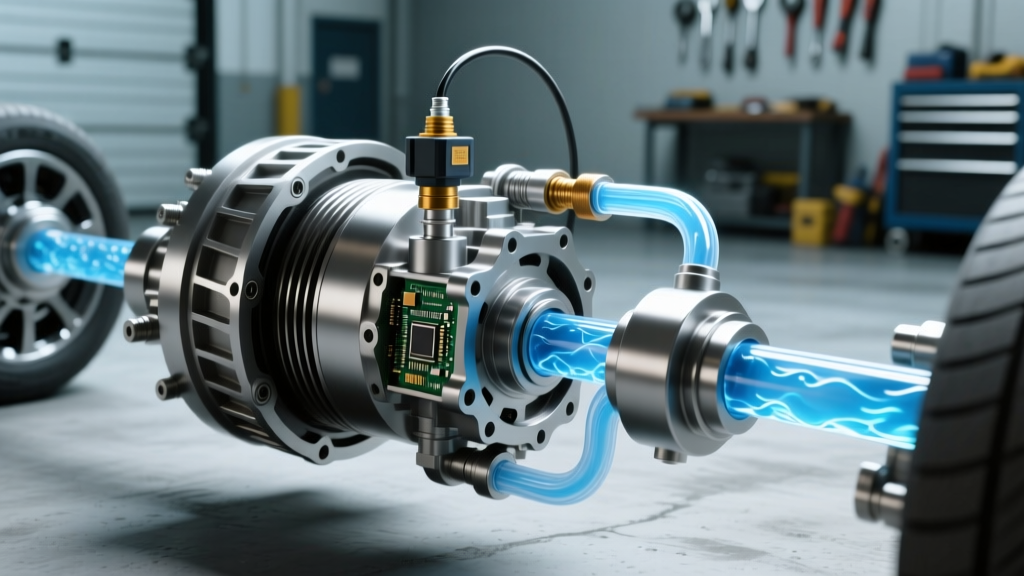
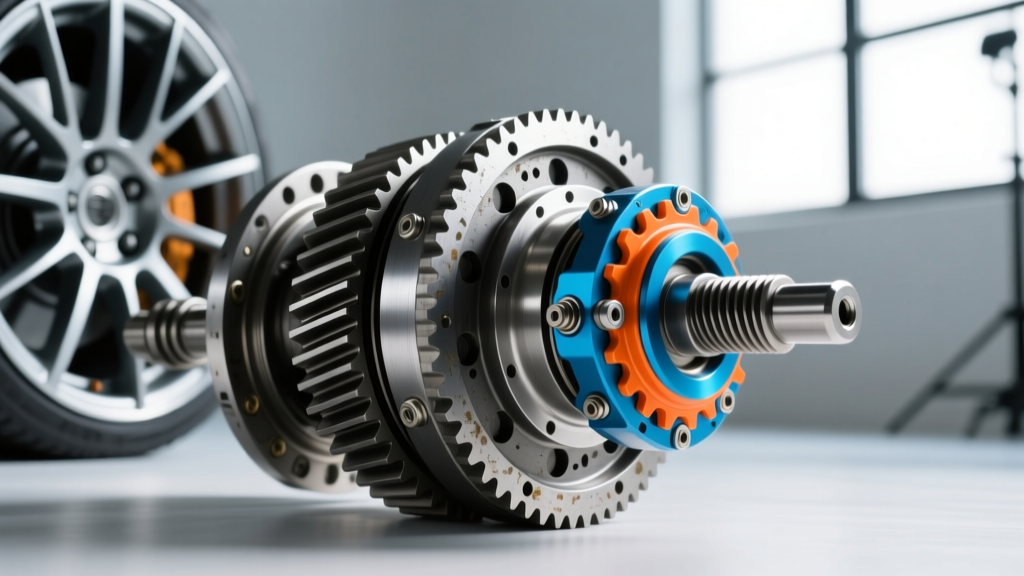
To understand why a fluid change acts as a mechanical repair, you must understand the Real Time AWD architecture. Unlike traditional torque-biasing differentials or electronically controlled clutch packs, Honda utilizes a purely hydraulic dual-pump system.
- Front Pump: Driven by the ring gear carrier, linked to the front axle speed.
- Rear Pump: Driven by the pinion gear, linked to the rear axle speed.
During straight-line driving, both pumps spin at the same RPM, maintaining equal hydraulic pressure. When front wheel slip occurs, the front pump spins faster than the rear pump. This pressure differential actuates a hydraulic valve, routing fluid pressure to engage the internal wet clutch pack, thereby locking the rear axle to the driveshaft.
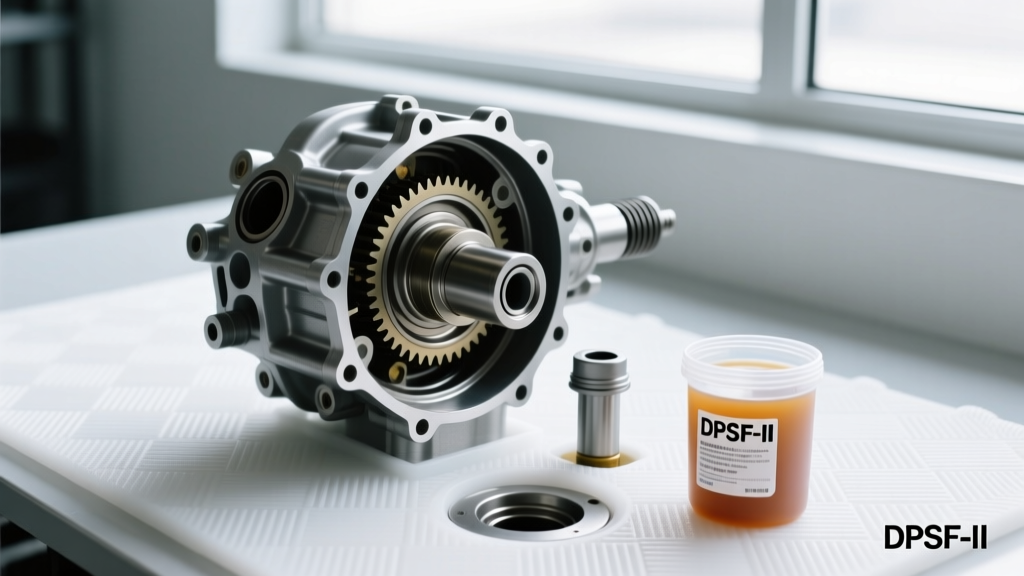
The groaning noise occurs when the specialized friction modifiers in the Honda Dual Pump Fluid II (DPSF-II) break down due to heat and shear. Without these modifiers, the clutch plates do not engage smoothly; instead, they grab and slip rapidly under hydraulic pressure, creating the audible and physical shudder.
CRITICAL WARNING: Never substitute standard 75W-90 or 80W-90 GL-5 gear oil in a Honda Real Time AWD rear differential. Standard gear oils lack the specific friction modifiers required for the dual-pump clutch packs and will cause catastrophic clutch glazing and permanent mechanical failure within a few hundred miles.
Honda Differential Fluid Change: The Double-Flush Procedure
Honda has issued multiple Technical Service Bulletins (TSBs) addressing rear differential groan. The factory-mandated fix is not a simple drain-and-fill. Because the dual-pump system and clutch pack retain a significant amount of fluid in the internal galleries and porous clutch friction material, a single drain only replaces about 60% of the degraded fluid. To properly troubleshoot and cure the groan, you must perform the 'Double-Flush' procedure.
Required Tools and OEM Specifications
Before beginning, gather the exact OEM fluids and hardware. Reusing crush washers on Honda differential plugs frequently leads to slow weeping leaks that can eventually starve the dual-pump system of fluid, leading to pump cavitation.
| Component / Specification | OEM Part Number / Value | Notes |
|---|---|---|
| Differential Fluid | Honda DPSF-II (08200-9007) | Requires 2 to 3 quarts for double-flush |
| Drain Plug Crush Washer | 94109-20000 (20mm) | Replace on every service |
| Fill Plug Crush Washer | 94109-20000 (20mm) | Replace on every service |
| Drain Plug Torque | 33 lb-ft (44 Nm) | Requires 10mm Hex bit |
| Fill Plug Torque | 33 lb-ft (44 Nm) | Requires 10mm Hex bit |
| Fluid Capacity (Refill) | 1.1 to 1.3 Quarts (Model Dependent) | Fill until fluid weeps from fill hole |
Step 1: The Initial Drain and Inspection
Drive the vehicle onto level jack stands or a lift. The rear differential must be level to ensure an accurate fill. Place a drain pan beneath the rear differential. Using a 10mm hex socket, remove the fill plug first. This is a crucial troubleshooting step; if the fill plug is seized or stripped, you do not want to drain the unit and leave yourself unable to refill it. Once the fill plug is removed, pull the drain plug.
Magnetic Plug Analysis: Inspect the drain plug magnet. A fine, silty metallic paste is normal wear from the clutch packs and bearings. However, if you find large metallic chunks, needle bearings, or brass-colored fragments, the differential has suffered mechanical failure, and a fluid change will not resolve the issue. A complete teardown or replacement is required.
Step 2: First Fill and Agitation
Install the drain plug with a new 20mm crush washer and torque to 33 lb-ft. Fill the differential with Honda DPSF-II until the fluid begins to weep out of the fill hole. Reinstall the fill plug temporarily. Lower the vehicle and immediately perform 5 to 10 tight figure-8 maneuvers in a parking lot. This agitation forces the new fluid through the hydraulic valve bodies and into the clutch pack galleries, flushing out the degraded friction modifiers.
Step 3: The Second Drain and Final Fill
Raise the vehicle back onto level stands. Drain the fluid again. You will notice the fluid may already look slightly dark or discolored; this is the old fluid being purged from the clutch packs. Reinstall the drain plug with a fresh crush washer (33 lb-ft). Perform the final fill with fresh DPSF-II until it weeps from the fill hole. Install the final fill plug with a new crush washer and torque to 33 lb-ft. Wipe down the differential housing with brake cleaner to ensure no residual fluid masks future leaks.
When Fluid Changes Fail: Advanced Mechanical Diagnosis
If you have completed the double-flush procedure using genuine Honda OEM DPSF-II fluid and the rear differential continues to groan or bind, you have moved past a maintenance issue into a mechanical failure scenario. According to diagnostic frameworks outlined in the Honda Technical Information System, persistent noise points to one of three internal faults:
- Clutch Pack Glazing: The friction material on the clutch discs has overheated and glazed over. The plates can no longer grip, regardless of fluid friction modifiers. This requires a differential teardown and clutch pack replacement.
- Dual-Pump Cavitation: If the differential was driven low on fluid, the internal hydraulic pumps may have ingested air, leading to scored pump housings. This results in a failure to build hydraulic pressure, often accompanied by a high-pitched mechanical whine.
- Pinion Bearing Preload Loss: The crush sleeve on the pinion gear may have collapsed, altering the ring-and-pinion contact pattern. This manifests as a coasting whine rather than a turning groan.
Proper rear differential service and maintenance on Honda AWD platforms relies heavily on recognizing the difference between hydraulic friction chatter and mechanical gear wear. By adhering strictly to the double-flush protocol and utilizing the exact OEM fluid specifications, you can reliably diagnose and cure the vast majority of Real Time AWD groaning issues without resorting to costly drivetrain replacements.