The NSG370 Gear Crunch: Why Your JK Needs an Adjustable Pushrod
As we navigate the 2026 off-road and overlanding season, the 2007-2018 Jeep Wrangler JK remains one of the most heavily modified manual-transmission platforms on the trails. However, owners of the 3.8L and 3.6L Pentastar models equipped with the Mercedes-derived NSG370 6-speed manual transmission frequently encounter a notorious issue: severe gear crunching when shifting into 1st or Reverse, and premature synchronizer wear. While many blame the transmission itself, the root cause often lies upstream in the hydraulic actuation system.
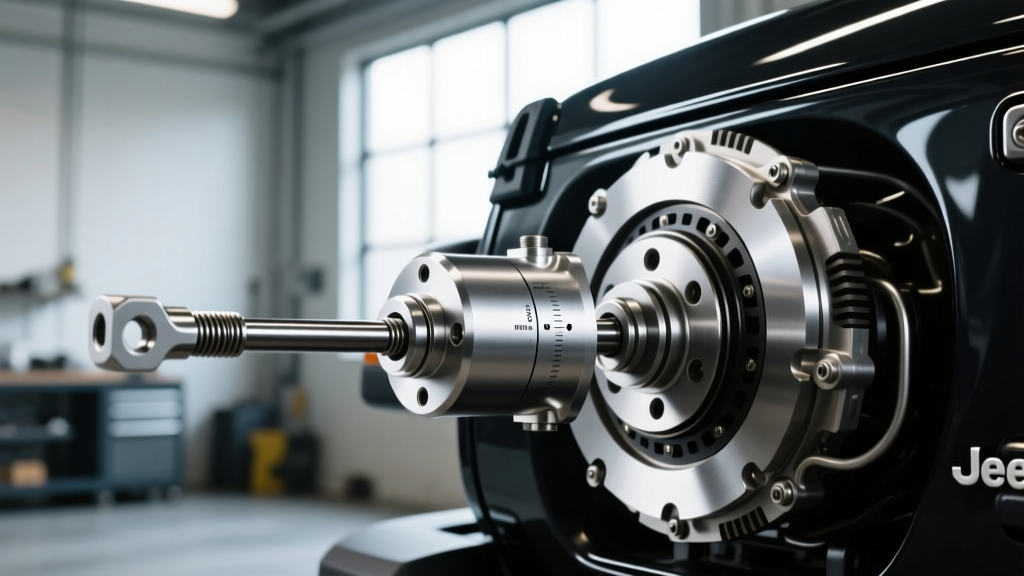
The factory Mopar clutch master cylinder (CMC) utilizes a fixed-length, non-adjustable plastic pushrod. Over time, firewall flex, pedal assembly bushing wear, and thermal expansion alter the geometric relationship between the pedal and the CMC piston. The result is incomplete clutch disengagement. Upgrading to an aftermarket adjustable clutch master cylinder kit or installing a precision-machined adjustable pushrod is the definitive fix to restore proper hydraulic stroke and protect your NSG370's carbon-fiber synchronizers.
The Engineering Flaw: Fixed Pushrods and Firewall Fatigue
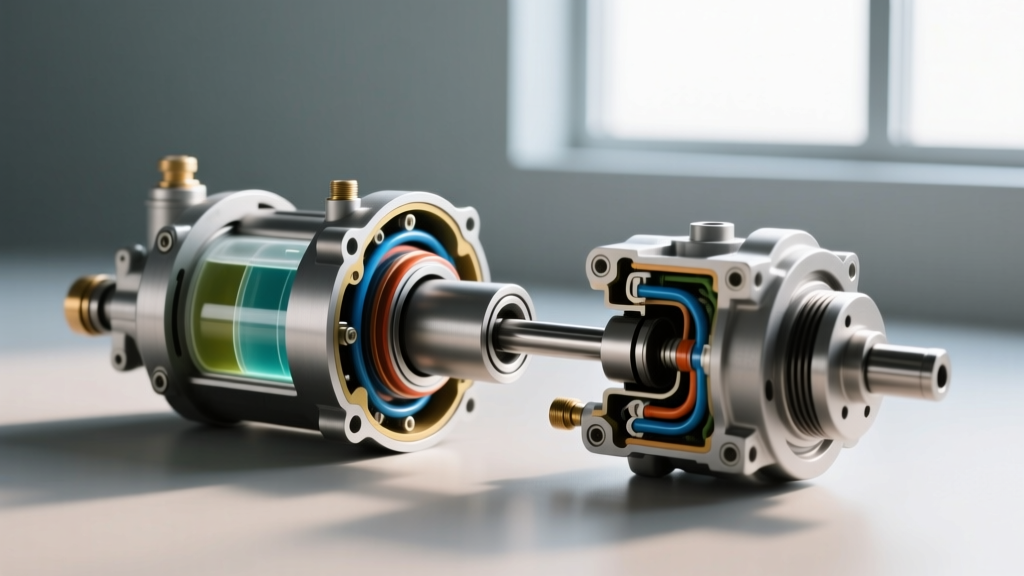
To understand why adjustment is critical, you must understand the hydraulic ratio and the internal anatomy of the CMC. The OEM JK master cylinder (Mopar Part #52060148AB) features a bore diameter of approximately 15.8mm (5/8-inch). When you press the pedal, the pushrod moves the internal piston past the compensation port, sealing the system and building hydraulic pressure to actuate the internal slave cylinder (CSC) on the transmission input shaft.
Because the factory pushrod is fixed, any wear in the pedal pivot bushing or flex in the sheet-metal firewall effectively shortens the stroke of the piston. If the piston does not travel far enough, the slave cylinder fails to push the release bearing deep enough to fully disengage the clutch friction disc from the flywheel. Conversely, if an aftermarket pushrod is adjusted too tightly with zero free-play, the piston will permanently cover the compensation port. This traps fluid, leading to catastrophic pressure spikes as the engine bay heats up, ultimately destroying the release bearing or causing spontaneous clutch slip.
Expert Warning: Never adjust the pushrod to eliminate all pedal free-play. You must maintain exactly 0.020" to 0.040" of free-play at the CMC piston to ensure the compensation port remains open when the pedal is at rest. Failure to do so will result in hydraulic lock and transmission damage.
Selecting the Right Clutch Master Cylinder Kit for the JK
When addressing clutch drag on the JK platform, you have three primary upgrade paths. Below is a comparison of the most common solutions available in the current market.
| Upgrade Path | Part / Brand Example | Est. Cost (2026) | Adjustability | Best Application |
|---|---|---|---|---|
| OEM Replacement | Mopar 52060148AB | $85 - $110 | None (Fixed) | Stock daily drivers with zero firewall flex |
| Adjustable Pushrod | Synergy Mfg 8155 | $65 - $85 | Threaded Heim Joint | Most JKs; reuses OEM CMC, fixes stroke issues |
| Full Billet CMC Kit | Advanced Adapters / Custom | $180 - $260 | Pushrod & Bore | Heavy-duty off-road, big clutch upgrades, HD towing |
Tools and Specifications Required
Before beginning the installation of your adjustable pushrod or full clutch master cylinder kit, gather the following tools and materials. Precision is mandatory for this repair.
- Socket Set: 10mm deep socket (for firewall nuts), 13mm wrench (for pushrod jam nuts).
- Retaining Clip Pliers: Specialized angled snap-ring pliers for the pedal pin clip.
- Measuring Tools: Digital dial caliper (for measuring pushrod length and free-play).
- Feeler Gauges: For verifying piston clearance.
- Hydraulic Fluid: High-temp DOT 4 (e.g., Motul RBF 600 or Castrol SRF). Do not use standard DOT 3, as the JK engine bay ambient temperatures easily exceed the boiling point of cheap glycol fluids during slow crawling.
- Torque Specs: Firewall mounting nuts: 8 Nm (71 in-lbs). Pedal assembly pivot bolts: 25 Nm (18 lb-ft).
Step-by-Step Pushrod Replacement and Adjustment
1. Removal of the OEM Assembly
Disconnect the negative battery terminal. Remove the lower steering column shroud to expose the clutch pedal assembly. Locate the plastic retaining clip securing the OEM pushrod to the pedal pivot pin. This clip is notoriously brittle; use a dedicated clip removal tool or carefully pry it outward with a small pick. Once the pin is free, move to the engine bay. Using a 10mm deep socket, remove the two nuts securing the CMC to the firewall. Gently pull the CMC forward, being careful not to bend the hard plastic hydraulic line. If you are installing a full billet clutch master cylinder kit, disconnect the quick-connect hydraulic fitting at the CMC using a specialized disconnect tool, and unbolt the hard line bracket.
2. Bench-Measuring and Pre-Adjustment
If you are retaining the OEM CMC and only installing an adjustable pushrod (like the Synergy 8155), remove the old fixed rod by unthreading it from the CMC piston (if applicable) or removing the retaining clip at the CMC eyelet. Measure the exact center-to-center length of the OEM pushrod using your digital calipers. Thread the new adjustable pushrod into the heim joint. Critical Rule: You must maintain a minimum of 5/8-inch (or 10 full threads) of engagement into the heim joint to prevent shear failure under heavy pedal load. Set the pushrod length to match the OEM length as your baseline starting point.
3. Installation and the Free-Play Calculation
Reinstall the CMC onto the firewall studs and torque the 10mm nuts to 8 Nm. Reconnect the pushrod to the pedal pivot pin and install a new heavy-duty steel retaining clip (do not reuse the OEM plastic clip). Now, perform the free-play adjustment. With the pedal at its uppermost resting position (pressed against the rubber bumper), the pushrod should have a microscopic amount of slack before it begins to push the CMC piston. You can verify this by feeling the resistance at the pedal pad. The first 1/4-inch of pedal travel should offer zero hydraulic resistance. If it feels solid immediately, the pushrod is too long; thread the adjustable rod inward (shortening it) until 0.020" to 0.040" of piston free-play is achieved. Tighten the 13mm jam nuts securely once the measurement is verified.
The Critical Bleeding Procedure for the NSG370
The Jeep JK utilizes a Concentric Slave Cylinder (CSC) that wraps around the transmission input shaft. Because the hydraulic line routes upward from the CMC to the transmission bellhousing, air bubbles easily become trapped in the high points of the system. Standard pedal-pumping bleeding is rarely sufficient for the JK.
Reverse Bleeding Protocol
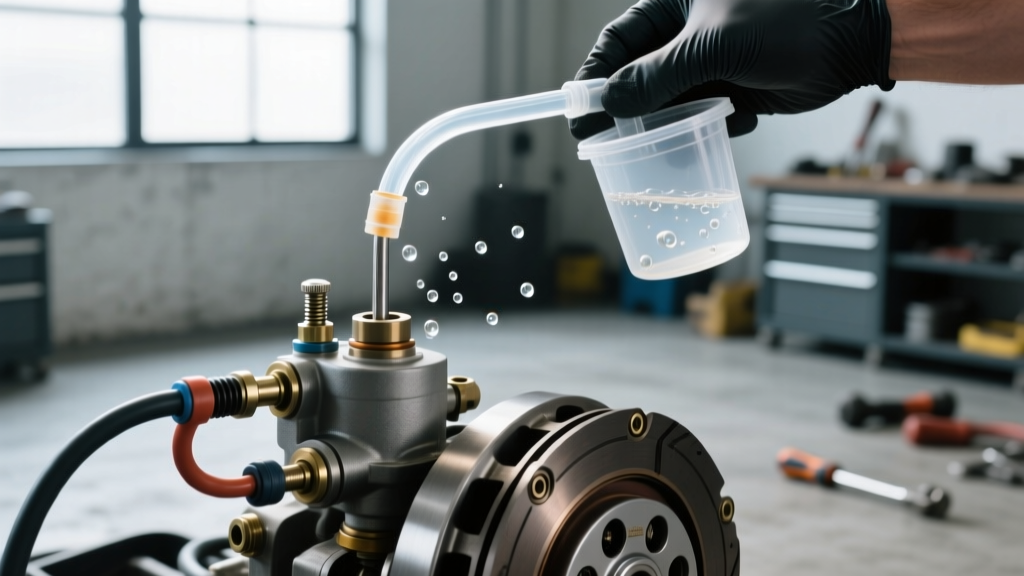
- Attach a reverse-bleeder syringe or pressure bleeder to the slave cylinder bleeder nipple located on the side of the NSG370 bellhousing (accessible through the skid plate or by removing the passenger-side wheel well liner).
- Open the bleeder valve and slowly inject high-temp DOT 4 fluid upward through the system, pushing air back toward the master cylinder.
- Monitor the CMC reservoir under the hood. Keep the reservoir cap off and ensure it does not overflow as the displaced air and old fluid enter it.
- Once a steady stream of bubble-free fluid enters the reservoir, close the bellhousing bleeder valve.
- Cycle the clutch pedal 20 times slowly to seat the new pushrod geometry and verify that the engagement point sits roughly 1.5 to 2 inches from the floorboard.
Troubleshooting Post-Install Clutch Drag
If you have installed the adjustable clutch master cylinder kit, verified the free-play, reverse-bled the system, and are still experiencing gear crunch, you must investigate secondary failure points. First, inspect the firewall itself. On heavily abused JKs, the sheet metal where the CMC mounts can crack or permanently deform inward. If the firewall flexes under pedal pressure, hydraulic stroke is lost. Installing a fabricated steel firewall reinforcement plate is mandatory in these edge cases.
Second, evaluate the CSC. If the internal slave cylinder has a weeping internal seal, hydraulic volume is lost into the bellhousing rather than being translated into mechanical movement. A leaking CSC will mimic the symptoms of a poorly adjusted pushrod. If you find fluid coating the NSG370 inspection cover, the transmission must be dropped to replace the slave cylinder and inspect the clutch friction assembly for fluid contamination. For more technical data on NSG370 internal clearances and hydraulic ratios, consult the RockAuto transmission service literature or OEM Mopar technical service bulletins regarding manual transmission shift quality.
By precisely dialing in your pushrod length and utilizing high-quality DOT 4 fluid, your JK Wrangler will deliver crisp, car-like shifts, preserving the longevity of your drivetrain for years of trail abuse.