Diagnostic Triage: Identifying the Leak Source on the Dana 44
The Jeep Wrangler JK (2007-2018) equipped with the Dana 44 rear axle is a legendary platform for off-road enthusiasts and daily drivers alike. However, as these vehicles age and accumulate mileage, seal degradation becomes an inevitable reality. Ignoring a minor weep is precisely how owners inadvertently invite the most catastrophic causes of rear differential failure. Before unbolting a single cover, you must accurately identify the leak's origin, as misdiagnosis leads to wasted labor and incorrect part orders.
There are three primary leak points on the JK Dana 44:
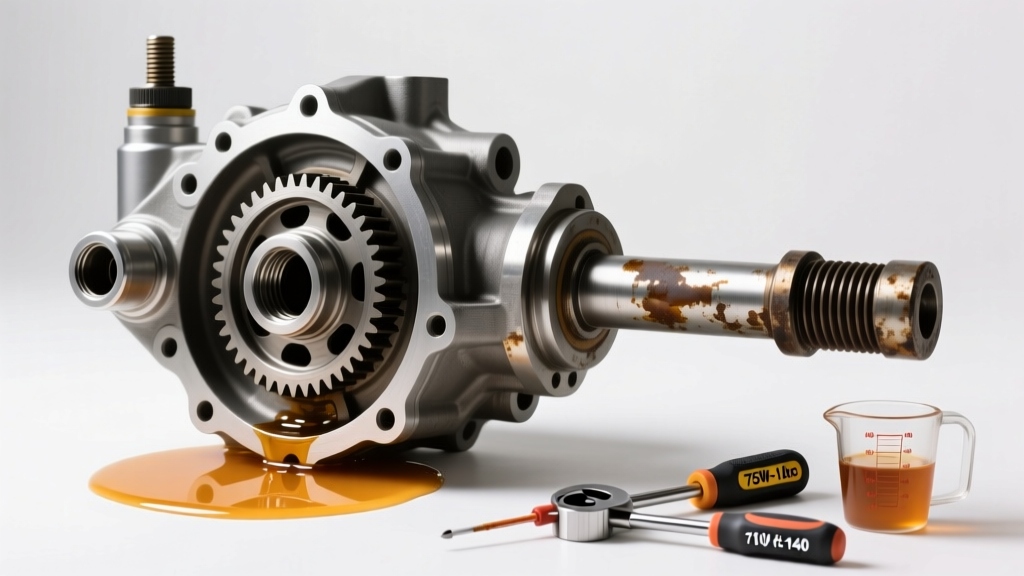
- The Pinion Seal: Located at the front of the differential housing where the driveshaft yoke mates to the pinion gear. Leaks here spray gear oil directly onto the exhaust and undercarriage, often producing a distinct burning sulfur smell at highway speeds.
- The Axle Shaft Seals: Located behind the backing plate. A leak here will coat the inboard side of the brake rotor and backing plate. Expert Note: Always verify the fluid is thick, pungent 75W-140 gear oil and not DOT 3/4 brake fluid from a failing wheel cylinder.
- The Differential Cover Gasket: Usually the result of a warped stamped-steel cover, improper RTV application during a previous fluid change, or over-torqued cover bolts stripping the aluminum housing threads.
Master Tech Warning: Never assume a wet differential housing requires a full rebuild. In 80% of JK Dana 44 cases brought into shops with 'whining noises,' the root cause is simply a neglected pinion seal that allowed fluid levels to drop below the pinion bearing centerline, leading to localized overheating and bearing brinelling.
How Leaks Trigger the Primary Causes of Rear Differential Failure
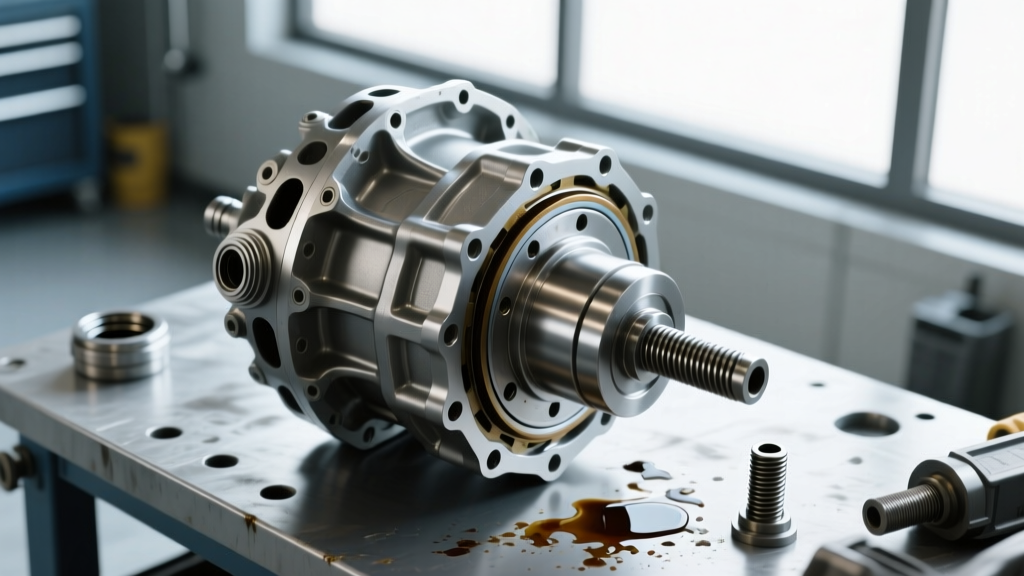
Understanding the mechanical chain reaction of a fluid leak is critical for 2026 repair diagnostics. The Dana 44 relies on a splash-lubrication system. The ring gear dips into the fluid sump and slings oil upward into the pinion bearings and axle tubes. When fluid drops, the physics of lubrication break down.
| Leak Source | Immediate Symptom | Failure Consequence (If Ignored) | 2026 Avg. Repair Cost |
|---|---|---|---|
| Pinion Seal | Sulfur smell, oil on exhaust | Pinion bearing starvation, yoke runout, ring/pinion tooth shearing | $350 - $550 |
| Axle Shaft Seal | Brake fade, oil on rotor | Bearing cage disintegration, axle shaft snapping under load | $400 - $600 (per side) |
| Clogged Breather | Burst seals after water crossing | Total fluid loss, complete differential lockup and housing seizure | $1,800 - $2,500 (Full Rebuild) |
For a deeper understanding of axle spline and bearing tolerances, refer to the engineering specifications provided by Spicer Parts Official Support. Maintaining the exact fluid volume is non-negotiable to prevent these failure cascades.
Step-by-Step Repair: JK Dana 44 Pinion Seal Replacement
Replacing the pinion seal is not a simple 'unbolt and swap' procedure. The Dana 44 utilizes a crush sleeve to establish pinion bearing preload. If you over-tighten the pinion nut, you will over-crush the sleeve, destroying the new seal and bearings. If you under-tighten it, the yoke will wobble, tearing the new seal within 500 miles.
Required Tools and OEM Part Numbers
- Pinion Seal: Timken 7412S or Mopar 68003686AA
- Pinion Nut: Mopar 6036358AA (Always replace if threads are damaged)
- Crush Sleeve: Spicer 706527X (Only required if you over-torque the nut)
- Tools: 1-5/16" (33mm) socket, 1/2" drive torque wrench (up to 250 ft-lbs), inch-pound beam-style torque wrench, flange holding tool.
Execution and Torque Specifications
- Measure Baseline Preload: Before removing anything, remove the brake calipers and rotors to eliminate drag. Use an inch-pound beam torque wrench on the pinion nut to measure the rotational torque required to spin the pinion. For a used Dana 44 with broken-in bearings, this should read between 15 and 25 in-lbs. Write this number down.
- Mark the Yoke: Use a paint pen to mark the exact alignment of the pinion nut to the yoke and the yoke to the pinion shaft. This allows for a safe reassembly baseline if you are reusing the crush sleeve.
- Remove the Yoke: Secure the flange with a holding tool and break the pinion nut loose (requires up to 250 ft-lbs of breakaway torque). Slide the yoke off using a puller—never hammer it off, as you will damage the internal threads.
- Swap the Seal: Pry out the old Timken seal. Lubricate the outer rim of the new seal with a thin layer of gear oil and tap it flush into the housing using a seal driver. Grease the inner rubber lip heavily to prevent dry-start tearing.
- Re-torque to Preload: Reinstall the yoke and nut. Tighten the nut incrementally, checking the rotational torque with your inch-pound wrench every few turns. Stop exactly when you reach your baseline measurement plus 5 in-lbs (to account for the new seal's drag). Never exceed your baseline by more than 10 in-lbs, or you must install a new crush sleeve and start over.
Axle Shaft Seal Repair and the Mandatory Breather Mod
If your diagnostic triage points to the axle seals, you are dealing with a semi-floating Dana 44 design. Unlike the lighter Dana 35 which uses internal C-clips, the JK Dana 44 axle shafts are retained by a flange bolted to the backing plate.
Axle Seal Replacement Protocol
- Drain the differential fluid completely.
- Remove the four 1/2" nuts securing the axle shaft flange to the backing plate (Torque spec for reassembly: 35 ft-lbs).
- Slide the axle shaft out carefully to avoid damaging the internal side gears or the ABS tone ring.
- Extract the old seal and outer bearing. Inspect the bearing for pitting. If the bearing is compromised, press it off and install a new Timken SET-10 (Part # SET10) bearing and race.
- Install the new Timken 8660S axle seal. Ensure it is seated perfectly square against the internal shoulder.
The 'Extended Breather' Fix
One of the most overlooked causes of rear differential failure on the JK platform is a clogged or submerged factory axle breather tube. The factory tube routes to the frame rail near the rear crossmember. When submerged in water crossings, or when packed with trail mud, the breather blocks. As the differential heats up on the drive home, internal pressure spikes and blows out the path of least resistance—usually the pinion seal.
The Fix: Disconnect the factory hose from the top of the differential housing. Thread in a 1/8" NPT to 5/16" hose barb fitting (use Teflon tape). Route a new 5/16" polyurethane hose up through the frame rail and secure it inside the engine bay near the firewall, capping it with a high-flow K&N style breather filter. This $25 modification saves thousands in blown seals and contaminated gear oil.
Fluid Selection, Additives, and Fill Procedure
Proper fluid chemistry is the final barrier against differential failure. For the 2007-2018 JK Dana 44, Chrysler specifies 75W-140 Full Synthetic Gear Oil. While 75W-90 is acceptable for light-duty highway driving, the 75W-140 viscosity maintains its protective film strength under the extreme shear forces of towing, oversized tires (35"+), and low-speed rock crawling.
- Capacity: 2.0 Quarts (1.9 Liters)
- Trac-Lok Additive: If your JK is equipped with the Trac-Lok limited-slip differential (anti-spin), you must add one 4 oz bottle of Mopar Trac-Lok Friction Modifier (P/N 4318060AD). Failing to do so will result in severe clutch-pack chatter during tight turns, ultimately glazing and destroying the limited-slip unit.
Fill Technique: Do not rely solely on the 'fill until it overflows' method, especially if your Jeep has a lifted suspension or altered pinion angle. The fluid level should be exactly 1/4" to 1/2" below the bottom edge of the fill hole. When re-sealing the cover, abandon cheap cork gaskets. Use a reusable LubeLocker elastomer gasket or apply a continuous 1/4" bead of Permatex Ultra Black RTV. If using RTV, allow it to skin over for 15 minutes before mating the cover, and wait a full 12 hours before filling with fluid to prevent the silicone from extruding into the oil sump and clogging the pinion bearing oil galleries.
By methodically addressing leaks, correcting the breather system, and adhering to strict torque and fluid specifications, you effectively eliminate the most common causes of rear differential failure on the Dana 44 platform, ensuring it survives the harshest environments well into the future.