The Jeep JL Rubicon Dana 44 M220: Architecture and Vulnerabilities
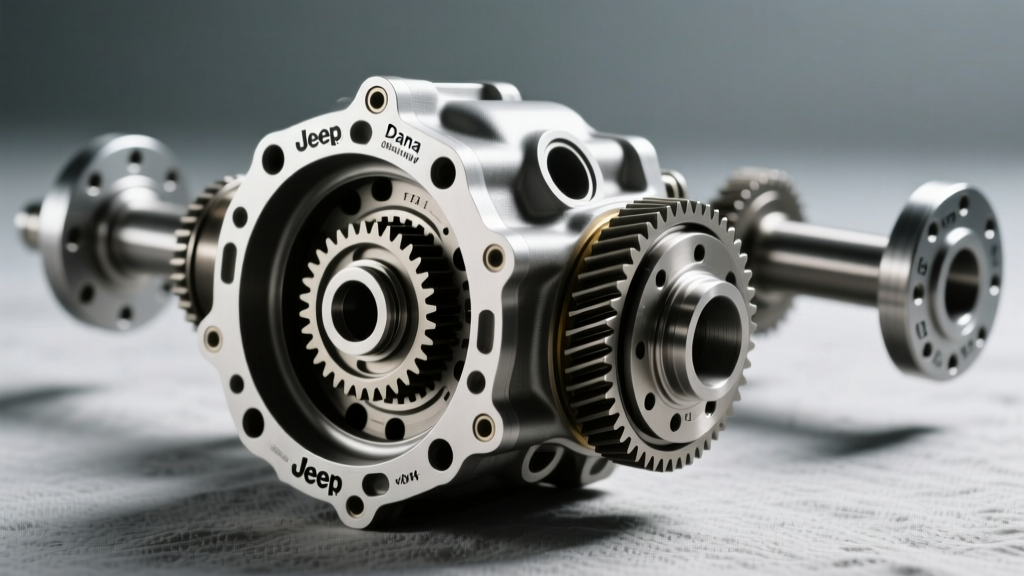
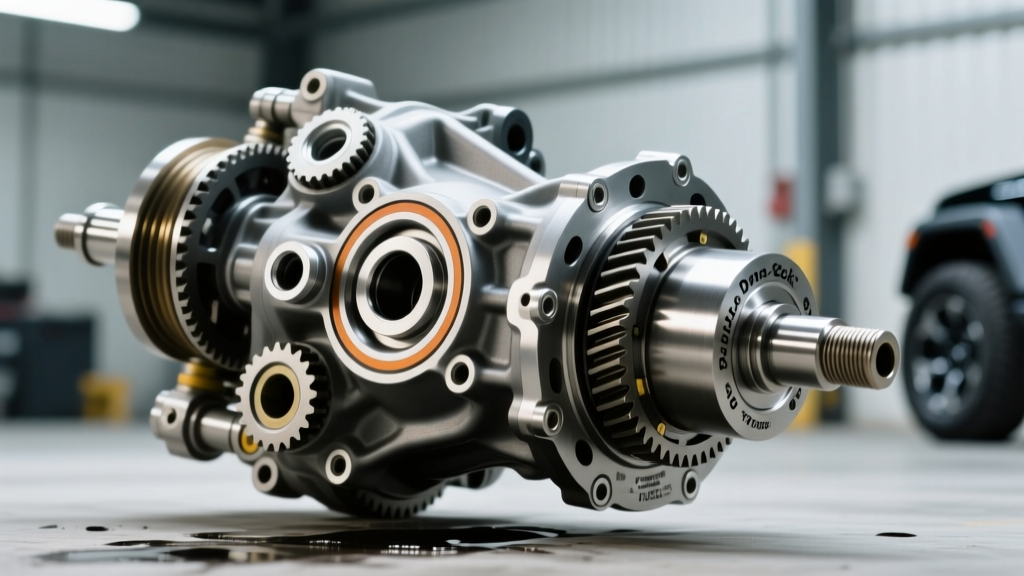
The 2018-2026 Jeep Wrangler JL Rubicon represents a massive leap in off-road capability, largely due to the integration of the Dana 44 M220 rear axle. Unlike the previous generation's standard Dana 44, the M220 features a larger ring gear, reinforced axle tubes, and a factory-installed Tru-Lok electronic locking differential. However, this heavy-duty architecture is not immune to fluid leaks. In fact, the added stress of 35-inch factory tires and aggressive trail use makes differential leak detection and repair a critical maintenance skill for JL owners.
As an automotive drivetrain specialist, I frequently see misdiagnosed leaks on the M220. Owners often confuse brake fluid weeping from a failing caliper with gear oil seeping from a compromised axle shaft seal. Furthermore, the electronic locker actuator wiring harness, routed perilously close to the differential cover, is a frequent casualty of careless fluid changes. This model-specific repair guide will walk you through exact diagnostic procedures, OEM part numbers, torque specifications, and the mechanical realities of maintaining a locked axle under extreme load.
Differential Leak Detection Matrix: Pinion, Axle, or Cover?
Before ordering parts, you must accurately identify the leak source. Gear oil (75W-140) has a distinct, pungent sulfur smell and a high viscosity that clings to surfaces, unlike DOT 3/4 brake fluid which is hygroscopic and watery. Use the diagnostic matrix below to isolate the failure point on your M220 rear axle.
| Leak Source | Visual Symptoms | Common Root Cause | OEM Part Number | Est. DIY Cost (2026) |
|---|---|---|---|---|
| Axle Shaft Seal | Wet backing plate, oil inside brake drum/rotor hat | Worn seal lip, scored axle shaft bearing surface | Mopar 68218710AA | $25 - $40 |
| Pinion Seal | Oil slung forward onto exhaust cross-pipe and skid plate | Heat degradation, clogged breather tube, axle bind | Mopar 68218712AA | $15 - $30 |
| Diff Cover Gasket | Seeping from cover flange, pooling at bottom of pumpkin | Over-torqued bolts, warped stamped-steel cover | Fel-Pro RDS55393 | $15 - $25 |
| Breather Tube | Fluid pushed out of vent cap onto upper axle tube | Overfilled diff, submerged in water, clogged vent | Mopar 53008765AC | $10 - $15 |
The Breather Tube Factor and Axle Bind
A frequently overlooked cause of catastrophic seal failure on the JL Rubicon is a clogged or submerged axle breather tube. When the differential heats up during highway driving or trail crawling, the internal air expands. If the breather is blocked, internal pressure can exceed 15 PSI, easily blowing the lip of the pinion or axle shaft seals. This pressure spike is exponentially worsened by drivetrain bind.
This brings us to a critical operational rule: knowing exactly when to use locking rear differential engagement is vital for preserving your axle seals. The factory Tru-Lok system is a dog-clutch spool locker. Engaging it on dry pavement or high-traction surfaces prevents the left and right axle shafts from rotating at different speeds during a turn. This induces severe axle wind-up, generating massive localized heat spikes and torsional stress that will over-pressurize the differential cavity and physically twist the seal lips out of their housings. Only engage the locker in low-speed, low-traction environments (mud, rock, deep snow) where tire slip can naturally relieve drivetrain bind.
Step-by-Step Repair: Rear Axle Shaft Seal Replacement
If your diagnostic confirms a leaking axle shaft seal, you will need to pull the shaft. The M220 uses a bolt-in retainer plate design, making this a straightforward job that does not require opening the differential cover or draining the gear oil.
Required Tools and Parts
- Timken 710962 or Mopar 68218710AA Axle Shaft Seal
- Slide hammer with internal jaw puller attachment
- Torque wrench (inch-pounds and foot-pounds)
- 15mm and 21mm sockets
- Brake cleaner and high-temp silicone gasket maker
Removal Procedure
- Wheel and Brake Removal: Safely lift and support the JL on jack stands. Remove the rear wheel. Take off the two 21mm brake caliper slide pins and hang the caliper from the coil spring using a zip-tie (never let it hang by the brake hose). Remove the brake rotor.
- Retainer Plate Extraction: Remove the four 15mm nuts securing the axle shaft retainer plate to the backing plate. Expert Tip: These nuts are torqued to 85 lb-ft (115 Nm) from the factory and are often secured with threadlocker. Apply penetrating oil and use a breaker bar carefully to avoid snapping the studs.
- Shaft Pulling: Slide the axle shaft out of the housing. If the bearing and seal are stuck, use your slide hammer's internal jaws to grip behind the retainer plate and pop the assembly free.
- Seal Extraction: Use a dedicated seal puller or a blind-hole bearing puller to extract the old seal from the axle tube. Thoroughly clean the axle tube bore with brake cleaner and lint-free shop towels.
Installation and Torque Specs
Lubricate the inner lip of the new Timken 710962 seal with a dab of fresh 75W-140 gear oil. Using a seal driver that matches the outer diameter of the seal, tap it flush into the axle tube. Do not drive it past flush, or you risk damaging the internal spring. Slide the axle shaft back into the housing, ensuring the splines do not snag the seal lip. Reinstall the retainer plate nuts and torque them in a star pattern to 85 lb-ft (115 Nm). Reassemble the brakes and bleed the system if any air was introduced.
Pinion Seal Replacement: The Crush Sleeve Warning
Replacing the pinion seal on the M220 is more complex due to the presence of a crush sleeve used to set bearing preload. If you over-tighten the pinion nut, you will over-crush the sleeve, resulting in excessive bearing preload, rapid bearing failure, and a whining differential that requires a complete teardown to fix.
According to Dana Incorporated's service guidelines, the proper method for a pinion seal swap without replacing the crush sleeve involves the 'mark and match' technique. Before removing the 32mm pinion nut, use a paint pen to mark the exact relationship between the nut and the pinion shaft threads. Count the exact number of turns required to remove the nut. After installing the new National 710963 pinion seal, reinstall the nut and tighten it to your paint marks, verifying the rotational torque matches your pre-teardown baseline (typically between 15-25 in-lbs of rotating resistance). The final factory torque spec for a new setup is 210 lb-ft (285 Nm), but relying on torque alone on a used crush sleeve is a guaranteed path to differential destruction.
Fluid Selection, Capacity, and the Tru-Lok Myth
When performing a differential cover reseal or fluid service, selecting the correct lubricant is paramount. The JL Rubicon Dana 44 M220 rear differential requires SAE 75W-140 Synthetic API GL-5 gear oil (Mopar 68218655AC or equivalent). The total capacity is approximately 1.4 liters (1.5 quarts).
Critical E-E-A-T Warning: Do NOT add limited-slip friction modifier to the M220 rear differential. Many aftermarket fluid bottles suggest adding modifier for 'locking differentials.' This advice applies to clutch-pack limited-slip differentials (like the Trac-Lok or Torsen). The Rubicon's Tru-Lok is an electronic dog-clutch spool locker. It relies on metal-to-metal engagement, not clutch packs. Adding friction modifier reduces the film strength of the GL-5 oil and can lead to accelerated ring and pinion gear wear. For a deeper dive into API gear oil classifications, refer to the API Lubricant Standards database.
The Actuator Wiring Harness Vulnerability
When removing the 10 M8x1.25 differential cover bolts (torque spec: 18 lb-ft / 25 Nm), you must exercise extreme caution near the 9 o'clock position. The wiring harness for the Tru-Lok electronic actuator is routed tightly against the differential housing. I have documented dozens of cases where mechanics sliced this harness with a scraper while cleaning the gasket surface, resulting in a 'Service Locker' dash light and a $350 actuator replacement. Always disconnect the actuator plug and secure the harness away from the mating surface before scraping.
Final Assembly and Bed-In Procedure
After resealing the cover using a high-quality reusable gasket like the LubeLocker LL-D44-M220 (which utilizes an elastomer O-ring seal and requires no RTV), refill the differential until the fluid is level with the bottom of the fill hole. Reinstall the fill plug and torque to 25 lb-ft.
Post-repair, drive the vehicle for 20-30 miles to bring the gear oil up to operating temperature. Re-inspect the pinion, axle seals, and cover flange for any signs of weeping. By adhering to these exact torque specifications, utilizing OEM-spec seals, and respecting the operational limits of the drivetrain, your JL Rubicon's M220 axle will remain leak-free and trail-ready for years to come. For further JL-specific drivetrain upgrades and maintenance schedules, consult the Quadratec JL Wrangler Drivetrain archives.