The Hidden Cost of Ignoring Axle Leaks
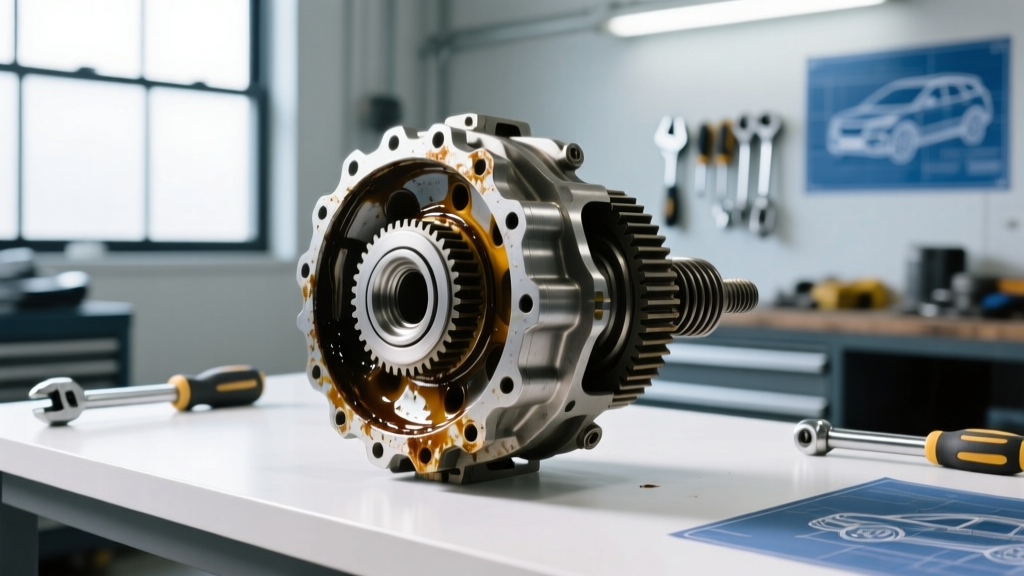
Searching for a reliable guide on a Jeep Grand Cherokee differential fluid change is the first step toward preserving your SUV’s drivetrain longevity. However, performing a fluid service on a leaking axle is a fool's errand. Whether you are driving a WK2 (2011–2021) or the newer WL generation (2022–2026), the Grand Cherokee relies on robust rear axles—typically the Chrysler 8.25 or the heavy-duty Dana 44. When seals fail, you don't just lose expensive synthetic gear oil; you risk contaminating the internal bearings and destroying the ring and pinion gear set.
Before you crack the fill plug and drain your differential, you must identify, diagnose, and repair any active weeping or leaks. In this model-specific repair guide, we will break down the exact failure points of the Grand Cherokee’s rear axles, provide OEM part numbers, and detail the precise torque specifications required to reseal the system before your fluid change.
Diagnostic Matrix: Where is Your Grand Cherokee Leaking?
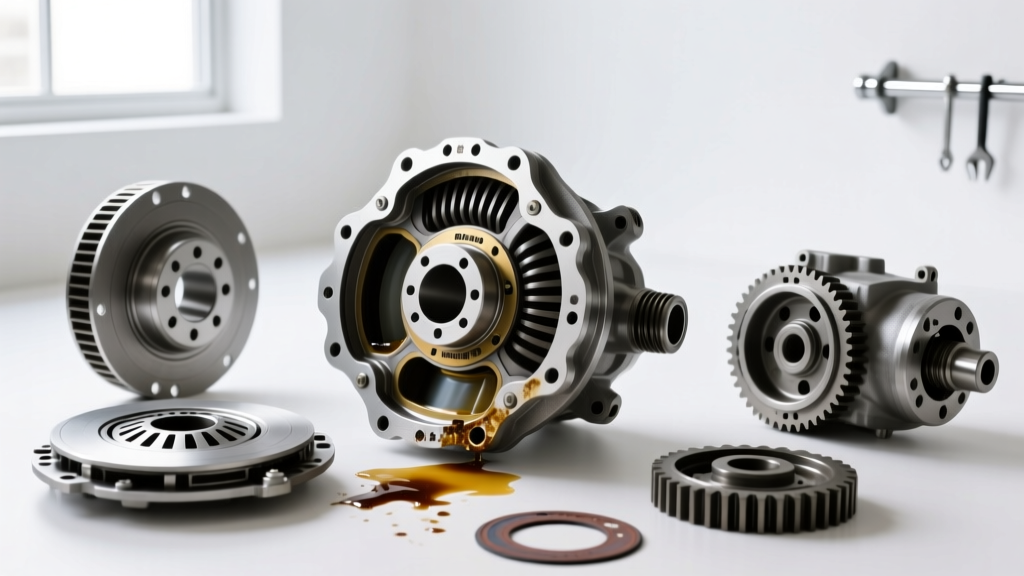
Gear oil has a distinct, pungent sulfur odor. If you notice spots on your driveway or a film coating the bottom of your differential cover, use this matrix to pinpoint the failure point before ordering parts.
| Leak Location | Visual Symptom | Common Cause (WK2 / WL) | Repair Difficulty |
|---|---|---|---|
| Pinion Seal | Oil slung forward onto the exhaust or skid plate; wet yoke. | Rubber lip degradation from heat and driveline vibration. | Moderate (Requires preload measurement) |
| Axle Shaft Seal | Fluid inside the wheel well or coating the inner brake rotor. | Bearing wear causing shaft runout, tearing the seal lip. | High (Requires axle shaft removal) |
| ELSD Motor/Pump Seal | Wetness on the passenger side external pump housing. | O-ring failure on the external ELSD actuator motor. | Low to Moderate |
| Differential Cover | Seeping around the perimeter of the stamped steel or cast cover. | Improper RTV application or over-torqued cover bolts. | Low |
Pinion Seal Replacement: The Preload Method
The pinion seal is the most frequent offender on high-mileage Grand Cherokees. Replacing it on a Chrysler 8.25 or Dana 44 axle requires more than just unbolting the driveshaft. The pinion nut secures the pinion gear against the crush sleeve (or solid spacer on some aftermarket setups) to maintain precise bearing preload. If you simply use an impact wrench to remove and reinstall the nut, you risk over-compressing the crush sleeve, leading to catastrophic bearing failure within 500 miles.
Required Tools and Part Numbers
- Seal Part Number: Timken 710939 or Mopar 68084149AA (Verify via VIN on Mopar's official parts portal).
- Tools: Inch-pound beam-style torque wrench, 1/2-inch drive breaker bar, pinion flange holding tool, seal puller, and a torque wrench capable of 250 lb-ft.
- Consumables: High-temperature wheel bearing grease, thread locker (Red Loctite 271).
Step-by-Step Preload Procedure
- Measure Initial Preload: With the vehicle raised and the rear wheels off the ground, remove the brake calipers and rotors to eliminate drag. Attach the inch-pound beam torque wrench to the pinion nut. Rotate the pinion slowly and record the peak rotational torque required to keep it spinning. For used bearings, this is typically between 15 and 25 in-lbs.
- Mark the Alignment: Use a paint pen to mark the exact position of the pinion nut relative to the pinion shaft threads. Count the exact number of exposed threads.
- Remove and Replace: Hold the flange with your holding tool and break the nut loose. Slide the flange off (use a puller if it is seized on the splines). Pry out the old seal. Grease the lip of the new Timken seal and tap it squarely into the bore using a seal driver.
- Re-torque to Mark: Reinstall the flange and apply Red Loctite to the pinion nut threads. Tighten the nut back to your exact paint mark. Check your rotational preload with the inch-pound wrench. If the preload is slightly lower than your initial reading, tighten the nut in 1/8-turn increments until the original preload specification is met. Never exceed the original rotational torque, or you will crush the sleeve further.
Tackling the WK2 ELSD Motor and Axle Shaft Seals
Grand Cherokees equipped with Quadra-Drive II utilize an Electronic Limited Slip Differential (ELSD). Unlike traditional mechanical clutch-pack LSDs, the ELSD features an external electric motor and hydraulic pump mounted to the axle housing. A highly documented issue on forums like JeepGarage.org involves the O-ring sealing the pump motor to the differential housing degrading, allowing fluid to weep onto the passenger-side axle tube.
If the leak is originating from the axle shaft ends, the repair is significantly more invasive. You must drain the differential, remove the differential cover, and rotate the carrier until the spider gear window aligns with the axle shaft. Push the axle shaft inward to expose the C-clip, remove the C-clip with a magnetic pick-up tool, and slide the shaft out of the tube. Once the shaft is out, you can pry the old seal and press in a new Mopar axle seal. If the bearing shows signs of pitting or the shaft has a worn groove where the seal rides, you must replace the bearing and utilize a speed-sleeve repair kit to prevent the new seal from leaking immediately.
Expert Tip: When reinstalling the axle shaft into the ELSD housing, apply a thin layer of gear oil to the inner splines. Forcing a dry spline through the side gears can shave brass or steel material into your freshly cleaned differential.
Differential Cover Resealing: Why RTV Beats Rubber
While aftermarket rubber or cork gaskets are available for the Chrysler 8.25 and Dana 44 covers, Stellantis factory service manuals dictate the use of Room Temperature Vulcanizing (RTV) silicone. Rubber gaskets tend to compress unevenly and slip during installation, leading to micro-leaks.
To properly reseal the cover, scrape all old RTV from both the housing and the cover using a plastic gasket scraper to avoid gouging the mating surfaces. Wipe both surfaces with aerosol brake cleaner until a paper towel comes away completely clean. Apply a continuous 3/16-inch bead of Mopar Engine RTV (Part # 04883971) or Permatex Ultra Black to the cover. Allow the RTV to skin over for 10 minutes before mating it to the housing. Install the bolts and torque them in a crisscross star pattern to exactly 30 lb-ft. Let the RTV cure for at least two hours before adding new fluid.
Executing the Jeep Grand Cherokee Differential Fluid Change
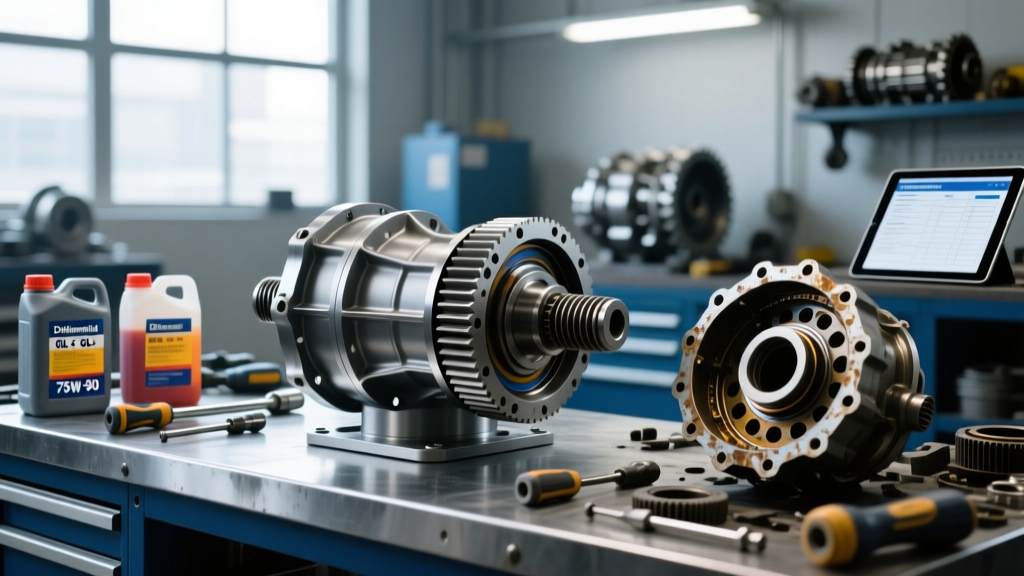
Once your leaks are sealed, you can proceed with the actual fluid service. Fluid specifications vary wildly depending on your exact axle and option package. For standard open differentials, Mopar 75W-85 Synthetic (P/N 68218654AA) is the standard. However, if your Grand Cherokee has the ELSD, you must use Mopar 75W-140 Synthetic Gear Lubricant (P/N 68218655AA). This specific fluid already contains the necessary friction modifiers for the ELSD clutch packs; adding aftermarket limited-slip additives to ELSD fluid can cause the hydraulic pump to cavitate and trigger a drivetrain fault code.
The rear differential capacity is generally around 2.25 pints (just over 1 quart), but always purchase two quarts to account for priming the pump and topping off. Remove the fill plug before removing the drain plug or dropping the cover—there is nothing worse than draining an axle only to discover the fill plug is seized or stripped. Use a fluid transfer pump to fill the differential until the oil reaches the bottom edge of the fill hole threads. Reinstall the fill plug and torque to 25 lb-ft. By addressing leaks methodically before your fluid change, you ensure your Grand Cherokee's drivetrain remains sealed, quiet, and ready for the next 50,000 miles of service.