Introduction to the Dana 44 and Manual Locker Leaks
The Jeep Wrangler JK Dana 44 rear axle is a cornerstone of the off-road community, prized for its robust ring and pinion gear set and aftermarket support. However, when you upgrade this axle with a manual differential lock—such as a cable-operated OX Locker or a mechanical conversion kit—you introduce new mechanical penetrations through the differential housing. While these manual locking differentials provide 100% positive traction without the need for air compressors or complex electrical solenoids, the external shift mechanisms become prime targets for gear oil leaks.
Ignoring a differential leak on a locked Dana 44 can lead to catastrophic failure. Running low on fluid starves the pinion bearings and causes the manual locker's internal dog clutches to overheat and gall. This model-specific repair guide will walk you through diagnosing, sourcing, and repairing leaks unique to a Dana 44 equipped with a manual differential lock, ensuring your rig stays trail-ready.
Diagnosing the Leak: Where is the Gear Oil Coming From?
Before unbolting a single component, you must accurately identify the leak source. Axle housings accumulate dirt, and gear oil tends to migrate along the axle tubes due to centrifugal force, making visual diagnosis tricky. Spray the entire differential housing, pinion yoke, and axle tube ends with brake cleaner, then drive the vehicle to operating temperature.
The Shift Shaft Seal (Specific to Manual Differential Locks)
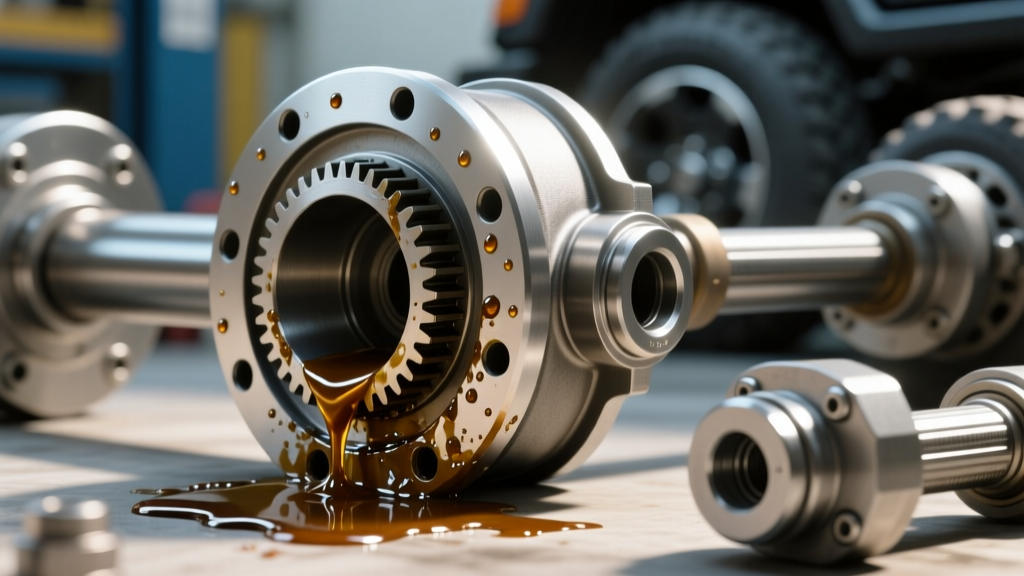
Unlike an open differential or an electronic locker, a manual differential lock utilizes a physical shift shaft that passes through the differential cover or housing to actuate the internal locking collar. On cable-operated units like the OX Locker, this shift shaft rotates roughly 90 degrees to engage the locker. The O-ring or lip seal surrounding this shaft is exposed to trail debris. If a rock scores the shift shaft, the sharp edge will slice the seal every time you engage the locker, resulting in a weep that drips directly from the shift lever housing.
Pinion Seal vs. Axle Seal Failure
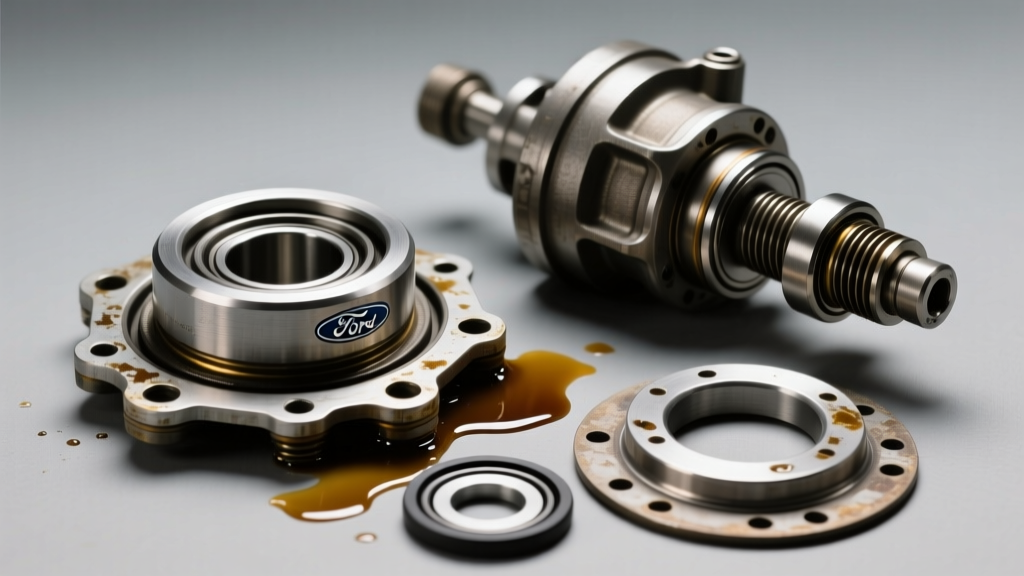
If the leak is originating from the front of the differential pumpkin, the pinion seal is likely compromised. This is common when operating with oversized tires (35 inches or larger) that increase leverage on the pinion yoke, causing microscopic deflection that wears the seal lip. Conversely, if oil is coating the inside of the brake rotors or drums, the inner axle shaft seals have failed, allowing fluid to migrate down the axle tubes.
Required Parts, Fluids, and Tools
Using the correct seals and lubricants is non-negotiable. According to Dana Spicer engineering guidelines, the Dana 44 requires specific seal diameters to maintain proper press-fit retention. Furthermore, when utilizing a manual differential lock, the internal shock loads during locked-cornering are immense. Standard 75W-90 gear oil can suffer from viscosity shear under these loads; therefore, a high-quality 75W-140 synthetic is highly recommended.
| Component | Part Number / Spec | Torque Specification | Est. Cost (USD) |
|---|---|---|---|
| Pinion Seal | Spicer 43189 | 160-200 lb-ft (Nut) | $18.50 |
| Inner Axle Shaft Seal | Timken 1051 / Spicer 10-204-13 | N/A (Press Fit) | $14.00 |
| Manual Locker Shift Seal | OX K-0004 (or Mfg Specific) | Hand Tight / 15 lb-ft (Cover) | $9.00 |
| Differential Cover Gasket | Lube Locker LL-D44 | 25-30 lb-ft | $36.00 |
| 75W-140 Synthetic Gear Oil | Amsoil SVG / Mobil 1 | N/A (2.2 Qt Capacity) | $65.00 |
Step-by-Step Repair Procedure
1. Draining and Prepping the Axle
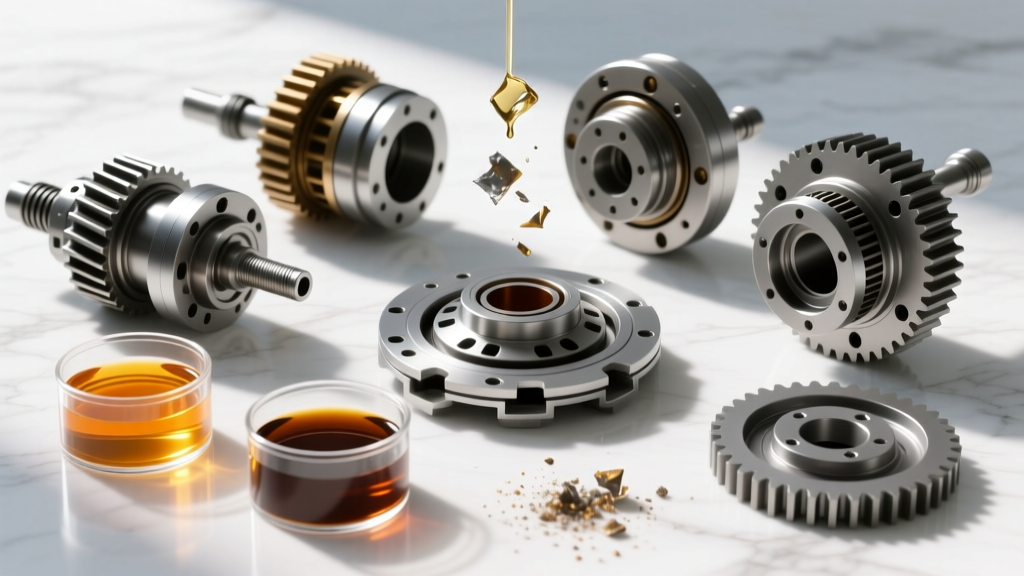
Place the vehicle on jack stands and ensure the axle housing is level. Remove the differential cover bolts, leaving the top two bolts loosely threaded to act as a hinge. Break the seal and allow the 75W-140 gear oil to drain into a catch pan. Inspect the drained fluid for metallic glitter; a fine paste is normal wear, but chunky metal indicates ring and pinion or locker clutch damage. Thoroughly clean the mating surface of the differential housing and cover using a plastic scraper and brake cleaner to avoid gouging the soft cast iron or aluminum.
2. Replacing the Manual Locker Shift Seal
If your leak was traced to the manual differential lock actuator, you must address the shift shaft. With the cover removed, locate the shift fork and shaft assembly. Disconnect the shift cable from the external lever. Carefully extract the shift shaft from the housing. Critical Inspection: Run your fingernail along the exterior surface of the shift shaft. If you feel any grooves, burrs, or pitting from trail debris, a new O-ring will be destroyed upon reassembly. Polish minor imperfections with 800-grit emery cloth, or replace the shaft entirely if the groove is deep. Lubricate the new shift seal with fresh gear oil, reinstall the shaft, and verify smooth 90-degree rotation before reattaching the cable.
3. Replacing the Pinion Seal (Without Losing Preload)
Replacing the pinion seal on a Dana 44 is where many DIY mechanics make a fatal error. The pinion nut secures a crush sleeve that sets the bearing preload. If you use an impact wrench to remove the nut, you will lose your preload baseline.
- Use an inch-pound torque wrench to measure the rotating torque of the pinion yoke. For used bearings, this should typically read between 15 and 25 in-lbs. Write this number down.
- Use a specialized yoke holder tool and a breaker bar to remove the pinion nut. Note the exact number of threads exposed on the pinion shaft.
- Pull the yoke using a standard gear puller. Pry out the old Spicer 43189 seal.
- Tap the new seal into the bore using a seal driver, ensuring it sits perfectly flush.
- Reinstall the yoke and thread the pinion nut back on. Tighten the nut incrementally while checking the rotating torque with your inch-pound wrench. Stop tightening the exact moment you reach your previously recorded baseline (e.g., 20 in-lbs). Never exceed 200 lb-ft on the nut itself, or you will over-crush the sleeve and require a complete differential teardown.
Refilling and Post-Repair Testing
Reinstall the differential cover using a reusable elastomer gasket (like the Lube Locker) or a high-quality RTV silicone. If using RTV, apply a continuous 3/16-inch bead and allow it to skin over for 10 minutes before torquing the cover bolts to 25-30 lb-ft in a crisscross pattern.
Fill the differential through the fill plug with 75W-140 synthetic gear oil until it reaches the bottom of the fill hole threads (approximately 2.0 to 2.2 quarts). For vehicles with modified suspension geometry where the axle is rotated, you may need to fill slightly past the plug hole to ensure the pinion bearings receive adequate lubrication at highway speeds.
Expert Trail Tip: After repairing a manual differential lock leak, engage and disengage the locker several times while the vehicle is stationary and the axle is jacked up. This cycles the internal dog clutches and ensures the new shift shaft seal is properly seated and not binding under load. Always carry a spare shift shaft O-ring and a bottle of gear oil on remote trails, as this specific seal remains the most vulnerable point on a manually locked axle.
By adhering to precise torque specifications and utilizing heavy-duty synthetic lubricants, your Dana 44 manual differential lock will provide years of leak-free, positive traction. For further technical specifications on axle clearances and locker tolerances, refer to the OX Off-Road technical documentation or your specific locker manufacturer's service manual.