The 2026 Landscape: Why Your Jeep JL Needs a Ratio Update
As we navigate the 2026 off-road and overlanding scene, the standard 35-inch tire has been largely replaced by 37-inch and even 40-inch setups on the Jeep Wrangler JL and Gladiator JT platforms. While the factory Dana 44 M220 (rear) and M210 (front) axles are robust, their factory gear ratios—typically 3.73 or 4.10—struggle to turn larger rubber efficiently. This results in excessive transmission hunting, poor fuel economy, and accelerated wear on the drivetrain.
To restore factory performance or optimize for low-speed crawling, a ring and pinion swap is mandatory. However, changing your gear ratio often dictates a complete replacement of the differential carrier assembly due to the infamous Dana 44 'carrier break.' This model-specific repair guide details the exact teardown, setup, and fluid fill procedures for the JL Dana 44 platform.
Understanding the Carrier Break: Thick vs. Thin Gears
The Dana 44 axle features a dimensional limitation known as the carrier break. Because the ring gear flange on the differential carrier assembly is fixed, a numerically higher gear ratio (which requires a smaller pinion gear) pushes the ring gear closer to the pinion centerline. To compensate, Dana manufactured two different carrier castings.
| Gear Ratio Range | Required Carrier Type | Aftermarket Alternative |
|---|---|---|
| 3.07 to 3.73 | Carrier 1 (Standard) | Use 'Thick' Ring Gears on Carrier 2 |
| 3.92 to 5.89 | Carrier 2 (Standard) | N/A (Standard Cut Gears) |
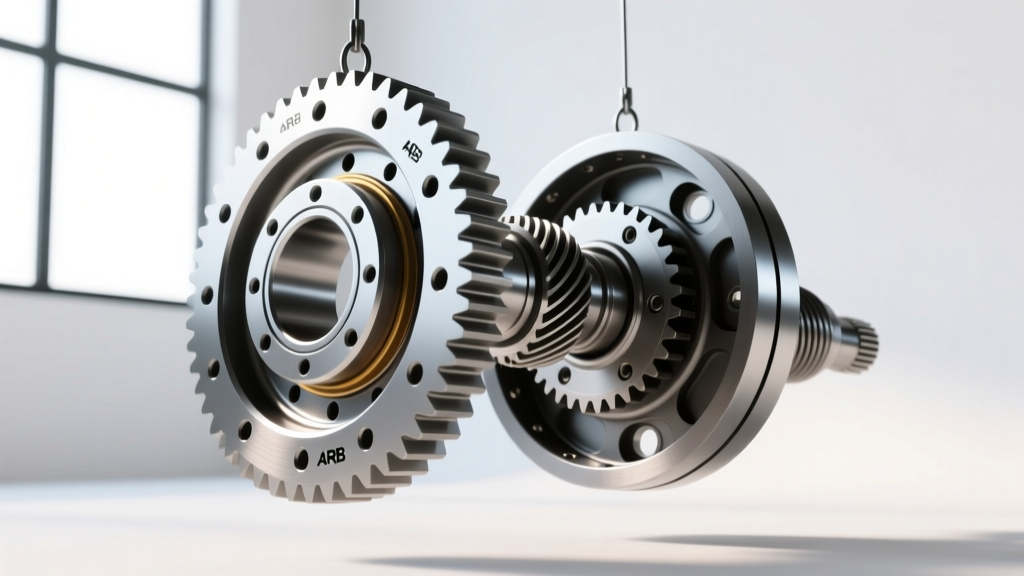
If your JL Rubicon came from the factory with 4.10 gears (Carrier 2) and you want to install a 4.88 ratio, your existing differential carrier assembly will work perfectly with standard-cut gears. However, if you are upgrading a base Sport model from 3.45 (Carrier 1) to 4.88, you must either purchase a brand-new Carrier 2 casting or buy specialized 'thick' ring gears designed to bolt onto a Carrier 1. For ultimate strength in 2026 high-horsepower applications, swapping the entire carrier assembly to a forged aftermarket unit like the Eaton Detroit Locker or ARB Air Locker is the recommended path.
Model-Specific Teardown: Extracting the M220 Carrier
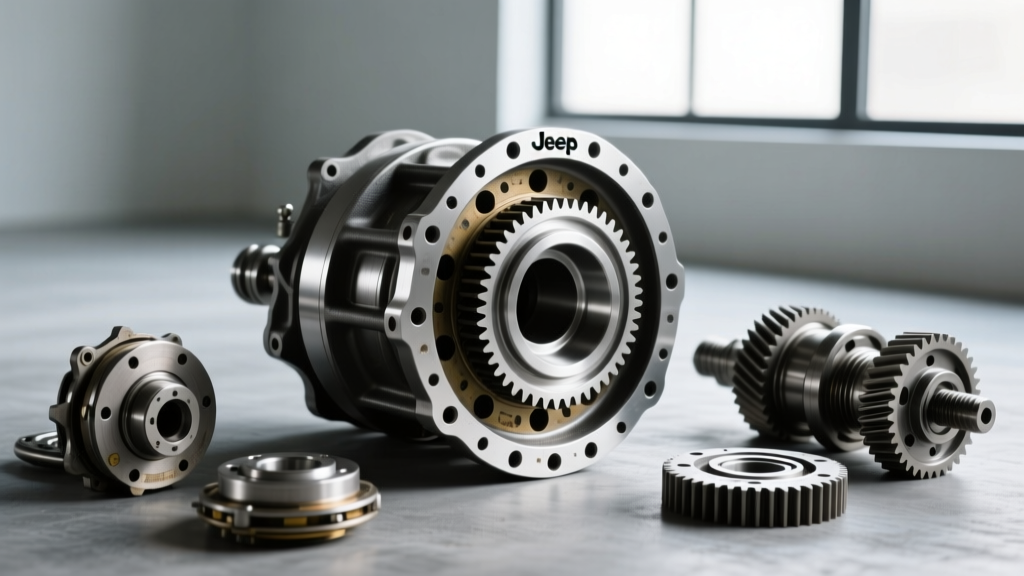
The JL M220 rear axle differs significantly from the older JK generation. It features a larger ring gear flange and specific bearing preload tolerances. Before beginning, ensure you have a dial indicator, a bearing puller, and a shop press.
Step 1: Axle Shaft and Driveshaft Removal
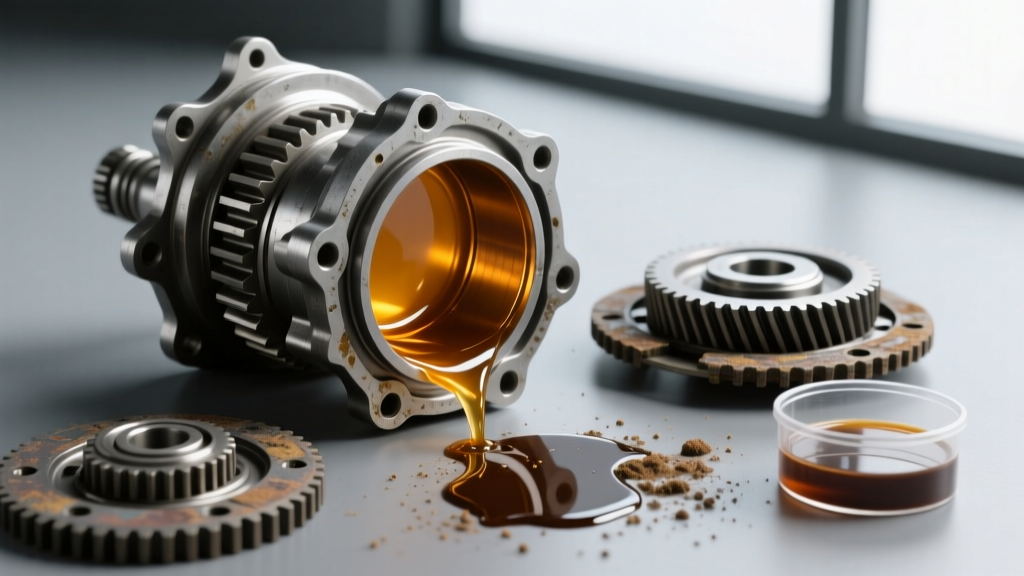
- Drain the existing gear oil into a catch pan. Inspect for excessive metallic glitter, which indicates bearing failure.
- Remove the rear driveshaft at the differential yoke/flange (13mm bolts).
- Remove the 8 bolts (13mm) securing the axle shaft flanges to the axle tube. Slide the axle shafts out carefully to avoid damaging the inner axle seals.
Step 2: Bearing Cap Extraction
Critical Warning: The bearing caps on the M220 are line-bored with the axle housing at the factory. They are NOT interchangeable. You must mark them (e.g., with a center punch or paint pen) for 'Left' and 'Right' and note their directional orientation before removal.
- Remove the four bearing cap bolts (18mm). Torque spec from the factory is roughly 70 lb-ft, so expect them to be tight.
- Pry the caps upward gently. Do not mar the mating surfaces.
- Extract the differential carrier assembly. The M220 uses a slight interference fit; a pry bar between the bearing cap seat and the housing may be required to pop the carrier loose.
Precision Setup: Ring Gear Mounting and Backlash
Whether you are reusing your factory open/Trac-Lok carrier or installing a new locker, the setup process dictates the lifespan of your gears. The Dana Spicer engineering manuals mandate strict adherence to runout and backlash tolerances.
Ring Gear Installation
Press the new ring gear onto the differential carrier assembly. Ensure the mating surface is perfectly clean. Use new ring gear bolts (Spicer Part #13-1004 or equivalent Grade 8 hardware). Apply a medium-strength threadlocker (Loctite 242) to the threads. Tighten in a crisscross pattern to a final torque of 77 lb-ft.
Dialing in Backlash and Preload
Reinstall the carrier into the housing with the original marked caps. Install the bearing caps and torque to 65 lb-ft. Mount a dial indicator to the housing with the plunger resting perpendicular to the ring gear teeth.
- Target Backlash: 0.006' to 0.010' (0.15mm - 0.25mm).
- Adjustment Method: The JL M220 uses threaded adjuster rings on the bearing caps (if equipped with an ARB/Locker) or requires shimming behind the carrier bearings on standard open/Trac-Lok setups. If shimming, you must pull the carrier, change the shim thickness on the ring gear side, and re-press the bearings to test. This is why a carrier bearing puller that grabs behind the bearing cone without damaging it is essential.
Reassembly Torque Specifications Chart
Adhering to exact torque specifications prevents housing distortion and ensures the differential carrier assembly remains perfectly aligned under heavy torsional loads.
| Component | Hardware Size | Torque Specification | Notes |
|---|---|---|---|
| Ring Gear Bolts | 1/2'-20 x 0.75' | 77 lb-ft (104 Nm) | Apply Loctite 242 |
| Bearing Cap Bolts | M12 or 18mm head | 65 lb-ft (88 Nm) | Must reuse OEM bolts if undamaged |
| Axle Shaft Flange Bolts | M10 | 36 lb-ft (49 Nm) | Do not overtighten; risks stripping housing threads |
| Pinion Nut (Non-R/O) | 1-1/16' or 27mm | 160-220 lb-ft (Crush Sleeve) | Measure rotational drag (15-25 in-lbs) |
Post-Swap Fluid Fill: Protecting the M220 and M210
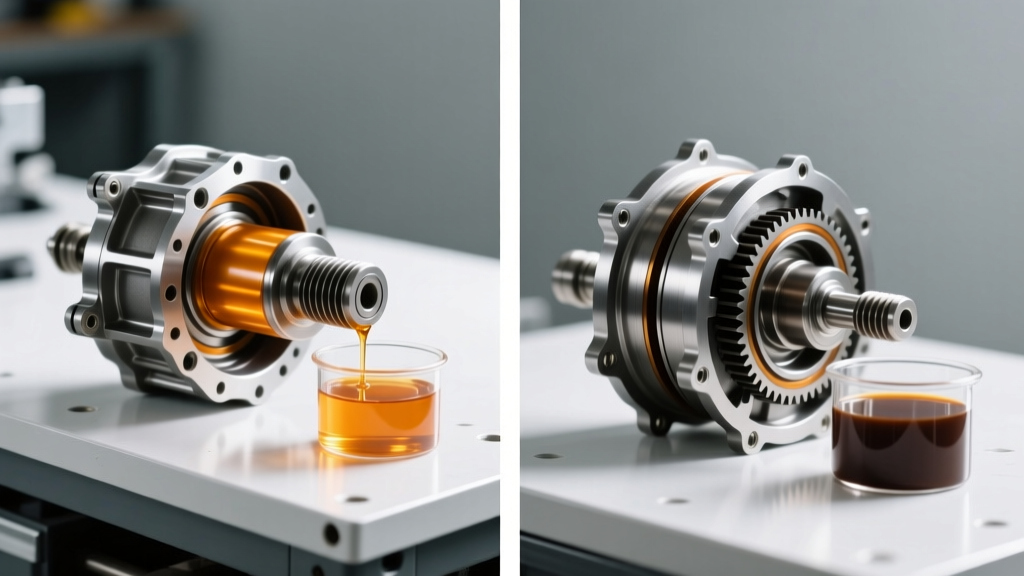
Because this repair fundamentally alters the rotational mass and heat generation of the axle, selecting the correct differential fluid is non-negotiable. The shift to 75W-140 full synthetic gear oil is mandatory for any JL running 37-inch tires or heavier, regardless of the gear ratio chosen.
Capacity and Specifications
- Rear M220 Capacity: 2.0 Liters (68 oz).
- Front M210 Capacity: 1.5 Liters (51 oz).
- Viscosity: SAE 75W-140 API GL-5. We recommend AMSOIL Severe Gear 75W-140 for its superior shear stability under high-torque, low-speed crawling conditions.
The Limited Slip Additive Debate
If your new differential carrier assembly features a clutch-type limited-slip differential (LSD) like the factory Trac-Lok or an Eaton Posi, you must add a friction modifier (e.g., Mopar 4318060AD). Add 2.5 oz per axle, drive the vehicle in tight figure-eights to work the fluid into the clutches, and top off to the bottom of the fill hole. If you have installed a gear-driven locker (Detroit Locker) or an air locker (ARB), do not use friction modifier; it is unnecessary and can reduce the extreme-pressure (EP) additive efficacy of the gear oil.
Final Break-In Procedure
After reassembling the axles, filling with 75W-140, and torquing the cover bolts (or reinstalling the factory stamped steel cover with a new RTV bead), the break-in period begins. Drive the vehicle on the highway for 15-20 miles to bring the differential carrier assembly and ring/pinion up to operating temperature (150°F - 180°F). Allow the axle to cool completely. Repeat this heat cycle three times over the first 500 miles. This process seats the gear teeth pattern and tempers the bearing races, ensuring your new ratio performs flawlessly for the next 100,000 miles.