The Great Debate: Is the Engine Part of the Drivetrain?
One of the most common points of confusion for automotive enthusiasts and everyday drivers alike is a fundamental terminology question: is the engine part of the drivetrain? The short, definitive answer is no. The engine is part of the powertrain, but it is entirely excluded from the drivetrain. Understanding this distinction is not just semantic trivia; it dictates how you diagnose vibrations, how you interpret dealership warranties, and how you trace the path of torque from the crankshaft to the pavement.
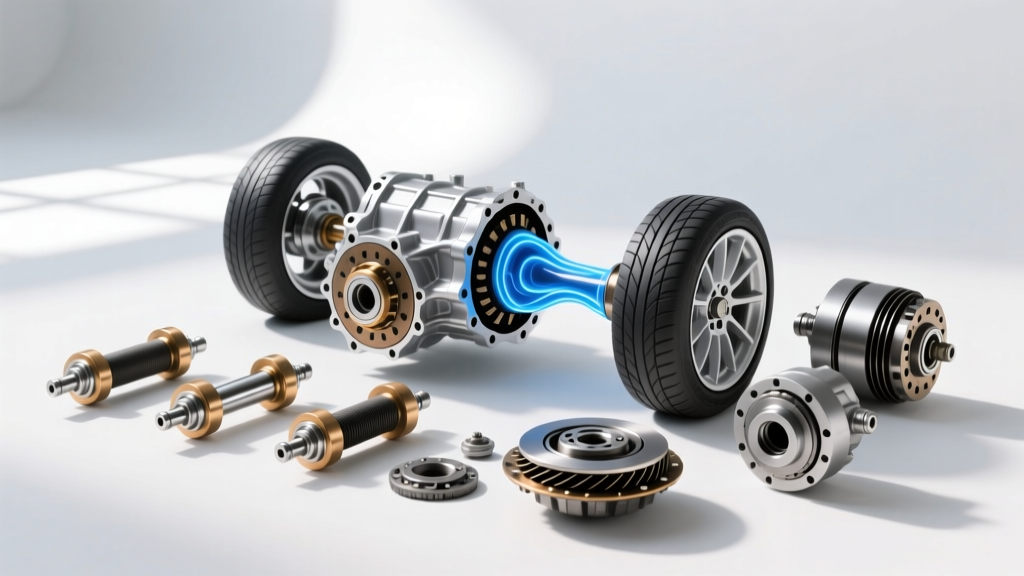
The powertrain encompasses every component involved in generating and delivering power, including the engine, transmission, and drivetrain. The drivetrain, however, begins exactly where the transmission ends. It consists solely of the components that transfer rotational force from the transmission output shaft to the drive wheels. In a rear-wheel-drive (RWD) or four-wheel-drive (4WD) layout, this means the driveshaft, universal joints (U-joints), carrier bearings, differentials, axles, and wheels are strictly drivetrain components. When a U-joint fails, you are experiencing a pure drivetrain malfunction, completely isolated from the engine's internal combustion processes.
Powertrain vs. Drivetrain: The Component Boundary
To visualize exactly where the engine's responsibility ends and the drivetrain's begins, refer to the boundary matrix below. This distinction is critical when dealing with manufacturer warranties, as a 5-year/100,000-mile "drivetrain warranty" will cover a shattered U-joint cross but will categorically deny a claim for a failed engine timing chain.
| System Category | Core Components Included | Primary Function | Warranty Coverage Typical Term |
|---|---|---|---|
| Engine (Powertrain) | Block, heads, crankshaft, pistons, valvetrain, oil pump | Generate rotational mechanical energy via combustion | 5 Years / 60,000 Miles |
| Transmission (Powertrain/Drivetrain overlap) | Gears, torque converter, clutch packs, valve body, output shaft | Multiply torque and manage gear ratios | 5 Years / 60,000 Miles |
| Drivetrain (Strict) | Driveshaft, U-joints, CV joints, differential, axles, hubs | Transfer torque to wheels and allow for suspension articulation | 5 Years / 100,000 Miles |
Anatomy of U-Joint Failure: Physics and Metallurgy
Because the U-joint is the first major drivetrain component to receive raw, unfiltered torque from the transmission output shaft, it endures immense mechanical stress. A standard Spicer 1310-series U-joint must accommodate the angular displacement of the suspension while transmitting thousands of pound-feet of torque.
Failure rarely happens to the massive steel cross itself; instead, it occurs at the microscopic level within the needle bearings. There are two primary failure modes:
- True Brinelling: This occurs when extreme torque loads (such as aggressive drag racing or heavy towing) physically indent the bearing races. The needle bearings push into the steel cap, creating permanent divots that cause a rhythmic clicking and binding.
- False Brinelling (Fretting Corrosion): This is the most common failure mode in daily drivers and weekend trucks. When a vehicle sits for extended periods or operates under light loads, the needle bearings do not rotate fully. They vibrate in place, grinding away the microscopic layer of lubricant. Moisture infiltrates, causing rust dust to form. This abrasive rust paste destroys the bearing from the inside out, leading to the infamous low-speed "squeak" and eventual seizure.
Diagnostic Matrix: Identifying U-Joint Symptoms
Because the drivetrain operates under the vehicle, misdiagnosing a U-joint as a bad wheel bearing or an unbalanced tire is a costly mistake. Use this diagnostic matrix to isolate U-joint failure based on speed and load conditions.
1. The Low-Speed Squeak (5 to 15 MPH)
If your vehicle sounds like a flock of chirping birds when pulling out of a driveway at 5 MPH, but the noise disappears at 30 MPH, your U-joint needle bearings are completely dry. The rotational speed is too low to generate hydrodynamic lubrication, resulting in metal-on-metal dry friction. Action: Immediate replacement. Greasing a squeaking U-joint will not reverse the mechanical wear already done to the needle caps.
2. The Driveline "Clunk" (Shifting P to R or D)
When you shift an automatic transmission from Park into Reverse or Drive, a harsh, metallic "clunk" echoes from beneath the cab. This indicates excessive radial and axial play inside the U-joint trunnions. The torque reversal causes the cross to slam against the worn bearing caps. Note: This can also be caused by excessive differential backlash, so physically checking the U-joint for play is mandatory.
3. High-Speed Resonance (60 to 75 MPH)
A severe vibration that peaks between 60 and 75 MPH, often felt in the floorboards or the seat, points to a seized U-joint. When a U-joint seizes, it can no longer cancel out the velocity fluctuations inherent in its design. This turns the driveshaft into an eccentric, unbalanced weight spinning at over 3,000 RPM. Warning: Ignoring this will eventually destroy the transmission output shaft seal and the differential pinion bearing.
Technical Replacement Guide: Spicer 1310 and 1350 Series
Replacing a U-joint requires precision, cleanliness, and an understanding of driveshaft phasing. According to Spicer Parts engineering guidelines, improper installation is the leading cause of premature aftermarket U-joint failure.
Step 1: Marking for Driveshaft Phasing
Before unbolting the driveshaft from the differential yoke, use a yellow paint pen to draw a continuous line across the driveshaft tube and the yoke. Universal joints operate on a cyclic velocity principle; if the front and rear yokes are not aligned "in-phase" (within 1 degree), the velocity fluctuations will compound rather than cancel, causing catastrophic drivetrain vibration.
Step 2: Extracting the Bearing Caps
Remove the strap bolts or U-bolts. Using a heavy-duty C-clamp or a dedicated hydraulic U-joint press tool, press the cross through the yoke. Never hammer the cross or the yoke ears. Cast iron yokes (common in older GM 10-bolt and 12-bolt differentials) are brittle and will snap under impact loading. If a cap is stubborn, apply penetrating fluid and ensure the opposite cap has been fully unseated.
Step 3: Cleaning and Inspection
Once the old cross is removed, clean the inside of the yoke ears with a wire brush and brake cleaner. Inspect the yoke ears for "ear spread"—if the ears are bent outward from previous over-torquing, the new bearing caps will not seat correctly and will walk out under load, leading to a driveshaft separation at highway speeds.
Step 4: Installation and Seating
Remove two opposing caps from the new U-joint (e.g., Spicer 5-153X or Moog 369 available via RockAuto). Carefully slide the cross into the yoke, ensuring the needle bearings inside the caps are not displaced. A single fallen needle bearing will cause immediate binding. Start the caps by hand, then use the C-clamp to press them inward until the snap-ring grooves are fully exposed. Install the snap rings and strike the yoke ears lightly with a brass drift to seat the caps against the snap rings, relieving binding tension.
Torque Specifications and Hardware Rules
Over-torquing U-joint strap bolts is a rookie mistake that leads to stripped threads in aluminum differential yokes or stretched bolts that snap under torque. Always use new hardware and adhere to the following specifications:
| Hardware Type | Thread Size | Target Torque Specification | Application Notes |
|---|---|---|---|
| Strap Bolts (Standard) | 5/16" - 18 | 15 - 17 lb-ft | Common on Spicer 1310, GM 10-bolt, Ford 8.8 |
| Strap Bolts (Heavy Duty) | 3/8" - 16 | 25 - 30 lb-ft | Common on Spicer 1350, GM 14-bolt, Dana 60 |
| U-Bolt Nuts | 5/16" or 3/8" | 15 - 20 lb-ft | Used on older Saginaw and Spicer yokes; do not overtighten |
Pro Tip: Never use Loctite Red (high-strength) on U-joint strap bolts. The heat required to remove them later will damage the differential pinion seal. Use Loctite Blue (medium-strength) if thread retention is a concern, but properly torqued Grade 8 bolts rarely back out.
2026 Cost Analysis: OEM vs. Aftermarket
As of 2026, the pricing landscape for drivetrain components remains highly competitive, though supply chain shifts have slightly increased the cost of premium forged crosses.
- Spicer 5-153X (1310 Series, Non-Greaseable): $22 - $28 per joint. Non-greaseable joints are preferred for street applications because the solid caps resist dirt ingress and the internal grease volume is precisely calculated for the bearing life.
- Moog 369 (1310 Series, Greaseable): $18 - $24 per joint. Features a zerk fitting. Ideal for off-road or heavy-towing applications where frequent purging of water and grit is necessary.
- Professional Labor Rates: Expect to pay between $150 and $250 per hour in 2026. A standard 2-joint driveshaft replacement takes a seasoned technician roughly 1.2 to 1.5 hours, bringing total shop costs to between $350 and $550.
Final Thoughts on Drivetrain Integrity
Returning to the original question: is the engine part of the drivetrain? No. But the engine's output is only as useful as the drivetrain's ability to deliver it. A 700-horsepower LS-swapped truck is entirely useless if a $25 Spicer 1310 U-joint explodes on the 1-2 shift. By understanding the exact boundary between the powertrain and the drivetrain, respecting the metallurgy of needle bearings, and adhering to strict torque and phasing specifications, you ensure that every ounce of engine torque successfully reaches the tarmac.