The Critical Role of Clutch Inspection in Modern Drivetrains
Dropping a manual transmission is labor-intensive, often requiring 4 to 8 hours of shop time depending on the vehicle architecture. Because the labor cost is so high, accurately diagnosing the health of your clutch assembly before reassembly is non-negotiable. Whether you are rebuilding a classic muscle car with a Tremec T-56 or servicing a daily-driver Subaru WRX with an EJ257, a meticulous inspection dictates whether you can reuse components or must order new replacement clutch kits. This step-by-step guide walks you through the forensic inspection of clutch discs, pressure plates, and flywheels, utilizing exact measurement tolerances and metallurgical failure indicators.
Step 1: Extraction, Cleaning, and Safety
Before measuring anything, the assembly must be properly extracted and cleaned. Never use aggressive brake cleaners on the friction surfaces of a removed clutch disc, as the harsh solvents can strip the binding resins from the organic or ceramic friction material. Instead, use a mild, non-chlorinated aerosol parts cleaner and a soft-bristle brush. Once clean, mount the flywheel to a balancing stand or secure it on a clean bench with the mating surface facing up. According to LuK Technical Documentation, contamination from rear main seal leaks or transmission input shaft seal weeps is the leading cause of premature clutch disc failure, making visual identification of fluid type (engine oil vs. gear oil) your first diagnostic step.
Step 2: Clutch Disc Forensics
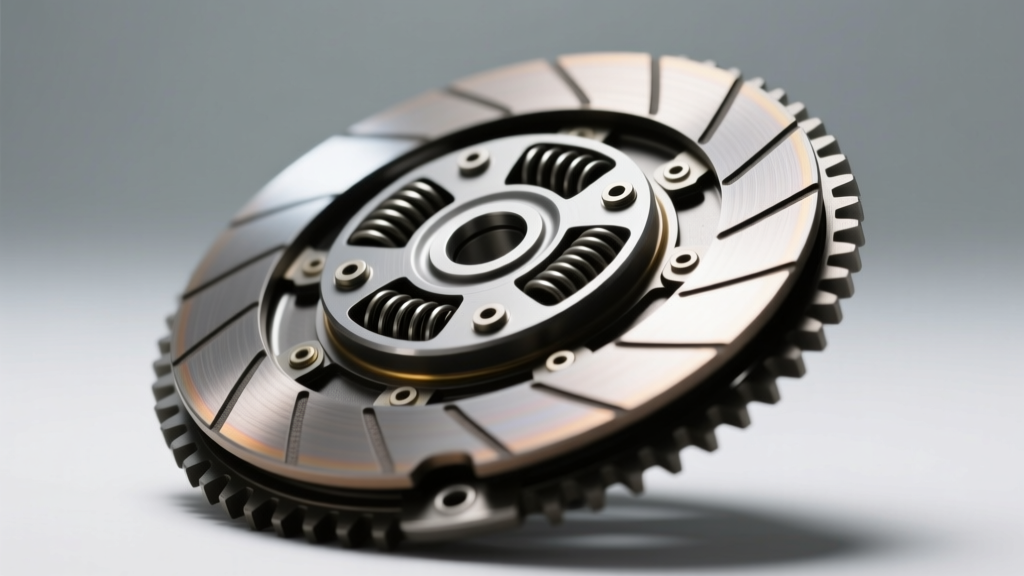
The clutch disc is a complex assembly featuring friction facings, marcel (wave) springs, and a torsional damper hub. Inspect it across three critical vectors:
Friction Material Thickness and Rivet Depth
Using a digital vernier caliper, measure the thickness of the friction material. The absolute minimum distance from the friction surface to the top of the retaining rivets is 0.012 inches (0.3mm). If your measurement is at or below this threshold, the disc must be replaced. Operating a disc with worn rivets will score the cast-iron flywheel and pressure plate, instantly ruining them and necessitating the purchase of complete replacement clutch kits.
Marcel Springs and Torsional Dampers
The marcel springs are the wavy metal strips sandwiched between the two friction facings. They provide progressive engagement, preventing the drivetrain from shocking upon pedal release. Press the facings together with your thumbs; they should compress smoothly and rebound. If they are crushed flat or cracked, engagement will be violent and chatter will occur. Next, inspect the torsional damper springs in the center hub. Hold the disc by the outer edge and rotate the hub back and forth. There should be a firm, damped resistance. If the hub rattles freely or exhibits excessive rotational slop, the internal grease has degraded and the dampers have failed.
Hub Spline Wear
Slide the disc onto the transmission input shaft (or a spare shaft of the same specification). It should slide smoothly without binding, but with zero perceptible radial wobble. Excessive spline wear causes a distinct 'clunk' when shifting into gear or reversing direction, a common issue in high-torque applications like the Ford Mustang GT.
Step 3: Pressure Plate Metallurgy and Diaphragm Health
The pressure plate is subjected to immense clamping loads and extreme thermal cycling. A thorough inspection requires evaluating the friction ring and the diaphragm spring fingers.
Thermal Damage and Bluing
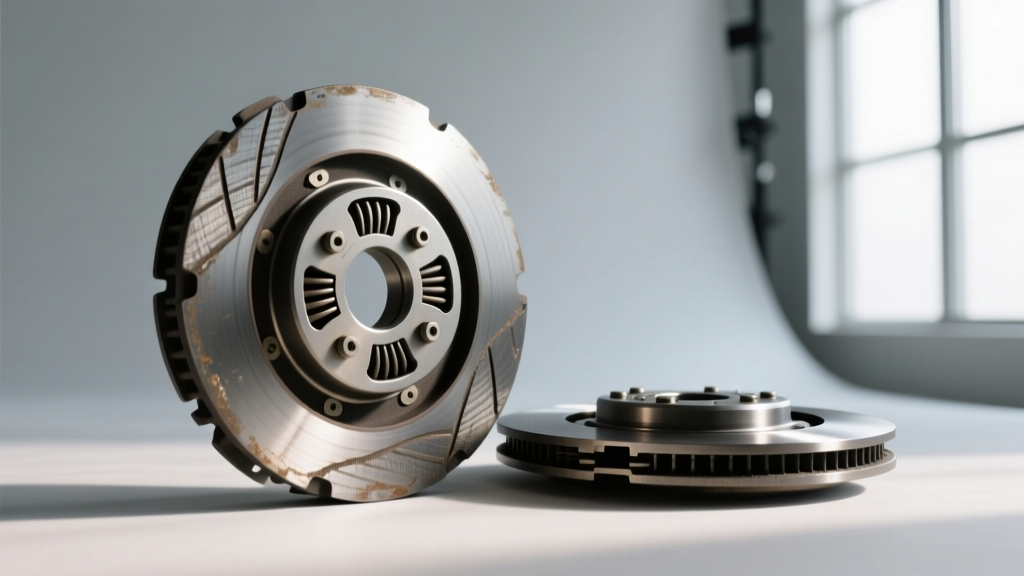
Examine the cast-iron friction surface. A healthy surface is uniform gray. If you observe blue or purple discoloration, the plate has experienced temperatures exceeding 550°F (287°C) due to excessive slipping. This 'bluing' alters the metallurgy, creating hard spots that drastically reduce the coefficient of friction and cause severe clutch chatter. While some old-school machine shops offer to resurface blued pressure plates, modern industry standards from manufacturers like Exedy USA strongly recommend replacement, as resurfacing rarely removes the deep heat-affected zone.
Diaphragm Spring Finger Wear
The release bearing rides against the inner fingers of the diaphragm spring. Inspect these fingers for grooving. A wear groove deeper than 0.020 inches (0.5mm) indicates that the pressure plate has reached the end of its service life. If you install a new release bearing against a deeply grooved diaphragm spring, the new bearing will wear out prematurely and pedal effort will become inconsistent.
Step 4: Flywheel Mating Surface and Runout Limits
Even the best replacement clutch kits will fail prematurely if the flywheel is out of specification. You must check two parameters: surface condition and axial runout.
- Surface Condition: Light scuffing is normal and can be cleaned with emery cloth. Deep grooves, heat cracks, or severe bluing require the flywheel to be resurfaced on a lathe or replaced. Note that Dual Mass Flywheels (DMFs) cannot be resurfaced; they must be replaced if damaged.
- Axial Runout: Mount a dial indicator on a magnetic base attached to the engine block, positioning the needle on the flywheel's friction surface near the outer edge. Rotate the crankshaft 360 degrees. The Total Indicator Reading (TIR) must not exceed 0.005 inches (0.127mm). Excessive runout causes the release bearing to pulse, leading to pedal vibration and premature bearing failure.
Step 5: Dual Mass Flywheel (DMF) Specific Diagnostics
If your vehicle utilizes a DMF (common in modern diesel trucks and European manual cars like the VW Golf GTI), standard runout checks are insufficient. ZF Sachs Technical Guides specify checking both axial and radial play. Using a pry bar, check the axial play between the primary and secondary flywheel masses; it should generally not exceed 1.6mm. Radial play at the ring gear should not exceed 1.5mm. If the internal arc springs are broken, the secondary mass will wobble, destroying the transmission input shaft seal and pilot bearing.
Diagnostic Matrix: Reuse vs. Replace
Use the following matrix to make data-driven decisions on whether to reuse your current hardware or invest in replacement clutch kits.
| Component | Failure Indicator | Measurement / Threshold | Action Required |
|---|---|---|---|
| Clutch Disc Friction | Rivet proximity | < 0.012 in (0.3mm) depth | Replace Disc / Kit |
| Pressure Plate Surface | Thermal bluing / hard spots | Visible blue/purple hue | Replace Pressure Plate |
| Diaphragm Fingers | Release bearing grooving | > 0.020 in (0.5mm) depth | Replace Pressure Plate |
| Flywheel Runout | Axial TIR | > 0.005 in (0.127mm) | Resurface or Replace |
| Hub Torsional Dampers | Rotational slop / rattle | Free-spin without resistance | Replace Disc / Kit |
Selecting and Torquing Replacement Clutch Kits
When your inspection dictates that the current assembly is beyond service limits, sourcing high-quality replacement clutch kits is mandatory. Avoid unbranded, ultra-cheap kits found on discount marketplaces. Stick to OEM-tier manufacturers such as Schaeffler (LuK), ZF (Sachs), or Exedy. For example, a LuK 624-3043-00 RepSet for a GM LS-application includes the disc, pressure plate, release bearing, pilot bearing, and alignment tool, typically pricing between $180 and $250, offering OE-level durability.
Installation Torque Specifications and Best Practices
Proper torque sequencing is just as critical as the inspection itself. Always use a crisscross, star-pattern sequence to draw the pressure plate down evenly, preventing distortion of the diaphragm spring. Below are common torque specifications for popular applications (always verify with your specific factory service manual):
- GM LS-Series (M8 Bolts): 22 lb-ft (30 Nm)
- Ford Modular 4.6L/5.0L (M8 Bolts): 23 lb-ft (31 Nm)
- Subaru EJ-Series (M8 Bolts): 12 lb-ft + 90-degree turn
- Porsche 911 (M8 Bolts): 17 lb-ft (23 Nm)
Expert Tip: Never over-grease the transmission input shaft splines. A thin, even coat of high-temperature molybdenum disulfide grease (such as Honda Moly 60 or dedicated Sachs spline grease) is all that is required. Excess grease will be flung outward by centrifugal force once the drivetrain spins, contaminating the new friction disc and causing immediate slip.
By adhering to these strict inspection protocols, measurement thresholds, and installation procedures, you ensure maximum longevity and optimal drivability. Skipping the forensic inspection phase is a gamble that often results in having to pull the transmission all over again—a costly mistake that underscores the value of premium replacement clutch kits and meticulous mechanical practice.