The Shift to Hydraulics in Modern Motocross and Enduro
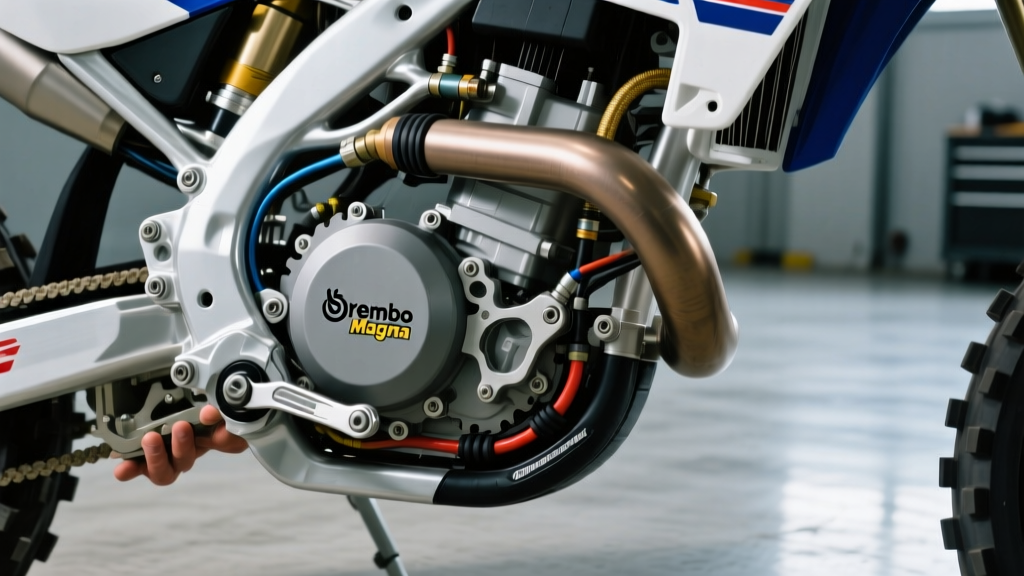
Modern off-road motorcycles have largely abandoned cable-actuated systems in favor of hydraulic precision. Whether you are riding a 2026 KTM 450 SX-F or a Husqvarna TE 300, the hydraulic clutch offers consistent lever feel and self-adjusting wear compensation. However, this sophistication means that traditional cable-tightening methods are obsolete. When researching clutch adjustment dirt bike forums, riders often confuse hydraulic self-adjustment with zero-maintenance. In reality, hydraulic systems require meticulous fluid management, precise pushrod clearance verification, and systematic bleeding to prevent catastrophic transmission damage or clutch drag.
Fluid Dynamics: Mineral Oil vs. DOT Specifications
The most critical error in dirt bike clutch maintenance is cross-contaminating hydraulic fluids. Manufacturers strictly dictate the fluid type based on the master cylinder seal materials (EPDM vs. Nitrile). Mixing these will cause seals to swell, dissolve, and fail mid-ride.
| System Brand | Required Fluid | Chemical Base | Boiling Point (Dry) | Service Interval |
|---|---|---|---|---|
| Magura (KTM/Husqvarna pre-2023) | Magura Blood | Mineral Oil | N/A (Non-hygroscopic) | 2 Years / 40 Hours |
| Brembo (KTM/GasGas 2024-2026) | DOT 4 or DOT 5.1 | Glycol Ether | 230°C (DOT 4) / 270°C (DOT 5.1) | 1 Year / 20 Hours |
Always consult your specific OEM manual. Using DOT fluid in a Magura mineral oil system will destroy the internal EPDM rubber cups within weeks, leading to a complete loss of hydraulic pressure.
Step-by-Step Hydraulic Clutch Adjustment Dirt Bike Procedures
Unlike cable systems, hydraulic clutch adjustment dirt bike procedures focus on fluid dynamics, lever geometry, and pushrod clearance rather than simple barrel adjusters. Follow these precise steps to ensure optimal engagement and disengagement.
1. Lever Reach and Free Play Verification
Hydraulic clutches do not require manual free-play adjustment at the lever perch; the slave cylinder compensates for clutch pack wear. However, lever reach (the distance from the grip to the lever) must be set to prevent the master cylinder piston from blocking the compensation port. If the piston does not fully retract, the clutch will slip under heavy load due to trapped hydraulic pressure.
- Target Measurement: 10mm to 15mm clearance between the lever tip and the grip at the pivot point.
- Adjustment Method: Use the reach adjuster dial (usually a 2mm Allen or flathead) on the master cylinder.
2. Slave Cylinder Pushrod Clearance (The Hidden Adjustment)
This is where most DIY mechanics fail. The pushrod connecting the slave cylinder to the clutch actuator arm must have a slight amount of free play. If the pushrod is pre-loaded (zero clearance), the clutch will slip. If it has too much play, the clutch will drag and cause gear clunking or stalling.
- Inspection: Remove the slave cylinder (typically two M6 bolts, 10mm head).
- Measurement: Push the actuator arm inward. You should feel 1mm to 2mm of free movement before resistance from the clutch springs begins.
- Correction: If clearance is out of spec, inspect the pushrod for wear (replace if grooved) or check the clutch pack thickness. A worn clutch pack pushes the actuator arm outward, eliminating pushrod clearance.
Diagnostic Matrix: Symptoms and Solutions
Use this diagnostic framework to isolate hydraulic failures from mechanical clutch pack wear.
| Symptom | Primary Suspect | Diagnostic Test | Solution |
|---|---|---|---|
| Spongy Lever / Pumping Required | Air in hydraulic line | Lever feels soft, returns slowly | Perform vacuum bleed; check banjo bolt copper washers |
| Clutch Drag / Hard Shifting | Notched actuator arm or air lock | Put bike in gear, pull lever; bike creeps forward | Bleed system; inspect slave cylinder pushrod and actuator arm for grooving |
| Clutch Slipping Under Load | Blocked compensation port or worn plates | RPMs climb without speed increase in 3rd/4th gear | Adjust lever reach to ensure full piston retraction; measure clutch pack thickness |
| Hard Lever Pull | Contaminated fluid or glazed pushrod | Lever requires excessive force, feels gritty | Flush system; lubricate pushrod with moly grease; inspect master cylinder bore |
Bridging Hydraulics and Mechanical Wear: Clutch Pack Measurements
Because hydraulic systems self-adjust, a failing clutch pack will not result in a loose lever like a cable system. Instead, the slave cylinder piston will simply extend further out of its bore. If you find your slave cylinder piston is extended more than 15mm from its resting position, your hydraulic system is fine, but your clutch pack is critically worn. Diagnosing this correctly saves you from unnecessarily rebuilding the master cylinder.
OEM Clutch Pack Specifications (Typical 450cc 4-Stroke)
| Component | New Thickness | Service Limit (Replace) | Quantity |
|---|---|---|---|
| Friction Plates | 3.00 mm | 2.70 mm | 7 to 9 plates |
| Steel Drive Plates | 1.50 mm | 1.40 mm (or warped >0.1mm) | 6 to 8 plates |
| Clutch Springs | 50.0 mm (Free length) | 47.5 mm | 5 to 6 springs |
Always measure friction plates after soaking them in the recommended engine oil (e.g., 10W-50 or 15W-50 full synthetic) for at least 30 minutes, as the cork or Kevlar material expands when saturated. Use a digital micrometer, not calipers, to ensure you are not compressing the friction material and getting a false reading.
Environmental Hazards: Mud, Water, and Seal Degradation
Dirt bikes operate in extreme environments. Deep water crossings, muddy enduro races, and high-pressure washing introduce unique threats to hydraulic clutch systems. The slave cylinder breather hole is particularly vulnerable. If submerged, water can be drawn into the hydraulic chamber via capillary action as the system cools down after a hot moto.
- Water Contamination: In DOT fluid systems, water lowers the boiling point drastically, leading to vapor lock and a spongy lever when the engine heats up the slave cylinder.
- High-Pressure Washing: Never aim a pressure washer directly at the master cylinder reservoir diaphragm or the slave cylinder dust boot. This forces grit past the seals, scoring the aluminum bore and causing permanent fluid bypass.
- Preventive Coating: Apply a silicone-based protectant to the rubber dust boots of the slave cylinder to prevent UV cracking and mud adhesion. Avoid petroleum-based lubricants like WD-40, which will cause EPDM rubber to swell and fail.
Preventive Maintenance: Bleeding and Torque Specifications
Proper bleeding is the cornerstone of hydraulic clutch health. Gravity bleeding is insufficient for dirt bikes due to the routing of the hydraulic line over the steering stem, which traps air bubbles.
Essential Tools and Torque Specs
- Syringe Bleed Kit: Motion Pro Part #08-0472 (Approx. $25). Syringe bleeding from the slave cylinder upward forces air out of the master cylinder reservoir.
- Banjo Bolt (M10x1.0): Torque to 10-12 Nm. Always replace the two copper crush washers (Part #50305018000 for KTM) to prevent micro-leaks.
- Slave Cylinder Bleeder Screw: Torque to 4-6 Nm. Over-torquing will strip the soft aluminum slave body.
- Master Cylinder Mounting Bolts (M6): Torque to 8-10 Nm with medium Loctite 243.
Rebuild Intervals and Component Pricing
Hydraulic seals degrade due to heat, moisture absorption (in DOT systems), and mechanical friction. Do not wait for a failure on the trail. Rebuild the master and slave cylinders based on hour meters.
- Brembo Master Cylinder Rebuild Kit: Part #10.4760.87 (Retail: $35 - $45). Includes the primary piston, return spring, and EPDM seals. Rebuild every 100 hours.
- Magura Slave Cylinder Seal Kit: Part #2780145 (Retail: $20 - $28). Includes the internal piston O-ring and dust boot. Rebuild every 80 hours or if fluid is weeping from the breather hole.
- Complete Slave Cylinder Assembly (AJP/Brembo): $85 - $120. Replace if the internal aluminum bore is scored beyond polishing with 600-grit sandpaper.
For authoritative technical documentation on seal compatibility and bleeding procedures, refer to the Magura Motorcycle Tech Support portal or the Brembo Motorcycle Division guidelines. Additionally, investing in quality tools from Motion Pro ensures you do not damage delicate bleeder valves during maintenance.