Comprehensive Under-Hood Clutch Preventive Maintenance
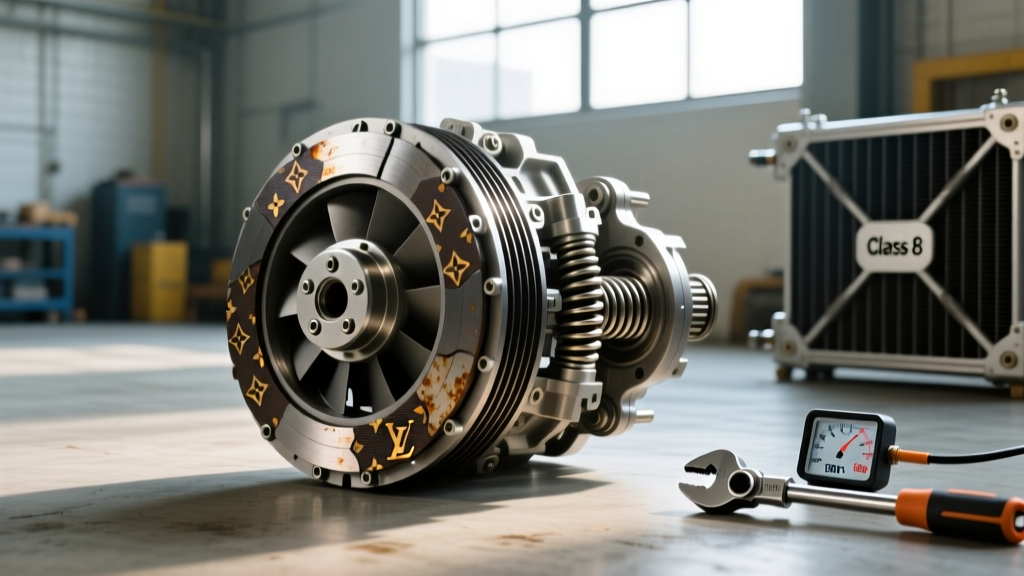
When automotive technicians and DIY enthusiasts approach preventive maintenance, the focus often narrows to engine oil and brake pads. However, a true 2026 preventive maintenance guide must address all clutch systems operating under the hood. This includes the high-pressure hydraulic manual transmission clutch and the electromagnetic AC compressor clutch. While they serve entirely different mechanical purposes, both rely on precise clearances, clean fluid or electrical connections, and specific engagement parameters to function reliably. In this guide, we will perform a deep-dive hydraulic clutch system diagnosis and detail exactly how to check AC compressor clutch components to prevent catastrophic failures and expensive towing bills.
Hydraulic Clutch System Diagnosis: Core Preventive Checks
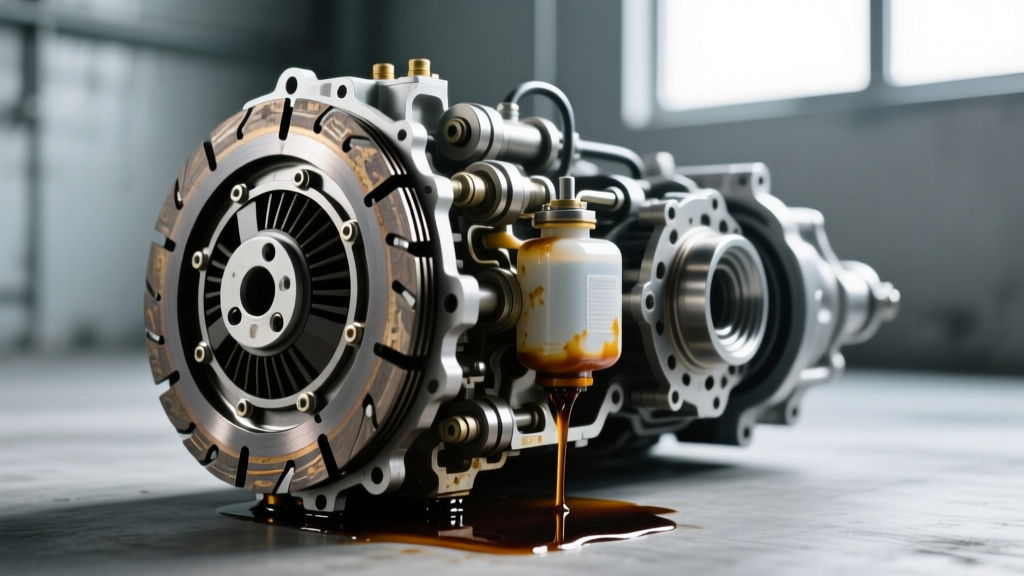
Modern manual transmissions rely on a closed-loop hydraulic system consisting of a Clutch Master Cylinder (CMC), hydraulic lines, and a Concentric Slave Cylinder (CSC) or external slave actuator. Unlike older cable-driven systems, hydraulic setups are self-adjusting but highly susceptible to fluid degradation and internal seal bypassing.
Master Cylinder Pushrod and Free Play Inspection
The first step in hydraulic clutch system diagnosis is verifying the CMC pushrod adjustment. An improperly adjusted pushrod will either cause clutch slip (if too tight) or harsh engagement (if too loose). Using a feeler gauge, measure the free play between the pedal pushrod and the CMC piston. The target specification for most modern passenger vehicles (including Honda, Subaru, and Ford performance models) is 0.5mm to 1.0mm. If your vehicle uses an adjustable firewall-mounted CMC (like the popular FTE KN19032 or LuK LMC134), adjust the 10mm locknuts until the exact free play is achieved.
Fluid Analysis and Moisture Testing
Hydraulic clutch systems share the same fluid reservoir as the brake system in many vehicles, but the clutch circuit operates at lower volumes and is prone to moisture accumulation. Standard DOT 3 or DOT 4 fluid is hygroscopic. Use a digital brake fluid tester to check moisture content. If moisture exceeds 2.5%, the fluid must be flushed. For vehicles equipped with integrated ESP (Electronic Stability Program) hydraulic actuators, you must use DOT 4 Low Viscosity (LV) fluid to ensure proper cold-weather pedal response. Always verify the cap label; some specialized European hydraulic actuation systems require Pentosin CHF 11S instead of standard DOT fluid.
Pedal Feel Diagnostics: Identifying Hydraulic Failures
Translating pedal feedback into mechanical faults is the cornerstone of clutch system diagnostics. Use the table below to cross-reference your pedal symptoms with the appropriate hydraulic fault and diagnostic action.
| Hydraulic Symptom | Probable Cause | Diagnostic Action & Specification |
|---|---|---|
| Pedal Sinking to Floor | CMC Internal Seal Bypass | Hold pedal static at 50% travel for 60 seconds. If it creeps downward without external fluid leaks, the CMC internal cups are bypassing. Replace CMC. |
| Spongy or Vague Pedal | Aerated Fluid / Micro-leaks | Perform reverse pressure bleeding using a Motive Products 0107 bleeder at 15-20 PSI. Inspect the CSC weep hole at the bellhousing for dampness. |
| Hard Pedal / Binding | CMC Pushrod Misadjusted or Line Kink | Verify 1.0mm free play. Inspect the flexible rubber hydraulic line between the chassis and transmission for internal delamination. |
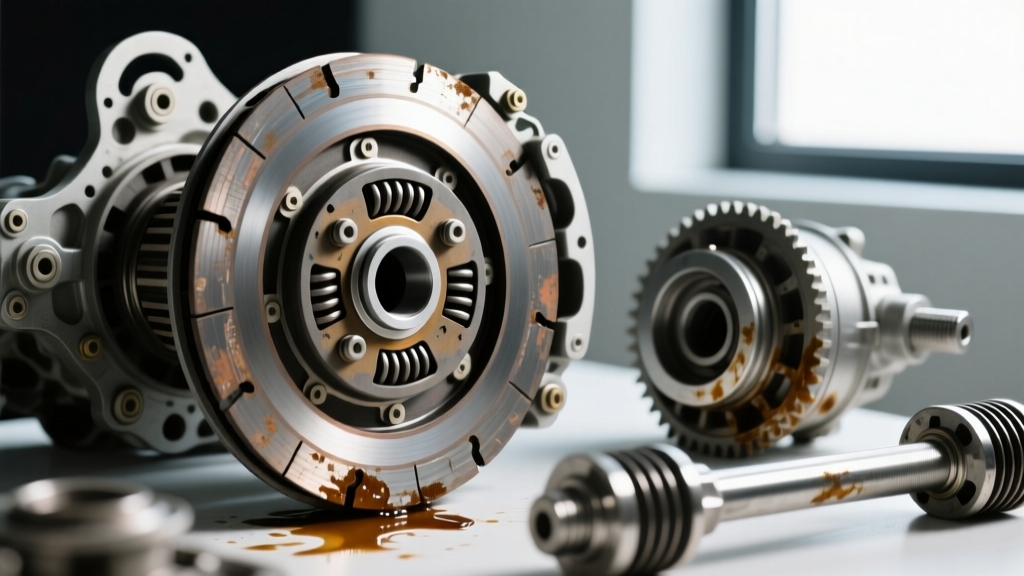
| Chatter on Engagement | Contaminated Friction Disc | Inspect the bellhousing inspection cover. If hydraulic fluid is slung around the flywheel, the CSC is leaking and contaminating the clutch disc. |
Advanced Diagnostics: CSC Torque and Replacement
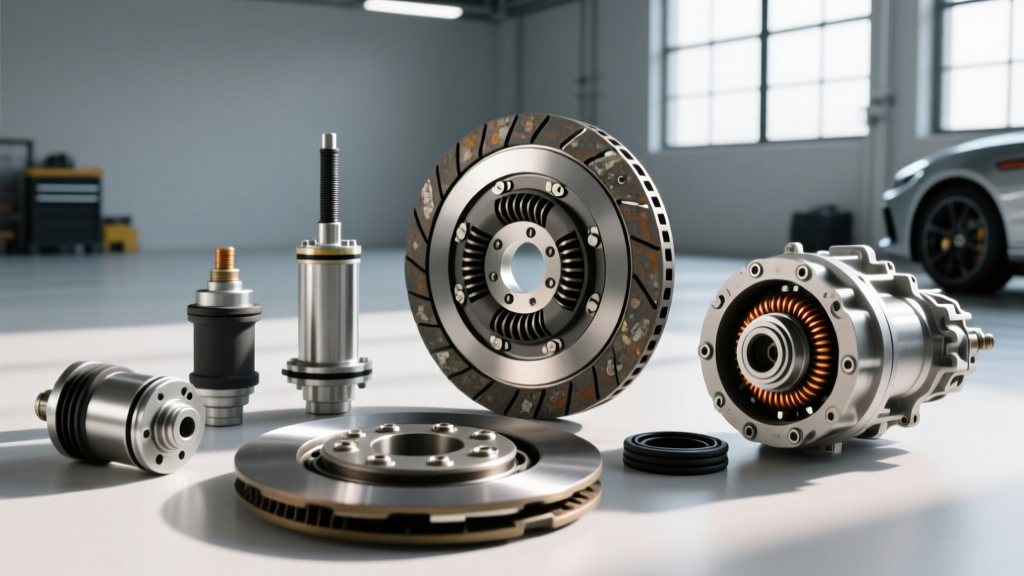
If diagnosis points to a failed Concentric Slave Cylinder (CSC), replacement requires transmission removal. When installing a new CSC (such as a Schaeffler LuK RepSet), cleanliness and torque specifications are paramount. The CSC mounting bolts (typically M6 or M8) must be torqued to 10-12 Nm or 22-25 Nm, respectively, depending on the bellhousing material. Over-torquing can crack the polymer housing of modern lightweight slave cylinders, while under-torquing leads to misalignment and premature release bearing wear. According to technical bulletins from Schaeffler REPXPERT, the hydraulic line must be pre-filled with fluid before connecting it to the CSC to prevent air from becoming trapped in the actuator's internal galleries.
How to Check AC Compressor Clutch Systems
Shifting from the drivetrain to the front-end accessory drive (FEAD), the electromagnetic AC compressor clutch requires a completely different diagnostic approach. If your cabin cooling is failing, knowing how to check AC compressor clutch components will save you from unnecessarily replacing a $600 compressor when a $40 coil or relay is the actual culprit.
Visual Inspection and Air Gap Measurement
The most common mechanical failure in traditional electromagnetic AC clutches (found on Sanden SD7V16 and Denso 10S17C compressors) is air gap deviation due to friction plate wear. 1. Locate the compressor clutch hub at the front of the pulley. 2. Insert a feeler gauge between the clutch hub plate and the pulley rotor. 3. The factory specification for the air gap is strictly 0.3mm to 0.6mm (0.012' to 0.024'). If the gap exceeds 0.8mm, the electromagnetic coil lacks the magnetic force to pull the clutch in, resulting in intermittent engagement or total failure. If the gap is less than 0.2mm, the clutch will drag, causing severe heat buildup and pulley bearing failure. Shims can be removed or added behind the hub plate to correct this clearance.
Electromagnetic Coil Resistance Testing
To test the electrical integrity of the clutch coil, you must use a digital multimeter. 1. Disconnect the electrical connector leading to the compressor clutch. 2. Set your multimeter to the Ohms (Ω) setting, typically the 200 scale. 3. Probe the two terminals on the compressor-side connector. According to standards outlined by Mobile Air Climate Systems (MACS), a healthy AC clutch coil should read between 3.0 and 5.0 ohms at ambient room temperature (68°F / 20°C). - If the meter reads 'OL' (Open Loop), the internal copper windings are broken, and the coil must be replaced. - If the meter reads near 0.0 ohms, the coil has an internal short and will blow the AC clutch fuse upon engagement.
Voltage Drop and Thermal Protection Checks
A coil with correct resistance will still fail to engage if it is not receiving adequate voltage. Backprobe the chassis-side connector with the engine running and the AC set to maximum cooling. You should read within 0.5V of the alternator's output (typically 13.8V to 14.4V). If voltage is low, perform a voltage drop test across the AC clutch relay and the wiring harness. Furthermore, modern Denso compressors feature an internal thermal fuse embedded in the clutch coil. If the compressor seizes mechanically, the friction generates enough heat to melt this one-time-use thermal fuse, permanently disabling the clutch to prevent a snapped serpentine belt. If your coil reads 'OL', verify that the compressor shaft spins freely by hand before replacing the electrical components.
Preventive Maintenance Schedule & 2026 Cost Expectations
Integrating these clutch system checks into your annual maintenance routine ensures longevity and predictable repair costs. Below is the recommended preventive maintenance schedule and current market pricing for parts and labor.
- Hydraulic Fluid Flush: Every 2 years or 30,000 miles. Expect to pay $80 to $120 at a shop, or $15 for a bottle of premium DOT 4 LV fluid for a DIY reverse-bleed.
- CMC Replacement: Typically required between 80,000 and 120,000 miles. Parts range from $150 to $350 (OEM or premium aftermarket like FTE/LuK), with 1.5 hours of labor.
- AC Clutch Air Gap Check: Inspect every 40,000 miles or during serpentine belt replacements. Cost: Free (requires only a feeler gauge).
- AC Clutch Coil/Hub Replacement: If the coil fails or the air gap cannot be adjusted via shims, a complete clutch assembly kit costs $60 to $150. Labor is roughly 1 hour if the compressor can be unbolted and moved aside without evacuating the refrigerant system.
By mastering hydraulic clutch system diagnosis and understanding how to check AC compressor clutch parameters, you eliminate guesswork from under-hood repairs. Whether you are bleeding a concentric slave cylinder to 20 PSI or measuring a 0.4mm clutch air gap with a feeler gauge, precision diagnostics remain the ultimate tool in any automotive enthusiast's arsenal.