Understanding the Honda VTM-4 System and Rebuild Triggers
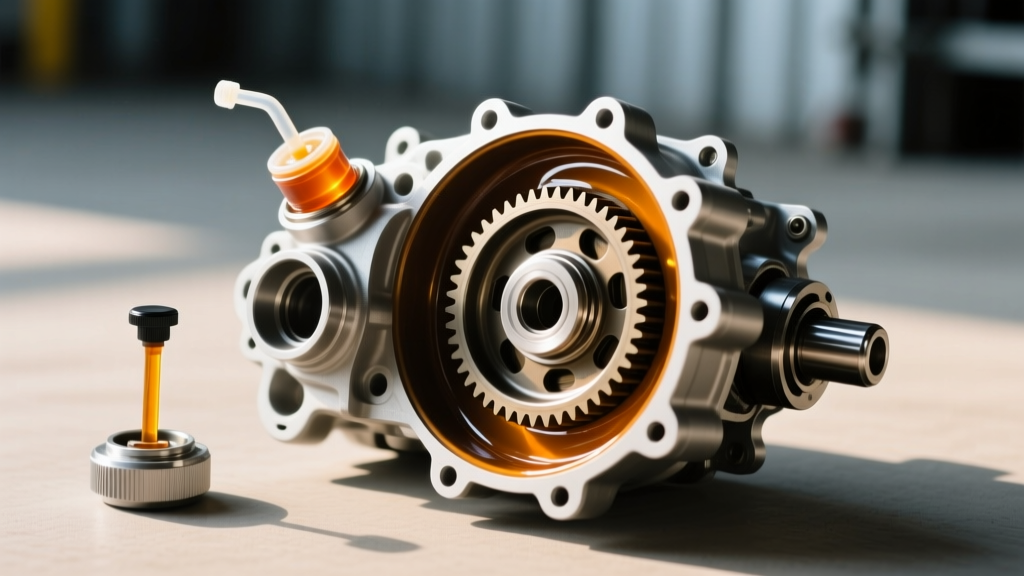
The Variable Torque Management 4WD (VTM-4) system, found in the Honda Pilot, Ridgeline, and select Odyssey AWD models, relies on an electronically controlled electromagnetic clutch pack to distribute torque to the rear wheels. Unlike traditional mechanical limited-slip differentials, the VTM-4 unit uses specialized wet clutches that require highly specific friction modifiers. When owners neglect the honda vtm 4 rear differential fluid change intervals, or when internal bearings and seals reach the end of their service life, a complete differential rebuild becomes necessary.
Common triggers for a VTM-4 teardown include severe shudder during tight low-speed turns, a distinct whining or howling noise from the rear axle, and the presence of metallic glitter or heavy clutch material in the drained fluid. A full rebuild restores the unit to factory specifications, but it demands precision, specialized tools, and strict adherence to Honda's proprietary fluid requirements.
Fluid Specifications: Why the Honda VTM 4 Rear Differential Fluid is Non-Negotiable
The most critical mistake DIYers and general repair shops make is substituting standard 75W-90 or 80W-90 gear oil in a VTM-4 unit. Standard gear oils lack the proprietary friction modifiers required for the VTM-4's electromagnetic clutch pack. Using the wrong fluid will cause immediate clutch glazing, severe binding, and eventual destruction of the friction discs.
| Specification | Requirement | Notes |
|---|---|---|
| Fluid Type | Honda VTM-4 Differential Fluid | Do NOT substitute with standard GL-5 gear oil |
| OEM Part Number | 08200-9003 | Available via Honda Parts Now or local dealers |
| Total Capacity | 3.0 US Quarts (2.8 Liters) | Requires roughly 4 bottles for fill and clutch soaking |
| Service Interval | 15,000 miles (severe) / 30,000 miles (normal) | Shorter intervals required for towing or off-road use |
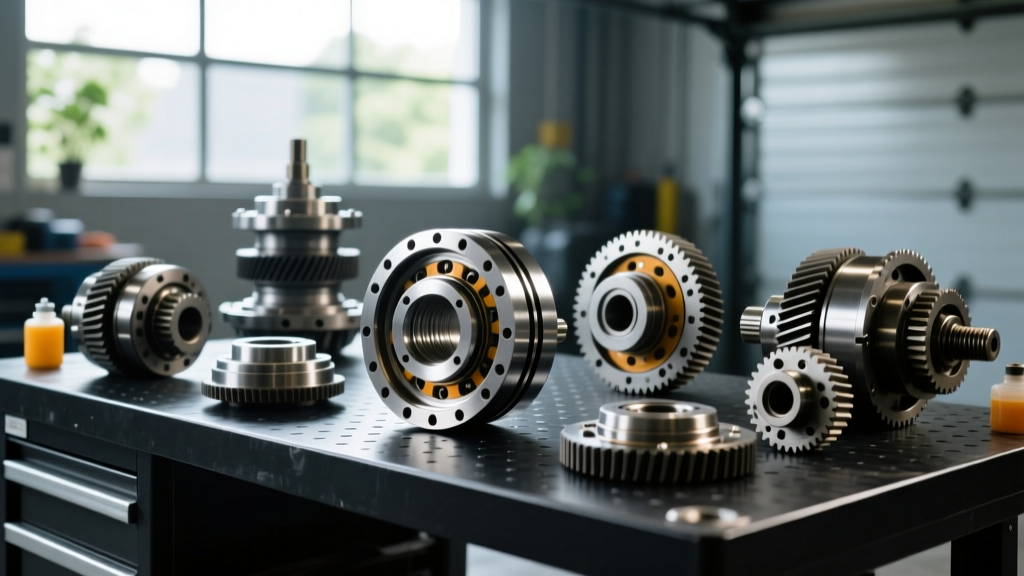
When sourcing parts for your rebuild, you will also need a complete seal kit, a clutch pack assembly (friction and separator plates), and potentially new carrier bearings. Aftermarket bearings from reputable manufacturers like NTN or SKF can be sourced through RockAuto to save on OEM dealer markup, but the fluid must remain strictly OEM.
Step 1: Draining and Pre-Teardown Inspection
Before removing the differential from the vehicle, drain the existing fluid to inspect for catastrophic failure signs. Remove the 17mm drain plug (located at the bottom of the rear cover) and let the fluid empty into a catch pan. Inspect the magnetic drain plug. A fine, dark paste is normal wear; large metallic chips or brass-colored shavings indicate bearing or cage failure, necessitating a full case inspection.
Once drained, remove the rear propeller shaft. Mark the flange and shaft with a paint pen to ensure proper phasing upon reinstallation. Unbolt the differential from the rear subframe and lower it using a transmission jack. Secure the unit in a heavy-duty bench vise using soft jaws to prevent case distortion.
Step 2: Case Splitting and Electromagnetic Coil Diagnostics
Remove the rear cover bolts (14mm) in a crisscross pattern. Carefully separate the rear cover from the main case. Inside, you will find the clutch pack assembly and the electromagnetic coil. Before tearing down the clutch pack, you must test the coil to ensure it is not the root cause of your AWD failure.
Using a digital multimeter, measure the resistance across the coil connector pins. At room temperature (approx. 68°F / 20°C), the resistance should read between 2.5 and 4.5 ohms. If the coil reads open (infinite resistance) or shorted (near zero ohms), it must be replaced. A faulty coil will prevent the PCM from engaging the rear axle, mimicking a mechanical clutch failure.
Step 3: Clutch Pack Disassembly and Bearing Replacement
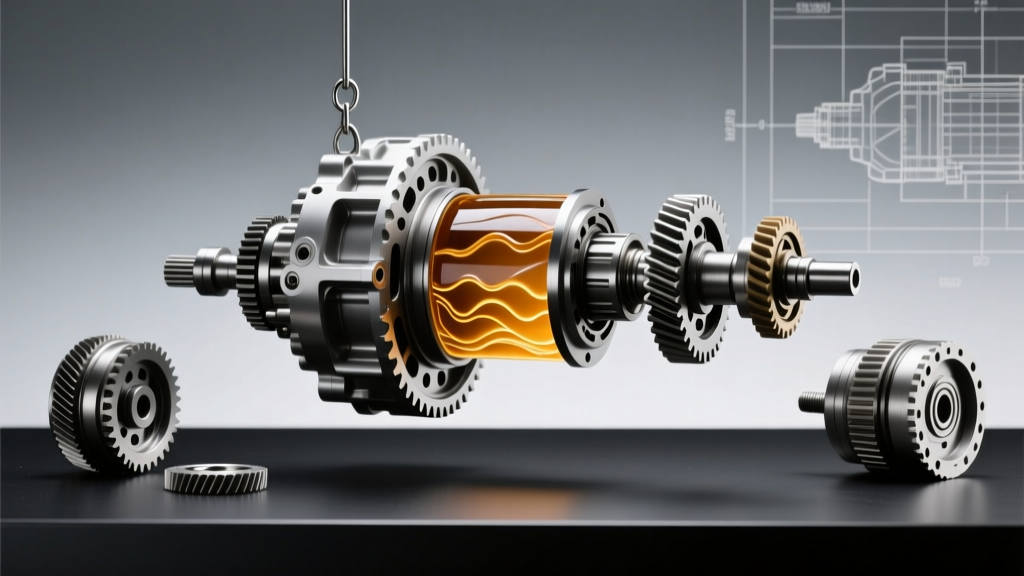
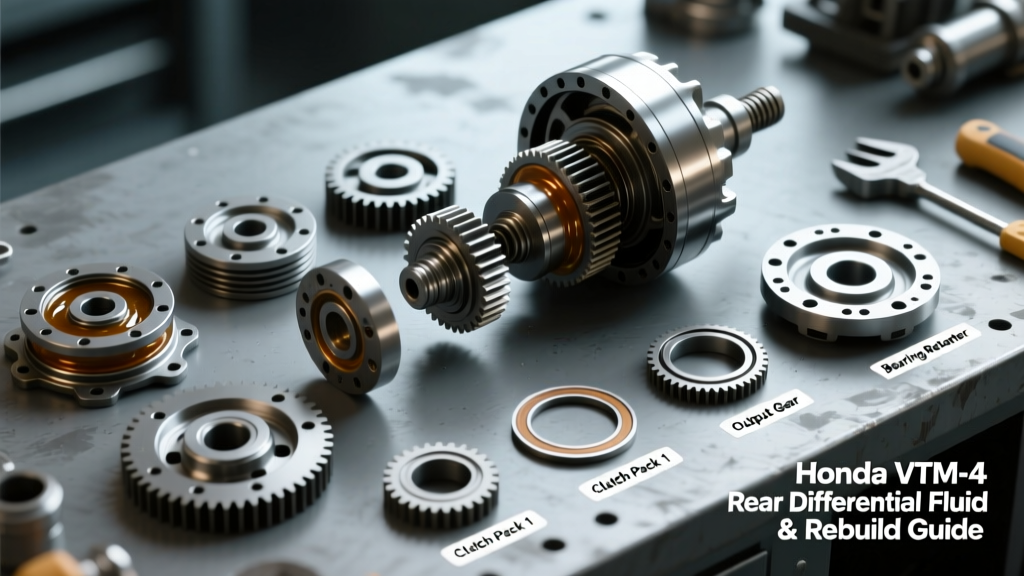
Extract the clutch drum and carefully remove the alternating friction and separator plates. Note the exact order and orientation of the plates, as well as the location of the Belleville spring (dished washer) and snap rings. Measure the thickness of the friction plates using a micrometer. If any plate is below the Honda service limit (typically 1.45mm), or if the separator plates show bluing from heat, the entire pack must be replaced.
Next, press out the carrier bearings and pinion bearings using a hydraulic press and appropriate bearing splitter attachments. Inspect the bearing races pressed into the aluminum case for pitting or spalling. If the case is damaged, a used differential housing from a salvage yard may be required, as Honda does not sell the bare case new.
Step 4: Reassembly and Critical Torque Specifications
Crucial Step: Before installing the new friction plates, they must be soaked in genuine honda vtm 4 rear differential fluid for a minimum of 30 minutes. Installing dry clutches will result in immediate burnout upon the first engagement.
Reinstall the bearings using a press, ensuring they are seated squarely. Reassemble the clutch pack into the drum, alternating friction and steel plates, and secure the assembly with the snap ring. When reinstalling the ring gear and propeller shaft flange, precise torque is vital to prevent gear whine and flange separation.
| Component | Torque Specification | Thread Size / Notes |
|---|---|---|
| Drain & Fill Plugs | 33 lb-ft (45 Nm) | 17mm hex, always use new crush washers |
| Rear Cover Bolts | 27 lb-ft (37 Nm) | Apply liquid gasket (Honda P/N 08718-0012) |
| Ring Gear to Case | 87 lb-ft (118 Nm) | Use new stretch bolts if specified by year |
| Propeller Shaft Flange Nut | 134 lb-ft (181 Nm) | Stake the nut collar after torquing |
Apply a continuous 2mm bead of Honda Ultra-Guard liquid gasket to the mating surface of the rear cover. Do not use RTV silicone, as it can break off and clog the internal fluid pickup galleries. Torque the cover bolts to 27 lb-ft in a star pattern.
Step 5: Refilling with Honda VTM 4 Rear Differential Fluid
With the differential reinstalled in the vehicle and the propeller shaft reconnected, the refill process begins. Remove the 17mm fill plug located on the side of the rear cover. Using a fluid transfer pump, inject the genuine Honda VTM-4 fluid into the fill hole.
The unit is full when the fluid begins to weep out of the bottom edge of the fill hole. However, because the internal clutch pack and galleries trap air, you must let the vehicle sit for 10 minutes, then add more fluid until it weeps again. Reinstall the fill plug with a new crush washer and torque to 33 lb-ft. Repeat for the drain plug.
Post-Rebuild Calibration and Test Drive
Unlike some modern AWD systems that require a bi-directional OBD2 scan tool to reset clutch wear values, the VTM-4 system is largely analog in its mechanical calibration. However, a proper bedding-in procedure is required. Drive the vehicle at 30-40 mph on a dry, paved road. Perform five or six moderate acceleration runs from a stop to engage the rear clutches and distribute the friction modifiers evenly across the new plates.
Finally, perform a tight figure-eight maneuver in an empty parking lot at 5-10 mph. This forces the VTM-4 clutch pack to slip slightly, verifying that the specialized fluid is preventing binding. If the rear axle hops or binds during this test, immediately stop and verify that the correct fluid was used and that the clutch pack was assembled in the proper order. For further OEM fluid verification and part cross-referencing, consult Bernardi Parts to ensure your specific VIN requires the standard 08200-9003 fluid.