The Anatomy of the Honda Real-Time AWD 'Groan'
If you own a Honda CR-V, Pilot, Element, or Ridgeline equipped with the Real-Time All-Wheel-Drive system, you are likely familiar with a very specific, unnerving symptom: a low-frequency groaning or shuddering noise emanating from the rear axle during tight, low-speed turns. Before you assume your ring and pinion gears are failing or your rear axle bearings are shot, you need to understand the unique hydraulic architecture of Honda's Dual Pump system. More importantly, understanding the true honda rear differential fluid change cost is critical for maintaining this system and curing the dreaded 'Honda Groan' before permanent mechanical damage occurs.
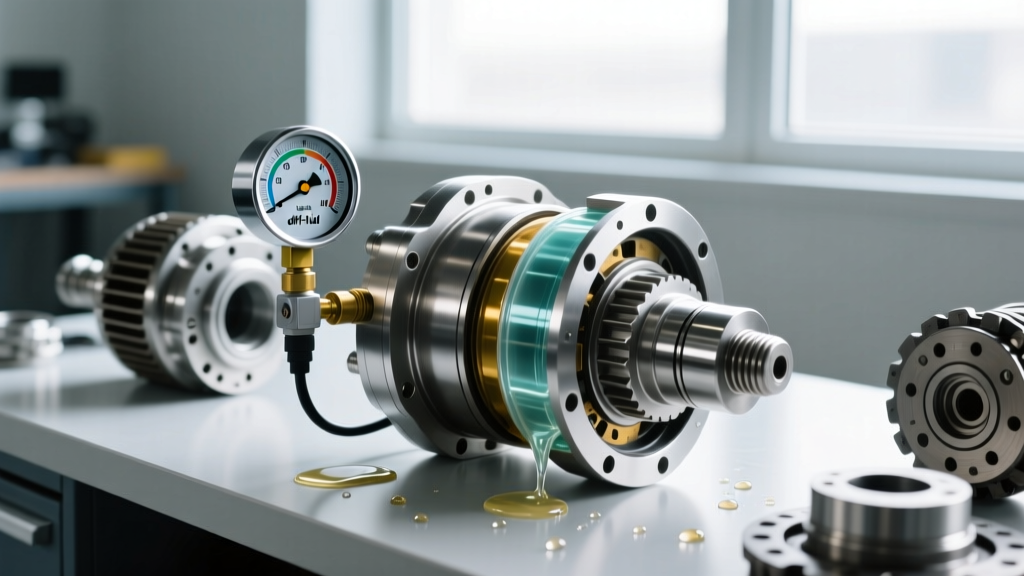
Unlike traditional mechanical limited-slip differentials that rely on clutch packs preloaded by springs, or Haldex-based AWD systems that use electronic solenoids, Honda’s older Real-Time AWD system is purely hydraulic. It utilizes two hydraulic pumps: one driven by the front axle and one by the rear. Under normal traction, both pumps spin at the same speed, maintaining equal fluid pressure. When the front wheels slip, the front pump spins faster, creating a pressure differential that actuates a spool valve. This valve routes pressurized fluid to a wet clutch pack, locking the rear axle to the front.
The groan occurs when the specialized friction modifiers in the differential fluid break down due to heat and shear stress. Without these modifiers, the wet clutches do not engage smoothly; instead, they rapidly grab and release (chatter) during the load transfer of a tight turn. This chatter vibrates through the rear subframe, creating the characteristic groan.
Analyzing the Honda Rear Differential Fluid Change Cost
When diagnosing rear differential noise, a fluid service is always the mandatory first step. The cost varies wildly depending on whether you visit a dealership, an independent mechanic, or tackle the job in your driveway. Below is a breakdown of the expected pricing for the 2026 service landscape.
| Service Provider | Estimated Cost Range | What is Included |
|---|---|---|
| Dealership Service Center | $180 - $260 | OEM DPSF-II fluid, OEM crush washers, labor, shop supplies, and multi-point inspection. |
| Independent Mechanic | $130 - $175 | Aftermarket or OEM fluid, generic or OEM washers, standard labor rate. |
| DIY (Do It Yourself) | $35 - $48 | Two quarts of OEM DPSF-II, two 18mm aluminum crush washers. |
While the dealership route offers peace of mind, the DIY route is exceptionally cost-effective and requires only basic hand tools. According to parts pricing databases like RockAuto, a single quart of genuine Honda Dual Pump Fluid II typically retails between $11 and $14, making the fluid investment minimal compared to the cost of replacing a destroyed rear differential coupling assembly.
OEM Fluid Chemistry: Why DPSF-II is Mandatory
A common and catastrophic mistake made by quick-lube shops and DIYers alike is substituting Honda's proprietary fluid with a standard 75W-90 GL-5 gear oil or a generic limited-slip differential fluid. This will almost guarantee the continuation—or worsening—of the groaning symptom.
Expert Warning: Never use standard hypoid gear oil in a Honda Dual Pump rear differential. The system relies on specific hydraulic viscosity and proprietary friction modifiers to actuate the wet clutches and lubricate the internal hydraulic pumps. Standard gear oil is too thick and lacks the necessary friction profile, leading to pump cavitation and clutch glazing.
You must use Honda Dual Pump Fluid II (DPSF-II). The current OEM part number is 08200-9007. Honda superseded the original DPS-F fluid with DPSF-II to offer improved shear stability and better friction retention over extended drain intervals. The rear differential capacity for most Honda CR-V and Pilot models ranges from 1.1 to 1.3 quarts, meaning you will need to purchase two quarts to complete the service.
DIY Diagnostic and Service Procedure
If you are troubleshooting the groan yourself, follow this precise diagnostic and service protocol to ensure the hydraulic system is properly bled and lubricated.
Step 1: The Figure-8 Diagnostic Test
Find an empty, dry parking lot. Roll down your windows and turn off the radio. Drive the vehicle in tight, continuous figure-8 patterns at roughly 5 to 10 mph. This forces the front and rear axles to rotate at different speeds, engaging the wet clutches. If you hear a distinct binding, shuddering, or groaning from the rear, the fluid is degraded or the clutches are glazed.
Step 2: Drain and Inspect
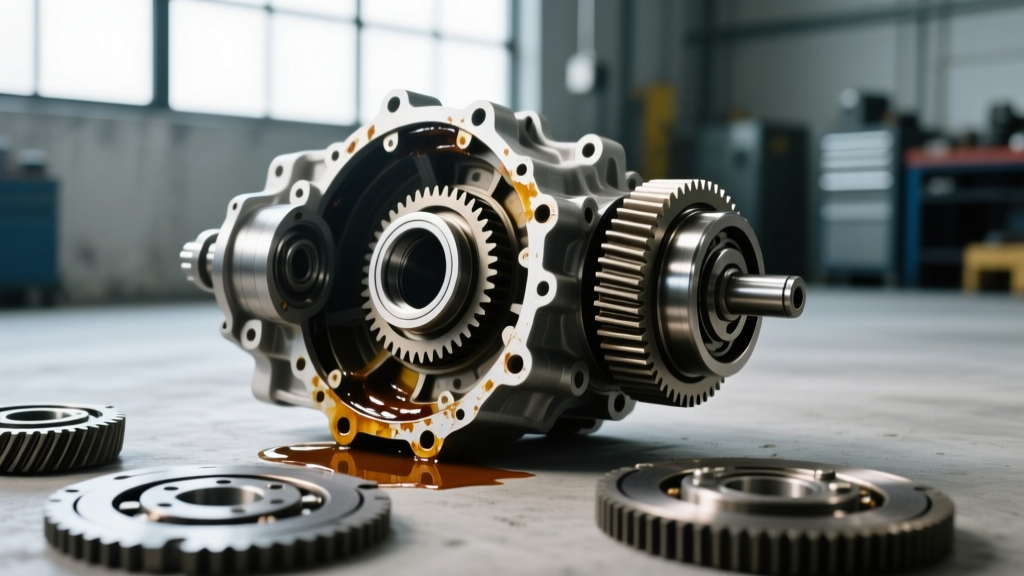
Locate the rear differential. You will see two 18mm hex-head plugs: the upper fill plug and the lower drain plug. Always remove the fill plug first. If you drain the fluid first and the fill plug is seized, you are stranded. Drain the fluid into a pan and inspect it. A grayish, slightly metallic sheen is normal clutch wear material. However, if you find large metal flakes or chunks of brass, your internal hydraulic pumps or bearings are failing, and a fluid change will not save the unit.
Step 3: Refill and Torque Specifications
Replace the drain plug using a brand new 18mm aluminum crush washer (Honda Part # 90471-PX4-000). Torque the drain plug to 33 lb-ft (44 Nm). Fill the differential with DPSF-II until the fluid reaches the absolute bottom lip of the fill hole. Replace the fill plug with a new crush washer and torque to 33 lb-ft (44 Nm).
Step 4: The Purge Procedure
This is the step most mechanics miss. Immediately after refilling, you must perform 5 to 10 tight figure-8 turns in the parking lot. This cycles the new fluid through the hydraulic pumps and the wet clutch pack, purging trapped air. Re-evaluate the noise. In 85% of cases, the groan will completely vanish.
Advanced Troubleshooting: When Fluid Isn't Enough
If you have performed two consecutive drain-and-fills with genuine DPSF-II and the groan persists, you have moved past simple fluid degradation into mechanical failure territory. According to service bulletins available via the Honda Owners Portal and technical service networks, persistent noise points to three specific failure modes:
- Glazed Clutch Packs: The friction material on the wet clutches has overheated and hardened. The clutches can no longer grab smoothly, regardless of the fluid's friction modifiers. This requires removing the rear differential, splitting the case, and replacing the clutch pack assembly.
- Clogged Pump Strainer: Over tens of thousands of miles, normal clutch wear debris accumulates in the fluid. If the fluid was not changed at proper intervals, this debris clogs the internal hydraulic pump strainers. The pumps begin to cavitate (suck air), leading to erratic clutch engagement and whining noises. The differential must be disassembled and chemically cleaned.
- Clogged Breather Tube: The rear differential features a small breather tube routed near the top of the housing to equalize pressure as the fluid heats up. If this tube becomes clogged with mud or debris, internal pressure builds up and blows out the rear axle shaft seals. If you notice fluid leaking onto your rear brake rotors, check the breather tube before condemning the axle seals.
Final Verdict on Rear Differential Maintenance
The Honda Real-Time AWD system is incredibly robust, provided it is fed the exact hydraulic fluid it was engineered to consume. The honda rear differential fluid change cost is a minor expense—especially when performed at home for under $50—that prevents thousands of dollars in drivetrain repairs. Treat the DPSF-II fluid not just as a lubricant, but as a vital hydraulic transmission medium. If your CR-V or Pilot starts to complain in the parking lot, don't ignore the groan; grab your 18mm socket, order your OEM fluid, and restore the hydraulic harmony of your rear axle.