Visual Clutch Diagnostics: Bridging Classic and Modern Architectures
When technicians, custom builders, and restorers search for honda cm250 e-clutch motorcycle images, they are typically attempting to bridge the gap between classic mechanical wet-clutch architectures and modern electronic actuator layouts. While the legendary Honda CM250 (including the CMX250 Rebel and CM250C Night Hawk) relies on a traditional cable-actuated, multi-plate wet clutch, Honda's revolutionary E-Clutch system—introduced on models like the CB650R and CBR650R—utilizes dual electric motors and Hall-effect sensors. Understanding how to diagnose clutch symptoms by feel, noise, and vibration requires a systematic, step-by-step approach, regardless of whether you are working on a vintage 250cc twin or a modern fly-by-wire system.
In this 2026 diagnostic guide, we will break down the step-by-step troubleshooting process for clutch slippage, chatter, and engagement issues. By comparing the baseline mechanical architecture of the CM250 with modern electronic systems, you can accurately isolate the root cause of your drivetrain complaints.
Step 1: Diagnosing by Feel (Engagement and Slippage)
The most immediate indicator of clutch health is the tactile feedback at the lever or the engagement zone. Slippage and dragging manifest differently depending on the actuation method.
Traditional CM250 Mechanical Feel
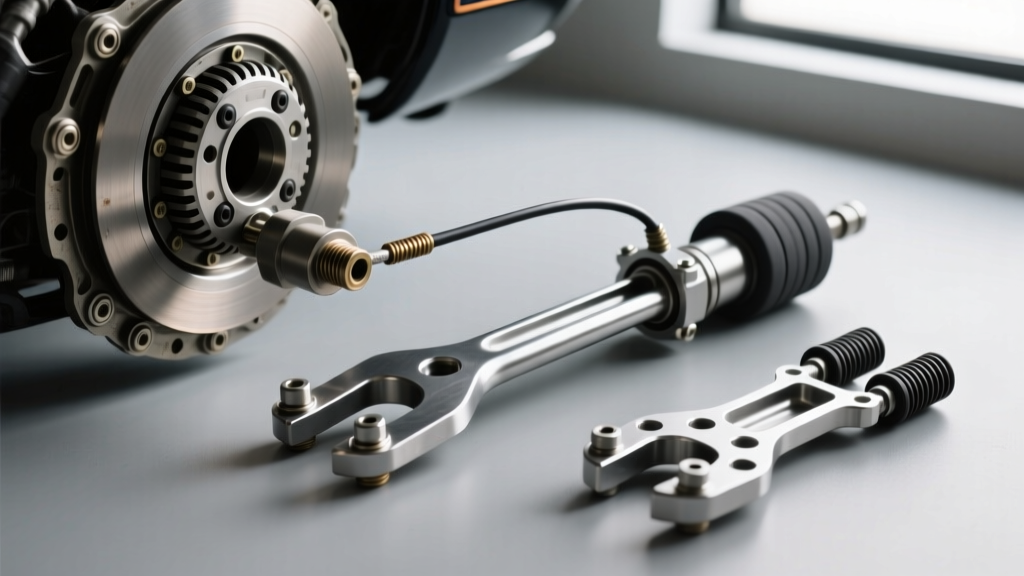
On a Honda CM250, the clutch is actuated via a steel-braided or polymer-jacketed cable pulling on a release arm. If the clutch slips under heavy acceleration (e.g., RPMs rise but road speed does not), the first diagnostic step is checking the cable freeplay.
- Specification: 10 to 20 mm (0.4 to 0.8 in) of freeplay measured at the lever end.
- Failure Mode: If freeplay is zero, the release bearing is constantly applying pressure to the pressure plate, preventing full spring clamping force. This leads to rapid friction material degradation.
- Dragging Symptom: If the motorcycle creeps forward with the lever fully pulled to the grip, or shifting into first gear causes a violent 'clunk' and stall, the cable is stretched, or the friction plates are warped and failing to separate.
Modern E-Clutch Actuator Feedback
Honda's E-Clutch eliminates the manual cable. Instead, it uses an ECU to read throttle position, engine RPM, and gear position, actuating the clutch via two DC motors. If an E-Clutch system slips, it is rarely a cable adjustment issue. Instead, you must check for:
- Actuator Position Sensor Drift: The ECU relies on Hall sensors to know the exact millimeter of clutch engagement. If the sensor is out of calibration, the ECU may command partial engagement, causing slip.
- Diagnostic Trouble Codes (DTCs): Connect an OBD-II motorcycle scanner. A code like 51-1 (Clutch Actuator Malfunction) or 52-1 (Clutch Position Sensor) indicates an electronic failure rather than mechanical wear.
Step 2: Auditory Diagnostics (Noise and Chatter)
Unusual noises from the right-side crankcase cover are a hallmark of clutch basket wear or release bearing failure. Visual reference images of the CM250 clutch basket reveal deep notching on the aluminum fingers, a common issue on high-mileage 250cc twins.
| Symptom / Noise | Operating Condition | Probable Cause | Visual Confirmation Required |
|---|---|---|---|
| Metallic rattling at idle | Neutral, clutch engaged (lever out) | Worn clutch basket tangs / Notching | Inspect basket fingers for deep grooves causing plate hang-up. |
| High-pitched squeal | Lever pulled in (disengaged) | Dry or failing release bearing | Check bearing for blueing, pitting, or lack of grease. |
| Chatter / Shudder | Friction zone (lever releasing) | Contaminated oil or warped steel plates | Check for bluing on steel plates; test oil for friction modifiers. |
Expert Note: Never use automotive oils labeled 'Energy Conserving' or 'Resource Conserving' in a Honda CM250 or any wet-clutch motorcycle. These oils contain molybdenum friction modifiers that will coat the clutch friction material, causing catastrophic slippage. Always use a JASO MA or MA2 certified 10W-40 motorcycle oil, such as Pro Honda GN4.
Step 3: Vibration and Harmonic Resonance
Vibration that pulses through the handlebars or footpegs specifically when the clutch is in the friction zone is a classic symptom of uneven clamping force or warped steel plates. As the plates engage and disengage rapidly (micro-slippage), the harmonic resonance transfers through the crankshaft and chassis.
To diagnose this, you must measure the steel plate runout. According to Cyclepedia Motorcycle Manuals, the standard procedure involves placing the steel plates on a known flat surface (like a piece of plate glass) and using a feeler gauge.
- Steel Plate Runout Limit: 0.2 mm (0.008 in). If a feeler gauge larger than 0.2 mm slides under the center of the plate while the edges are resting on the glass, the plate is warped and must be replaced.
- Spring Sag: Weak clutch springs cause uneven pressure across the pressure plate. Measure the free length of the CM250 clutch springs. The standard length is 46.0 mm, with a service limit of 43.5 mm. If any spring falls below 43.5 mm, replace the entire set to maintain even clamping pressure.
Step 4: Teardown and Visual Inspection Guide
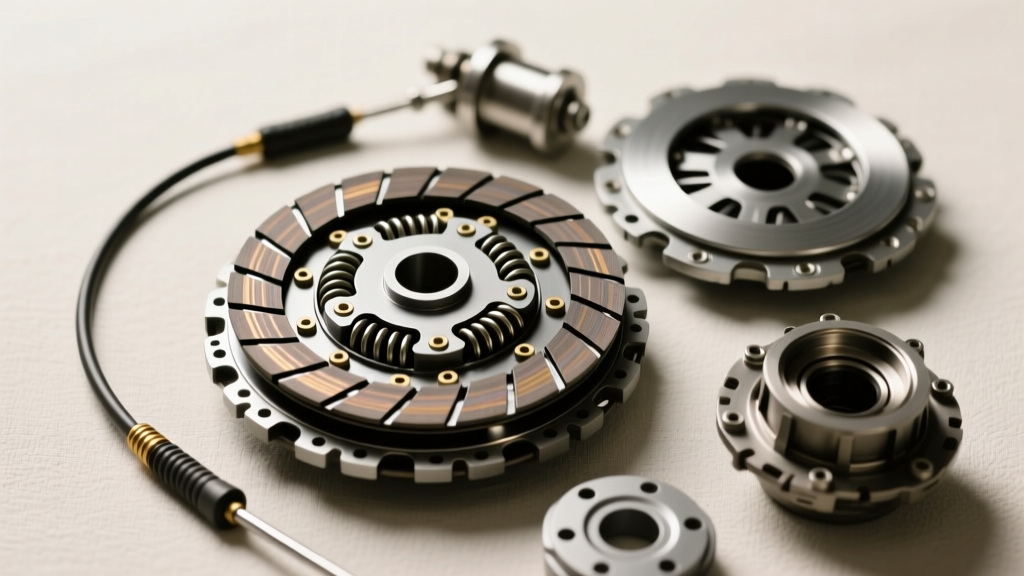
When visual diagnostics and external adjustments fail to resolve the symptoms, a full teardown is required. Referencing CMSNL (Classic Motorcycle Parts) diagrams for the CM250, the clutch pack typically consists of 6 friction plates and 5 steel plates. Here is the step-by-step inspection protocol:
1. Measuring Friction Material
Use a digital micrometer to measure the thickness of the friction plates at three different points. Calculate the average.
- Standard Thickness: 3.0 mm
- Service Limit: 2.6 mm
- Clutch Center Locknut (17mm): 59 N·m (43 lb·ft).
- Staking: The CM250 uses a staked locknut. You must use a new locknut upon reassembly and stake it securely into the crankshaft groove using a blunt punch to prevent it from backing off and destroying the engine cases.
- Inspect the Actuator Harness: Vibration can cause micro-fractures in the wiring harness leading to the actuator. Perform a continuity test on the 6-pin connector.
- Check the Clutch Fluid: While the E-Clutch manages the pull, it still utilizes a hydraulic master cylinder for the manual override and fluid pressure. Ensure the DOT 4 fluid is flushed and bled; air in the hydraulic line will cause the ECU to misread the hydraulic pressure sensor, resulting in erratic engagement.
- Worm Gear Backlash: In high-mileage E-Clutch units, the internal worm gear can develop backlash, causing a 'clunk' upon engagement. This requires a complete actuator assembly replacement, as internal gears are not serviced separately.
If the plates are within spec but the clutch still slips, inspect the cork/Kevlar material for glazing. A glazed surface will appear shiny and hardened, requiring replacement regardless of thickness.
2. Inspecting the Clutch Center and Hub
Look for 'notching' or 'galling' on the aluminum splines where the friction plates sit. Minor notching can sometimes be carefully filed flat using a fine-tooth flat file, but if the grooves exceed 0.5 mm in depth, the clutch center must be replaced to prevent future plate hang-up and dragging.
3. Reassembly and Torque Specifications
Proper reassembly is critical to prevent catastrophic failure. Always soak new friction plates in fresh JASO MA 10W-40 oil for at least 2 hours before installation to prevent dry-start scorching. When reinstalling the clutch center locknut, adhere strictly to factory torque specs:
E-Clutch Specifics: Sensor and Actuator Troubleshooting
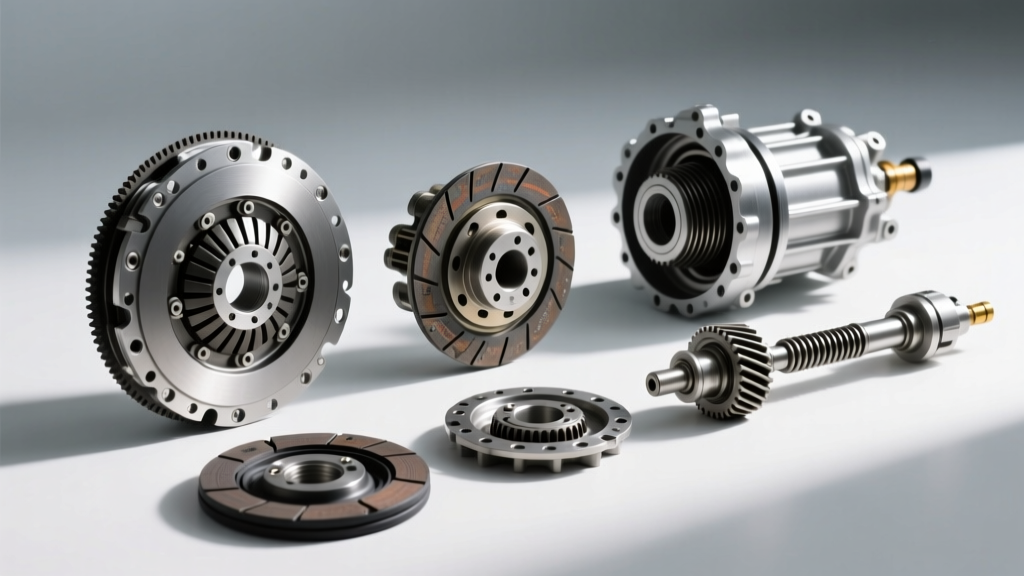
For builders attempting to adapt modern E-Clutch components or diagnose newer Honda models, the visual inspection shifts from mechanical wear to electronic integrity. The E-Clutch actuator assembly houses a worm gear driven by two brushless DC motors. If you are diagnosing an E-Clutch system that exhibits 'jerky' engagement or fails to disengage:
Conclusion
Whether you are wrenching on a classic Honda CM250 or analyzing modern electronic drivetrains, clutch diagnosis relies on a methodical breakdown of feel, sound, and vibration. By utilizing visual references, adhering to precise torque specifications, and understanding the fundamental differences between mechanical springs and electronic actuators, you can accurately pinpoint the failure and restore seamless power delivery.