The Hidden Link: Cable Routing and Clutch Pack Degradation
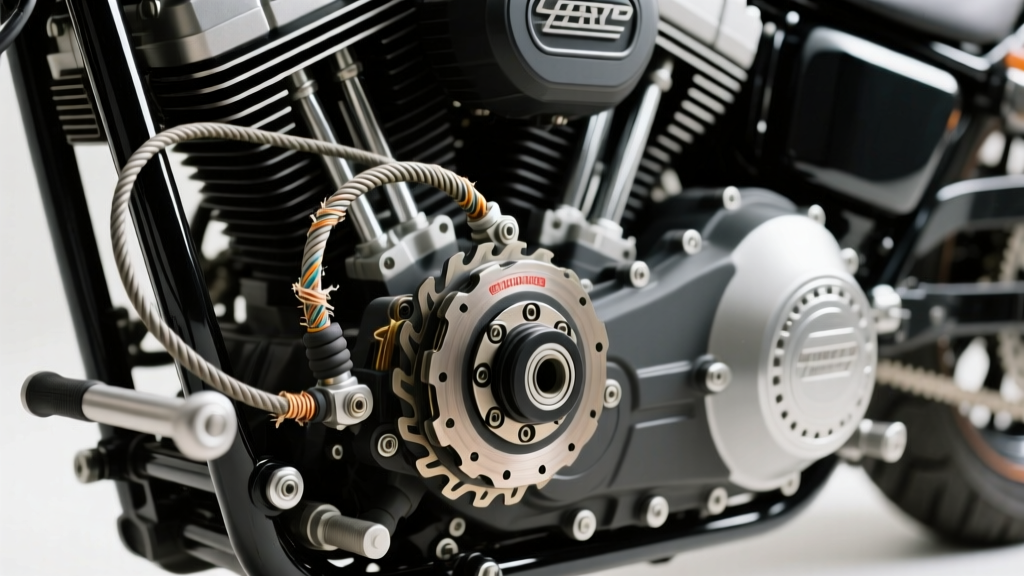
When diagnosing manual transmission issues on American V-Twins, riders often jump straight to the clutch pack when experiencing slippage or drag. However, on Harley-Davidson Touring models equipped with the 6-speed Cruise Drive transmission, the root cause of premature clutch wear frequently originates outside the primary chaincase. Specifically, improper harley touring clutch cable routing creates parasitic friction, leading to incomplete clutch disengagement, accelerated friction plate degradation, and ultimately, catastrophic clutch pack failure.
As of 2026, with the widespread adoption of high-torque Milwaukee-Eight 114ci and 117ci engines generating over 130 lb-ft of torque, the mechanical load on the clutch assembly is higher than ever. A poorly routed cable fails to pull the clutch release mechanism with linear efficiency. This technical deep-dive explores the precise clutch wear signs and lifespan indicators you must monitor, and how mastering cable routing and adjustment protocols will save you from a $600+ primary teardown.
Anatomy of the Milwaukee-Eight Clutch System
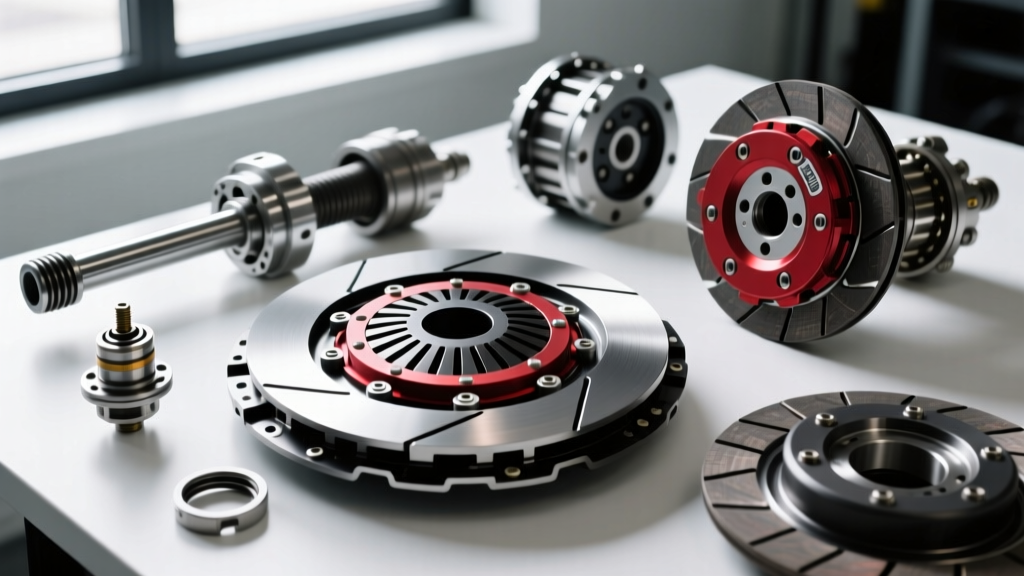
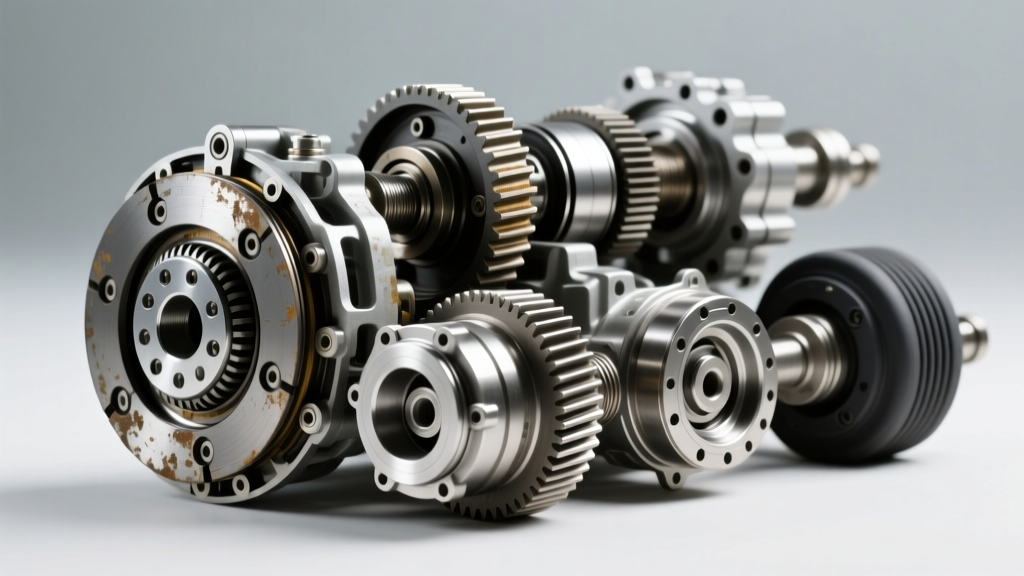
The Harley Touring clutch relies on a mechanical pushrod system actuated by a steel-braided or Kevlar-lined cable. When you pull the lever, the cable actuates the clutch release mechanism (ramp and bearing assembly) inside the primary, which pushes a steel rod through the hollow transmission mainshaft. This rod presses against the clutch diaphragm spring, releasing the clamp load on the friction and steel plates.
If the cable is routed with tight bends, kinked near the steering neck, or zip-tied too tightly to the frame backbone, the internal friction increases. The lever may feel stiff, but more importantly, the cable will stretch unevenly under thermal expansion. This results in a failure to fully disengage the clutch when the lever is pulled, causing the friction plates to drag against the steel plates while shifting, or failing to fully engage, causing micro-slippage under heavy throttle.
OEM Clutch Pack Specifications & Part Numbers
To accurately assess wear, you must know the baseline specifications of the Milwaukee-Eight Touring clutch pack. Below are the critical OEM part numbers and measurements for 2017-later Touring models.
| Component | OEM Part Number | Specification / Measurement | Replace Threshold |
|---|---|---|---|
| Friction Plate (Standard) | 38767-17A | 0.145" - 0.157" thickness | Less than 0.120" |
| Steel Plate | 37969-90A | 0.078" - 0.082" thickness | Bluing, warping >0.003" |
| Diaphragm Spring | 38783-17A | Specific tension rating | Heat discoloration, fatigue |
| Clutch Cable (Std Reach) | 60199-06D | 35.5" length | Fraying, sticky lever feel |
Diagnosing Clutch Wear: Symptoms vs. Cable Drag
Distinguishing between a worn clutch pack and a routing-induced cable issue is the first step in accurate diagnostics. Misdiagnosing cable drag as a worn clutch leads to unnecessary primary disassembly and wasted labor.
Signs of a Worn Clutch Pack (Internal Failure)
- High-RPM Slippage in Overdrive: When cruising in 6th gear at 65-75 MPH and rolling on the throttle, the engine RPMs flare without a corresponding increase in road speed. This indicates the friction material is glazed or worn below the 0.120" threshold.
- Diminished Lever Effort: As friction plates wear thinner, the diaphragm spring extends further outward, reducing the mechanical leverage required to pull the lever. A suspiciously 'light' clutch lever on a heavy Touring model is a primary indicator of severe pack wear.
- Primary Fluid Forensics: Drain the primary chaincase fluid (OEM Formula+ or AMSOIL V-Twin Primary). If the fluid smells distinctly burnt (like scorched brake pads) and contains a heavy, glittering suspension of dark particulate, your friction plates are actively disintegrating.
Signs of Poor Cable Routing (External Interference)
- Inconsistent Freeplay: You adjust the lever to 1/8" freeplay when the engine is cold, but after a 45-minute ride, the freeplay disappears entirely, causing the clutch to drag and making neutral difficult to find at stoplights.
- Sticky Lever Return: The clutch lever does not snap back crisply when released. This is a hallmark of a cable routed with a bend radius tighter than 4 inches, or a cable pinched between the voltage regulator bracket and the frame.
- False Neutral Drops: The bike pops out of gear under deceleration because the clutch is not fully engaging due to cable tension holding the release bearing slightly depressed.
Technical Guide: Correct Harley Touring Clutch Cable Routing
Proper harley touring clutch cable routing is not merely about aesthetics; it is a functional requirement for the longevity of your clutch release bearing and friction plates. According to technical bulletins from Drag Specialties and OEM service manuals, the cable must follow a specific path to accommodate the full lock-to-lock steering sweep without binding.
Expert Diagnostic Tip: Before tearing down your primary chaincase to inspect clutch wear signs, perform the 'Lock-to-Lock' cable test. With the engine off, pull the clutch lever and hold it. Turn the handlebars from full left lock to full right lock. If the lever tension changes, or if you hear a 'creaking' sound from the cable housing near the steering neck, your routing is incorrect and inducing clutch drag.
Critical Routing Checkpoints
- The Steering Neck Gap: The cable must pass behind the steering head bearings and frame neck, not in front. Routing it in front causes the cable to stretch and bind when turning left. Maintain a minimum 1-inch clearance from the rotating steering stem.
- The Voltage Regulator Pinch Point: On 2017+ M8 Touring frames, the cable often rests against the sharp aluminum edge of the voltage regulator bracket. Use a split-loom tubing or adhesive-backed felt tape (Part # 98358-00) to protect the cable housing from abrasion.
- Frame Backbone Securing: Use only OEM-style Adel clamps (P-clamps) with rubber insulation. Never use hard plastic zip-ties directly on the cable housing, as they compress the Teflon liner and create internal friction points that mimic a worn clutch pack.
Adjustment Protocols: The 3-Step Synchronization
Even with perfect routing, incorrect adjustment will accelerate clutch wear. The Harley 6-speed Cruise Drive requires a precise three-step adjustment sequence. Skipping the internal pushrod adjustment is the most common cause of premature diaphragm spring failure and release bearing wear.
Step 1: Internal Pushrod Adjustment (Derby Cover)
Remove the primary derby cover (Torque spec: 84-108 in-lbs on reinstallation). Locate the clutch release screw in the center of the diaphragm spring. Using a T-27 Torx and a 7/16" wrench, loosen the locknut. Turn the screw inward until you feel light resistance against the release bearing. Do not apply heavy pressure. Back the screw out exactly 1/2 to 5/8 of a turn. Hold the screw in place and tighten the locknut to 72-96 in-lbs. This ensures the bearing is not pre-loaded, which would cause it to spin continuously and burn out.
Step 2: Cable Adjuster (Mid-Cable Barrel)
With the internal pushrod set, collapse the mid-cable barrel adjuster completely. This removes all tension from the cable, allowing you to establish the baseline.
Step 3: Lever Freeplay
Extend the mid-cable barrel adjuster until you achieve exactly 1/16" to 1/8" of freeplay measured at the outer edge of the clutch lever blade. This tiny gap is non-negotiable; it ensures the cable goes completely slack when released, allowing the diaphragm spring to apply 100% of its clamping force to the friction plates. If you prefer a tighter lever feel, you are sacrificing clamping pressure and inviting micro-slippage.
Lifespan Indicators and Replacement Economics
How long should a Harley Touring clutch pack last? Under optimal conditions, with correct cable routing and primary fluid changes every 10,000 miles, an OEM clutch pack can easily exceed 80,000 miles. However, aggressive riding, heavy touring loads, and poor maintenance can halve that lifespan.
| Scenario / Condition | Expected Clutch Lifespan | Estimated Replacement Cost (Parts & Labor) |
|---|---|---|
| Optimal Routing, Highway Touring | 75,000 - 100,000+ miles | $350 - $450 (OEM Plates + Fluid) |
| Poor Routing, Stop-and-Go City | 25,000 - 40,000 miles | $350 - $450 (OEM Plates + Fluid) |
| High-Torque (117ci) + Heavy Dragging | 15,000 - 25,000 miles | $600 - $850 (Barnett Kevlar Kit + Spring) |
For riders pushing heavily modified Milwaukee-Eight engines, upgrading to a high-capacity clutch kit from manufacturers like Barnett Tool & Engineering is highly recommended. These kits utilize Kevlar-infused friction materials and stiffer diaphragm springs that resist the thermal degradation associated with clutch drag. However, upgrading to a stiffer spring without fixing your harley touring clutch cable routing will only result in a painfully heavy lever and accelerated cable stretch.
Summary: Prevention Over Teardowns
Clutch wear signs and lifespan indicators on a Harley-Davidson Touring model are inextricably linked to the health and routing of the actuation cable. Before spending hundreds of dollars on new friction plates, steel plates, and primary fluid, audit your cable routing. Ensure the 4-inch minimum bend radius is respected, eliminate pinch points at the steering neck, and strictly adhere to the 1/2-turn internal pushrod adjustment protocol. By treating the cable and the clutch pack as a single, synchronized mechanical system, you will maximize the lifespan of your drivetrain and ensure flawless power delivery on the open road.
For further community-driven diagnostics and routing diagrams specific to your exact model year, the HD Forums Touring Section remains an invaluable resource for real-world mechanical feedback and aftermarket cable comparisons.