The Intersection of Handlebar Accessories and Clutch Health
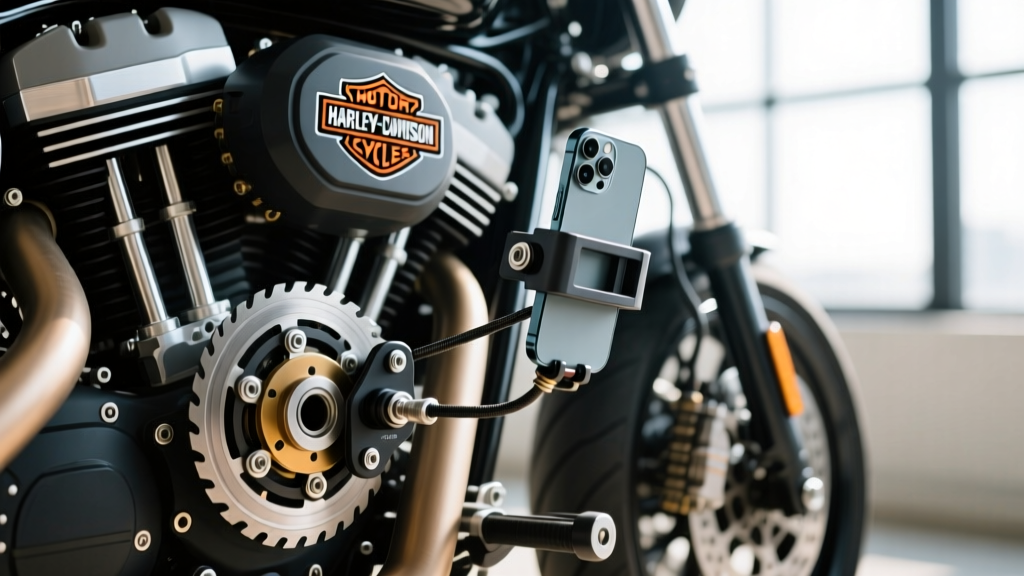
When customizing your ride, adding accessories is a rite of passage. However, the rush to install a Harley Davidson universal phone carrier and clutch mount can inadvertently introduce complex drivetrain symptoms. As of 2026, the aftermarket is flooded with billet aluminum combo-mounts that relocate your clutch lever perch to accommodate GPS units and smartphones. While these look incredible on the handlebars, they fundamentally alter the mechanical geometry of your clutch actuation system.
For beginners, diagnosing a slipping or dragging clutch usually points straight to the internal clutch pack. But if you have recently installed an aftermarket handlebar mount, your diagnostic tree must start at the lever. In this beginner-friendly explainer, we will bridge the gap between handlebar accessory installation and deep-dive motorcycle and ATV clutch diagnostics, ensuring you know exactly where to look when your drivetrain stops behaving.
What is a Combined Phone Carrier and Clutch Mount?
A combined mount is a single piece of machined aluminum or steel that replaces your OEM clutch perch and provides a standardized ball-mount or RAM-mount base for a phone carrier. Because the clutch cable or hydraulic line must route through or around this new block, improper installation can lead to severe cable binding, crushed housing liners, or altered lever pivot ratios. According to the technical team at Barnett Clutches & Cables, over 30% of premature cable failures are traced back to aftermarket handlebar clamps that pinch the outer cable housing or create a sharp bend radius exceeding the cable's mechanical limits.
How Improper Clutch Mounts Cause Drivetrain Symptoms
Before tearing into your engine's primary case, you must rule out the handlebar controls. Here is how a poorly fitted universal mount mimics internal clutch failure:
- Clutch Dragging (Fails to Disengage): If the mount shifts the lever pivot point closer to the cable housing, the lever cannot pull the cable far enough to fully separate the friction plates. Your motorcycle will lurch forward when shifting into first gear, and neutral will be nearly impossible to find at a stop.
- Clutch Slipping (Fails to Engage): If the cable is routed tightly against the mount and lacks adequate "free play" (slack), the release bearing is constantly pressing against the clutch pushrod. This prevents the pressure plate from fully clamping the friction discs, causing the engine to rev without transferring power to the rear wheel.
- Notchy Lever Feel: Overtightening the U-bolts on the handlebar can crush the internal Teflon liner of the clutch cable, creating physical resistance that feels exactly like a notched clutch basket.
Motorcycle and ATV Wet Clutch Diagnostics: A Beginner's Guide
Once you have verified that your Harley Davidson universal phone carrier and clutch mount is correctly installed, routed, and adjusted, it is time to look inside the clutch cover. Most motorcycles and ATVs utilize a wet multi-plate clutch. This means the friction plates, steel separator plates, and clutch springs are bathed in engine oil.
The Importance of JASO MA2 Oil
A common beginner mistake is using standard automotive motor oil in a motorcycle or ATV. Automotive oils contain friction modifiers designed to improve fuel economy. In a wet clutch, these modifiers coat the friction plates, causing catastrophic slipping. Always use oil certified with the JASO MA or MA2 standard, which guarantees the absence of friction-reducing additives.
Diagnostic Matrix: Symptoms vs. Mechanical Failures
Use this table to narrow down your drivetrain issues based on the symptoms you are experiencing on the trail or the highway.
| Symptom | Primary Suspect | Diagnostic Check | Common Fix |
|---|---|---|---|
| Engine revs, but bike loses acceleration under load | Glazed Friction Plates / Weak Springs | Measure plate thickness with calipers; check spring free-length | Replace clutch pack and heavy-duty springs |
| Bike creeps forward with lever pulled in | Warped Steel Plates / Cable Binding | Check cable free play; place steel plates on glass to check for warp | Adjust cable; replace warped steels |
| Lever feels stiff or notchy | Notched Clutch Basket Fingers | Inspect aluminum basket tabs where plates slot in | File notches smooth or replace inner hub/basket |
| Sudden total loss of clutch engagement | Broken Clutch Pushrod / Stripped Hub | Remove primary cover and inspect pushrod and center hub nut | Replace pushrod; re-torque hub nut to spec |
Step-by-Step Troubleshooting for Slipping and Dragging
If you suspect internal wear, follow this systematic approach to diagnose your motorcycle or ATV clutch.
Step 1: Measure Cable Free Play
Before opening the engine, measure the free play at the clutch lever. For most Harley-Davidson models and sport ATVs, you need exactly 1/16 to 1/8 of an inch of free play at the lever tip before you feel resistance. If you have zero free play, the clutch is partially disengaged at all times, leading to slipping and burnt plates.
Step 2: Inspect the Friction and Steel Plates
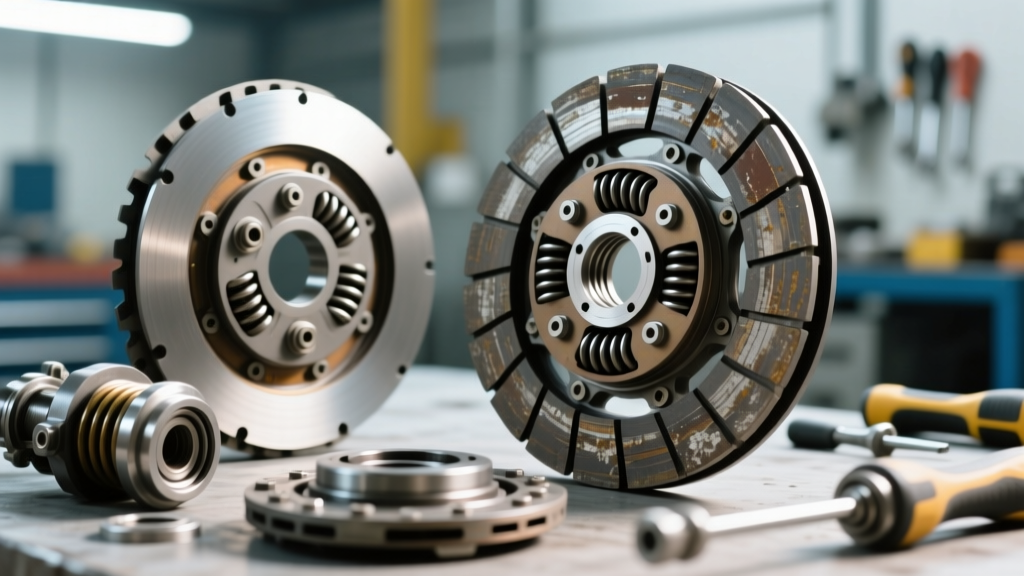
Drain the primary fluid or engine oil and remove the clutch cover. Pull the clutch pack out. You will need a set of digital calipers to measure the friction plates. For example, a standard Yamaha YFZ450R ATV friction plate measures 3.0mm when new. The factory service manual dictates a wear limit of 2.6mm. If your plates are below this threshold, the clutch pack must be replaced.
Next, check the steel separator plates for bluing (heat discoloration) or warping. Lay them on a perfectly flat piece of glass. If you can slide a 0.3mm feeler gauge under the edge of the plate, it is warped and will cause clutch drag.
Step 3: Check the Clutch Basket for Notching
The outer clutch basket is typically made of aluminum, while the plates are steel. Over thousands of miles, the steel plates hammer into the aluminum fingers, creating deep notches. When you pull the lever, the friction plates get stuck in these notches instead of sliding freely, causing the clutch to drag. Minor notches can be smoothed with a flat file, but deep grooves require a new billet basket or an OEM replacement.
Real-World Specs: Torque, Part Numbers, and Costs
Proper reassembly is just as critical as diagnosis. Stripping a clutch hub nut or crushing a new gasket will leave you stranded. Here are the real-world specifications and costs you need to know for 2026:
- Harley-Davidson Milwaukee-Eight Clutch Hub Nut: This nut secures the clutch assembly to the transmission mainshaft. It requires a specific torque of 70-80 ft-lbs (95-108 Nm). Always use a new locking tab washer or apply red Loctite 271 if specified by the service manual.
- ATV Clutch Spring Free Length: On a Honda TRX450R, the standard clutch spring free length is 45.5mm. If the springs compress below the 42.0mm service limit, they cannot provide enough clamping force, resulting in slip under heavy throttle.
- Replacement Costs: A premium aftermarket clutch kit, such as the EBC DRC Kevlar Clutch Kit, typically costs between $120 and $160. This includes Kevlar-lined friction plates and heavy-duty springs. OEM Harley-Davidson clutch packs generally run between $220 and $280 depending on the dealership.
- Upgrading the Cable: If your handlebar mount ruined your OEM cable, upgrade to a Barnett Platinum Series clutch cable (Part numbers vary by model, e.g., 101-30-1003 for standard Sportsters). These feature a Teflon-lined inner sleeve that drastically reduces lever effort and prevents the binding often caused by tight aftermarket mounts.
When to Seek Professional Help
While adjusting a lever or swapping a clutch pack is well within the capabilities of a dedicated beginner, some issues require specialized tools. If you discover that the transmission mainshaft itself is scored, or if the primary chain compensator sprocket is failing (a common issue on pre-2015 Twin Cam Harleys that mimics clutch chatter), it is time to consult a certified technician. Furthermore, if you are bleeding a hydraulic clutch system on a modern ATV and cannot achieve a firm lever feel, you may need a specialized vacuum bleeder to pull micro-bubbles from the master cylinder located near your phone carrier mount.
Conclusion
Upgrading your cockpit with a Harley Davidson universal phone carrier and clutch mount is a fantastic way to modernize your ride, but it demands respect for mechanical tolerances. By understanding how handlebar geometry affects cable tension, and knowing how to measure friction plates and inspect clutch baskets, you can confidently diagnose and cure any drivetrain symptom. Keep your cables routed smoothly, your free play dialed in, and your wet clutch bathed in high-quality JASO MA2 oil, and your machine will deliver flawless power for thousands of miles to come.