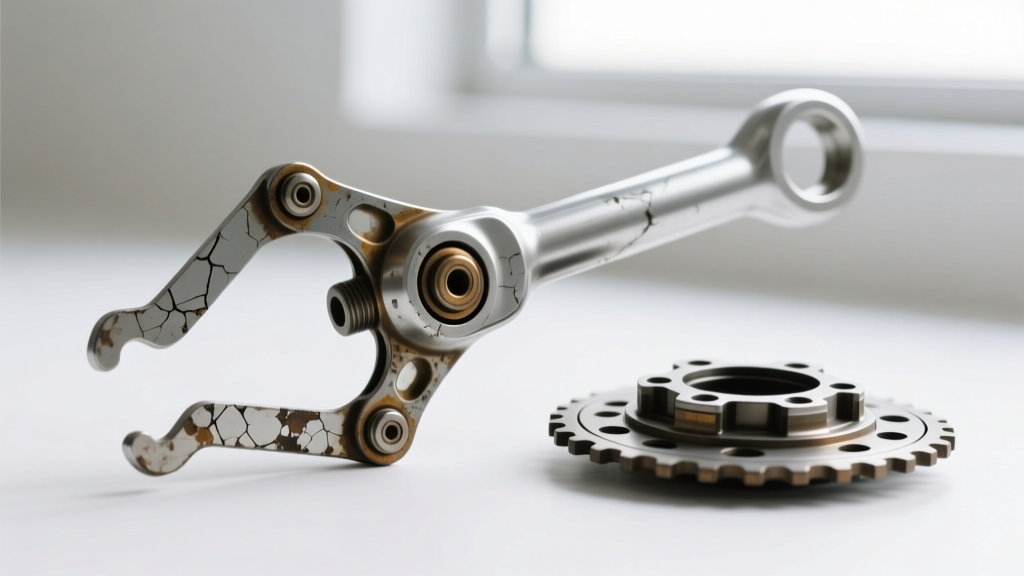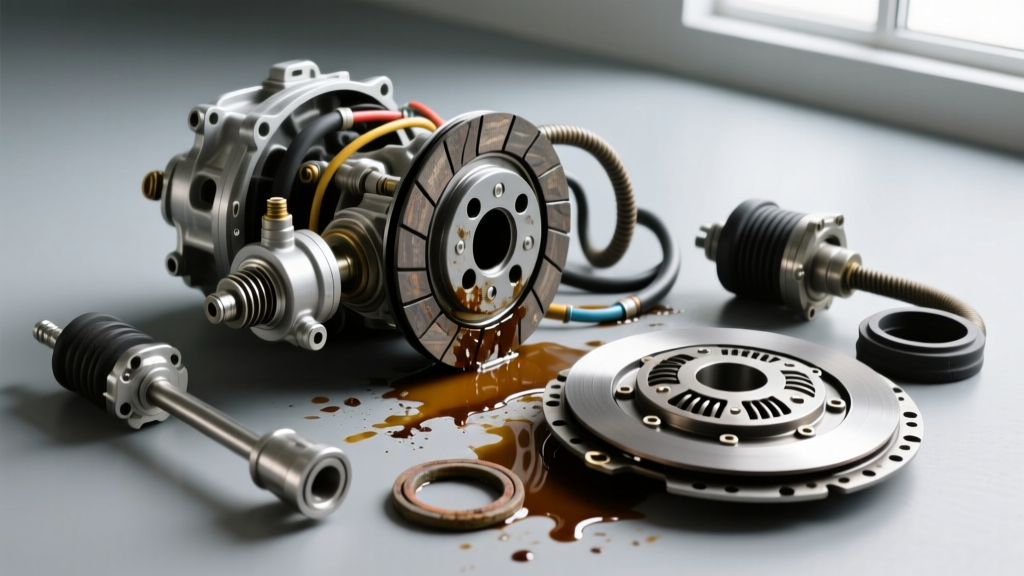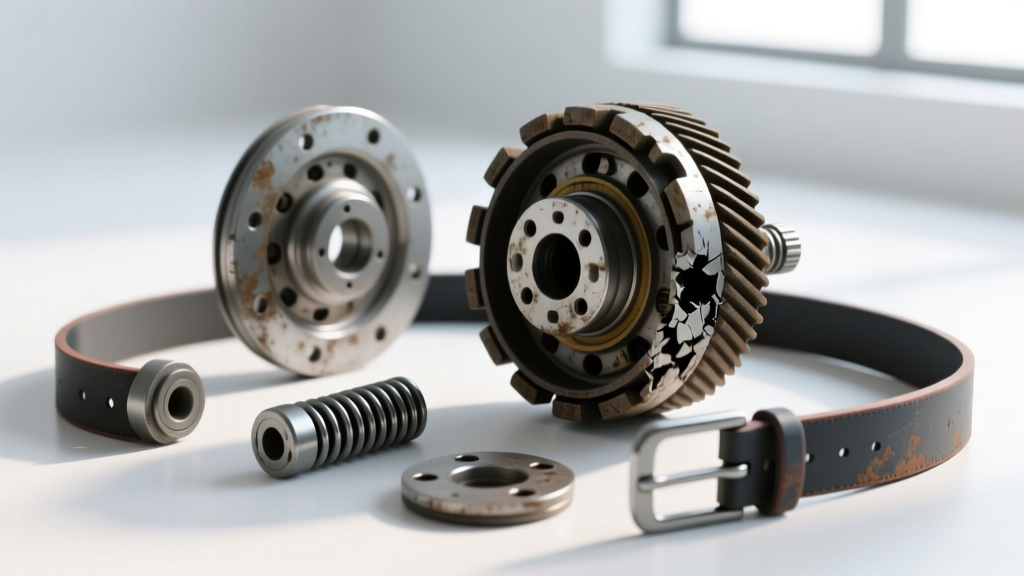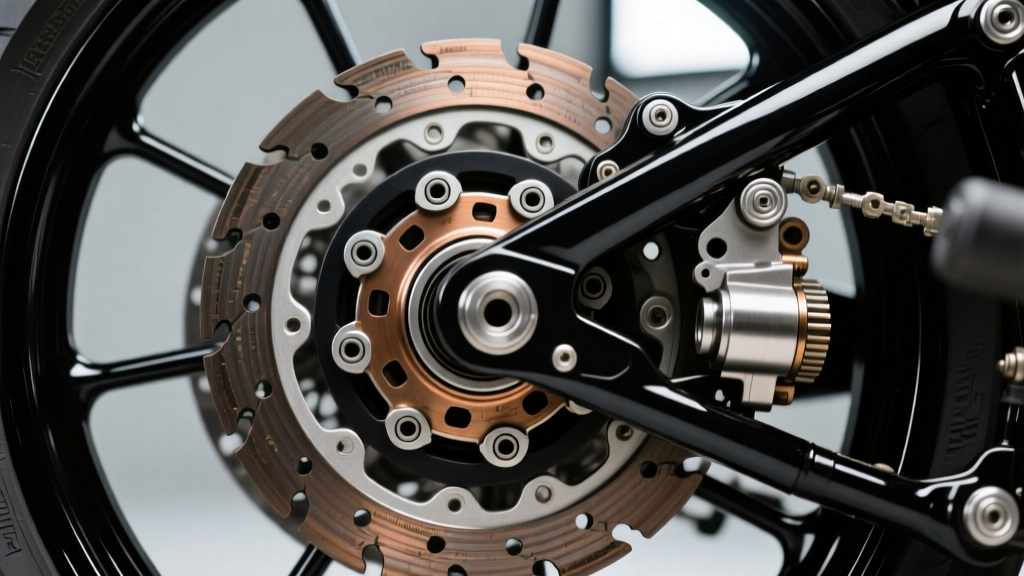
The Terminology Crossover: Throw-Out Bearing vs. Clutch Release Bearing
When automotive mechanics and seasoned riders transition to V-twin wrenching, the terminology often overlaps, leading to widespread confusion in the garage. In the automotive manual transmission world, a failing release bearing is universally known as a throw-out bearing. However, when executing a clutch repair motorcycle procedure on a Harley-Davidson Milwaukee-Eight (M8) Touring model, this component is officially designated by the factory as the clutch release bearing. Despite the nomenclature difference, the mechanical function—and the catastrophic noise it makes when it fails—remains identical.
This model-specific diagnostic and repair guide focuses entirely on throw-out bearing noise and failure on the 2017-2024 Harley-Davidson Touring lineup (Milwaukee-Eight 107 and 114 engines). We will cover exact OEM part numbers, acoustic diagnostics, teardown procedures, and critical torque specifications to ensure your primary chaincase is sealed and functioning flawlessly.
The Anatomy of the Harley M8 Clutch Release Mechanism
In a Harley-Davidson Big Twin, the clutch release mechanism is housed inside the primary chaincase, bathed in primary chaincase lubricant. The clutch release shaft passes through the primary cover and engages with the clutch release plate. The throw-out bearing (OEM Part Number 37850-17 for M8 models) is a sealed needle-roller bearing that presses against the clutch pushrod to disengage the clutch pack.
Why the M8 Throw-Out Bearing Fails
Unlike automotive throw-out bearings that operate in a dry bell housing, the motorcycle equivalent operates in an oil-bath environment. However, failure is still prevalent due to three primary factors:
- Thermal Degradation: The primary chaincase generates immense heat from the stator and engine block transfer. Over time, the internal grease of the sealed bearing breaks down, leading to metal-on-metal friction.
- Contaminated Lubricant: Metallic debris from the primary chain stretch and compensator sprocket wear can infiltrate the bearing seal, scoring the delicate needle rollers.
- Shaft Scoring: If the bearing seizes, it will spin on the clutch release shaft rather than the inner race, gouging the shaft and causing catastrophic binding and stiff lever feel.
Acoustic Diagnostics: Identifying Throw-Out Bearing Noise
Before tearing into the primary chaincase, you must isolate the noise. A failing throw-out bearing on the M8 platform presents with highly specific acoustic and tactile symptoms that differentiate it from a worn clutch pack or a failing primary chain tensioner.
Differentiating Bearing Whine from Compensator Rattle
A common pitfall for DIY mechanics is confusing the infamous Harley M8 compensator rattle with a failing throw-out bearing. The compensator sprocket utilizes internal ramps and springs to absorb engine pulsations. When these springs fatigue, they produce a loud, metallic clattering at idle that disappears above 2,500 RPM. Crucially, compensator rattle is independent of clutch lever position. If the noise changes pitch or intensity specifically when you pull the clutch lever, the load is shifting onto the release bearing, confirming a throw-out bearing failure.
The Pull and Listen Diagnostic Test
Start the motorcycle and let it idle in neutral. Slowly pull the clutch lever toward the grip.
- Stage 1 (Initial Slack): The engine note should remain unchanged as you take up the cable freeplay.
- Stage 2 (Engagement Point): As the cable pulls the actuator arm and the bearing contacts the pushrod, listen for a high-pitched metallic squeal or a distinct whirring grind. This is the needle-roller cage disintegrating under load.
- Stage 3 (Full Disengagement): If the lever feels notchy or requires excessive force (over 15 lbs of pull pressure), the bearing has likely seized on the release shaft.
If the noise is present only when the lever is pulled, the throw-out bearing is your culprit. For more general clutch system diagnostics and friction material data, refer to the Barnett Clutches Technical Information database.
Model-Specific Repair Guide: Step-by-Step Replacement
Replacing the clutch release bearing on the M8 Touring requires primary chaincase disassembly. This is an intermediate-to-advanced repair that demands strict adherence to torque specs.
Required Tools and OEM Part Numbers
- Clutch Release Bearing: OEM 37850-17 (Approx. $35 - $45)
- Clutch Release Shaft: OEM 37836-17 (Inspect and replace if scored; Approx. $65)
- Primary Gasket: OEM 29583-07A
- Primary Fluid: 1 Quart (32 oz) SYN3 20W-50 or equivalent full synthetic
- Specialty Tools: Primary chain locking tool (HD-41214 equivalent), clutch hub holding tool, and a blind bearing puller or hydraulic press.
Teardown Protocol
Drain the primary chaincase fluid via the bottom drain plug. Remove the derby cover and the primary chaincase cover bolts. Carefully separate the cover from the engine block. You will now have access to the clutch compensator, primary chain, and the clutch release mechanism.
Remove the clutch actuator arm from the external release shaft. Inside, unbolt the clutch release plate. Using a hydraulic press or a specialized blind bearing puller, extract the failing throw-out bearing from the primary cover. Critical Inspection Point: Run a micrometer over the clutch release shaft. The factory specification is 0.787 inches (20.00mm). If the shaft measures below 0.785 inches or shows visible grooving from a seized bearing, it must be replaced to prevent immediate failure of the new bearing.
Installation and Pressing
Lubricate the new OEM 37850-17 bearing with fresh primary fluid. Using a bearing driver that contacts only the outer race, press the new throw-out bearing into the primary cover until it is fully seated against the internal shoulder. Reinstall the release shaft, ensuring the Woodruff key is properly seated in the actuator arm groove.
Critical Torque Specifications and Clearances
Proper torque is non-negotiable when reassembling the Harley M8 primary drive. Over-torquing the primary cover can warp the aluminum, leading to oil leaks and misalignment of the release shaft, which will instantly bind your new throw-out bearing.
| Component | Torque Specification | Notes |
|---|---|---|
| Primary Chaincase Cover Bolts | 84 - 108 in-lbs (7 - 9 ft-lbs) | Use a criss-cross pattern. Do not over-torque. |
| Clutch Compensator Sprocket Nut | 150 - 165 ft-lbs | Requires locking tool HD-41214. Apply red Loctite. |
| Clutch Hub Nut | 70 - 80 ft-lbs | M8 uses standard right-hand thread. |
| Primary Chaincase Drain Plug | 14 - 21 ft-lbs | Replace the crush washer. |
| Derby Cover Screws | 84 - 108 in-lbs | Replace the O-ring (OEM 11301). |
For comprehensive factory service procedures, always cross-reference your specific year's manual via Harley-Davidson Official Parts and Service.
Cost Analysis: DIY vs. Dealership Clutch Repair Motorcycle Pricing
Understanding the financial scope of a clutch repair motorcycle project helps riders decide between a garage weekend and a dealership drop-off.
- DIY Cost: $120 - $180 (Includes OEM bearing, shaft, gasket, and synthetic fluid). Requires 3-4 hours of labor and specialized holding tools.
- Dealership Cost: $450 - $750. Dealerships typically charge 3.5 hours of shop time at $130-$160/hr, plus a 20% markup on OEM parts.
Expert Insight: If your primary chaincase is already open for a throw-out bearing replacement, and your motorcycle has over 40,000 miles, it is highly cost-effective to simultaneously upgrade to a high-performance clutch pack. Upgrading to a Barnett Kevlar clutch pack while the primary is drained and the hub is removed adds only $180 in parts and 30 minutes of labor, saving you a future teardown. Read more on friction material upgrades at RevZilla Common Tread.
Final Break-In and Adjustment
Once reassembled and filled with exactly 32 ounces of primary fluid, adjust the clutch cable freeplay at the handlebar lever to 1/16 inch to 1/8 inch. Start the bike and cycle the clutch lever 20 times to distribute oil into the new bearing seal. Take the motorcycle for a 10-mile test ride, monitoring the primary chaincase temperature and listening for any residual whine. A properly installed OEM throw-out bearing should be completely silent during lever actuation.