The Physics of Failure: Diagnosing Belt Drive Centrifugal Clutches
While automotive technicians spend their days analyzing the hydraulic nuances of a ZF 8HP or the torque converter clutch (TCC) solenoids in a 6L80, the power transmission landscape extends far beyond passenger vehicles. In high-performance karting, industrial PTO (Power Take-Off) systems, and heavy-duty agricultural machinery, the belt drive centrifugal clutch remains a critical drivetrain component. As we move through 2026, the proliferation of high-torque electric conversions and hybrid PTO setups has placed unprecedented thermal and mechanical stress on these mechanical friction devices.
Unlike fluid couplings, a centrifugal clutch relies on the direct physics of rotational mass. As engine RPM increases, centrifugal force ($F = m \cdot r \cdot \omega^2$) overcomes the tension of the retractor springs, forcing the friction shoes outward against the inner diameter of the clutch drum. When this mechanical handshake fails, the symptoms manifest in three distinct diagnostic phases: acoustic (noise), kinematic (vibration), and tactile (feel). This step-by-step guide will teach you how to isolate and resolve belt drive centrifugal clutch failures using professional drivetrain diagnostic methodologies.
Phase 1: Acoustic Diagnostics (Decoding the Noise)
A failing centrifugal clutch will almost always announce its degradation through specific acoustic frequencies before catastrophic mechanical failure occurs. By isolating the pitch and timing of the noise, you can pinpoint the exact failing sub-assembly.
High-Pitched Squeal at Idle or Low RPM
A continuous, high-frequency squeal (typically between 2000 Hz and 4000 Hz) when the engine is idling below the engagement threshold indicates partial shoe contact or belt glazing.
- Root Cause: The retractor springs have fatigued, allowing the shoes to lightly drag against the drum at idle. Alternatively, the V-belt has become glazed from chronic micro-slipping, creating a high-friction surface against the sheave.
- Diagnostic Step: Use a digital laser tachometer to verify idle RPM. If the engine is idling at 1,800 RPM but the clutch is rated for a 2,300 RPM engagement (e.g., a standard green spring setup), the springs are sagging.
- Correction: Replace the spring set. For a Comet TAV2 (Part #218353A), upgrading to a red spring (3,100 RPM engagement) will eliminate idle drag if your engine's torque curve supports the higher stall speed.
Metallic Clatter and Rattling During Engagement
A harsh, low-frequency metallic clatter occurring exactly at the engagement RPM threshold points to excessive mechanical lash within the drum assembly.
- Root Cause: Worn needle bearings or Oilite bronze bushings inside the drum hub. The Hilliard Corporation specifies that radial play in their Extreme Duty (5953C) clutch hub should not exceed 0.004 inches. When this tolerance is breached, the drum orbits the crankshaft eccentrically, causing the shoes to strike the drum unevenly.
- Diagnostic Step: With the engine off and the spark plug disconnected, grasp the drum and attempt to move it laterally and radially. Any perceptible 'clunk' against the crankshaft requires immediate teardown.
Phase 2: Kinematic Diagnostics (Tracing Vibration)
Vibration in a belt drive system can easily be misdiagnosed as an engine misfire or an unbalanced drive tire. However, clutch-induced vibration follows a strict kinematic profile tied directly to drivetrain RPM.
Harmonic Vibration at Peak RPM
If a severe harmonic vibration emerges only when the clutch is fully locked up (typically above 5,500 RPM in karting or 3,600 RPM in industrial PTOs), the issue is almost always drum runout or sheave misalignment.
- Mount a Dial Indicator: Secure a magnetic base dial indicator to the engine block or chassis. Position the stylus against the outer machining surface of the clutch drum.
- Measure Runout: Rotate the assembly by hand. Total Indicated Runout (TIR) must not exceed 0.005 inches. If runout is 0.010 inches or greater, the drum is warped from thermal cycling and must be replaced.
- Check Belt Tracking: Use a straight edge across the driven pulley and the clutch sheave. Even a 1-degree angular misalignment will cause the belt to track aggressively against one side of the sheave, inducing a high-frequency lateral vibration that transfers through the chassis.
Low-Frequency Chatter on Takeoff
Chatter feels like a rapid, violent shudder during the initial friction phase (the 400 RPM window between initial shoe contact and full lock-up). This is caused by uneven friction material wear or oil contamination. Sintered bronze friction pads, now standard in heavy-duty 2026 agricultural PTO clutches, are highly porous. If engine oil leaks past the crankshaft seal, it embeds into the bronze, creating localized high-friction 'grab points' that cause the chatter.
Phase 3: Tactile & Performance Diagnostics (The 'Feel')
For the operator, the 'feel' of the clutch is defined by the engagement RPM and the lock-up firmness. Slippage is the enemy of the belt drive centrifugal clutch, generating heat that can easily exceed 600°F (315°C), annealing the steel drum and destroying the belt.
Sluggish Engagement and Belt Burn
If the engine RPM flares excessively before the machine begins to move, the clutch is slipping. While automotive techs might check transmission fluid pressure, centrifugal clutch techs must measure shoe-to-drum clearance.
- The Measurement: Remove the clutch from the crankshaft. Use a feeler gauge to measure the gap between the friction material and the drum inner diameter when the shoes are fully retracted. The specification is typically 0.030" to 0.040".
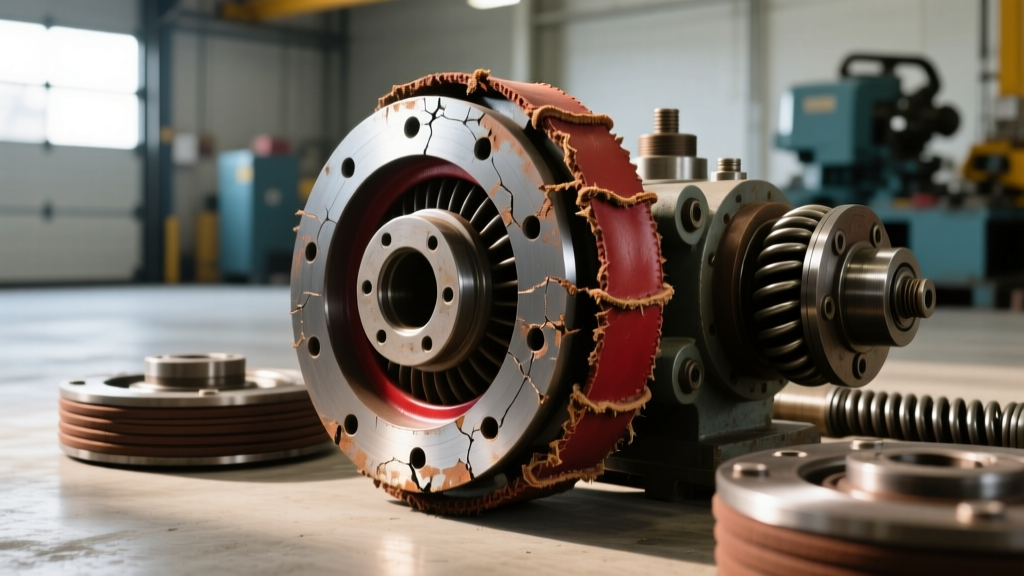
- The Failure: If the friction material is worn down to the steel shoe backing (less than 0.020" of material remaining), the springs cannot pull the shoes back far enough. The shoes constantly drag, generating immense heat, glazing the remaining material, and causing catastrophic belt slip.
Expert Drivetrain Insight: Never attempt to 'scuff' or sand the friction material on a centrifugal clutch to cure glazing. Modern Kevlar-infused organic compounds and sintered bronze rely on a specific surface porosity for thermal dissipation. Sanding closes the pores, guaranteeing future thermal fade. Replacement is the only professional option.
The Symptom-to-Failure Diagnostic Matrix
Use this reference table to quickly cross-reference field symptoms with precision specifications and common replacement part numbers.
| Primary Symptom | Diagnostic Tool | Acceptable Tolerance / Spec | Common Failure Component | Reference Part Number |
|---|---|---|---|---|
| Idle Squeal / Drag | Laser Tachometer | Idle must be 400 RPM below engagement | Fatigued Retractor Springs | Comet #219451A (Green Spring) |
| High-RPM Harmonic Vibe | Dial Indicator | Max TIR: 0.005" | Warped Clutch Drum | Hilliard #5953C Drum Assembly |
| Takeoff Chatter | Visual / Feeler Gauge | Friction thickness > 0.060" | Oil-Contaminated Shoes | Max-Torque #10T Sintered Shoes |
| Hub Clatter / Lash | Prybar / Micrometer | Radial Play < 0.004" | Worn Needle Bearing / Bushing | BMI #2055 (5/8" Bore Bearing) |
Step-by-Step Teardown and Precision Measurement
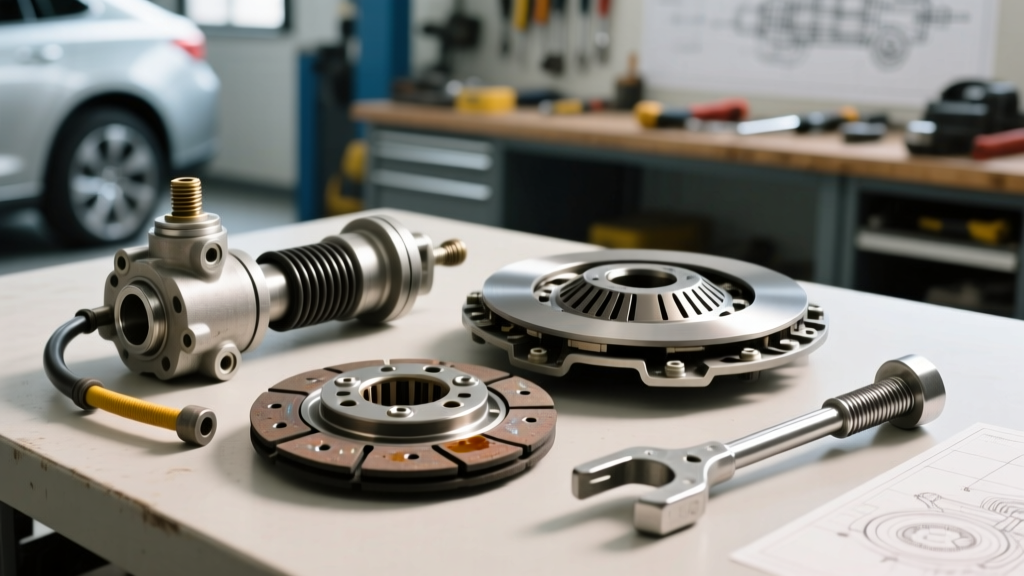
When diagnostics dictate a teardown, follow this exact procedure to ensure proper reassembly and drivetrain longevity.
Step 1: Isolate and Extract
Remove the V-belt and disconnect the spark plug. The crankshaft retaining bolt on most 5/8" or 3/4" PTO shafts is a 5/16"-24 UNF or 3/8"-24 UNF thread. Apply penetrating fluid and use an impact wrench or a strap wrench on the drum to break the torque. Never pry the clutch off the crankshaft with a screwdriver; you will score the crank journal and ruin the engine block seal.
Step 2: Inspect the Keyway and Crankshaft Journal
Examine the Woodruff key or standard square key. If the key shows any shearing or 'rolling' on the edges, the clutch was operating with improper torque. The retaining bolt must be torqued to 18-22 ft-lbs and secured with Blue Loctite 243. A loose clutch will wallow out the crankshaft keyway, requiring a costly engine teardown or a specialized keyway repair sleeve.
Step 3: Measure Internal Clearances
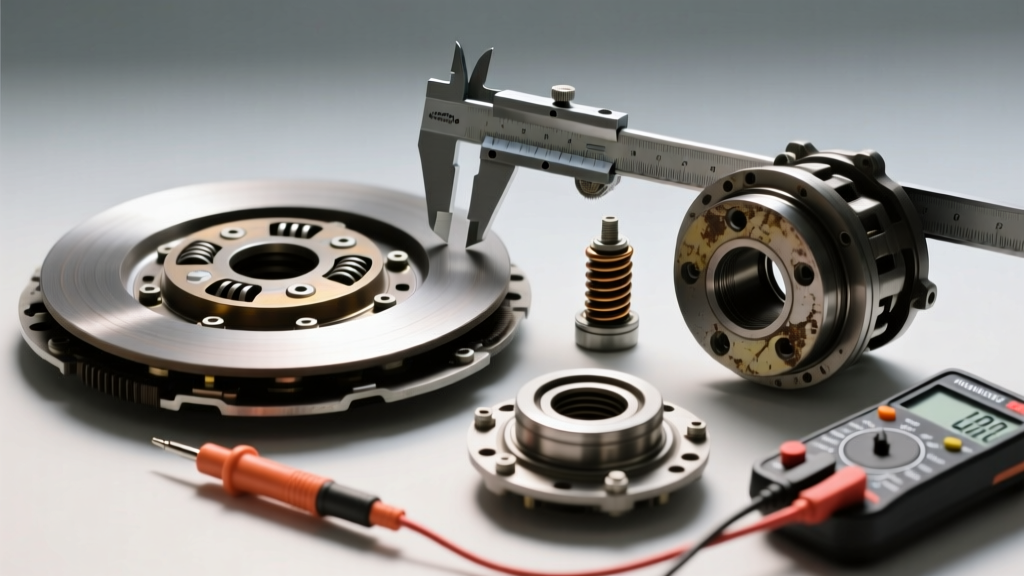
With the drum removed, inspect the shoe pivot pins. There should be zero lateral play. Measure the friction material thickness with digital calipers. As noted by the engineers at BMI Karts and Parts, any shoe measuring less than 0.060 inches from the steel backing plate must be discarded. Check the internal hub bore for scoring; a scored bore indicates a lack of high-temperature grease on the bushing, leading to the dreaded 'clutch weld' where the clutch fuses to the crankshaft.
Step 4: Reassembly and Belt Tensioning
Reinstall the clutch using a fresh key and a new retaining washer. Torque to 20 ft-lbs. When reinstalling the belt drive, proper tension is critical. Unlike automotive serpentine belts with automatic tensioners, manual V-belt drives require a deflection test. Press firmly on the longest span of the belt; it should deflect exactly 1/2 inch under moderate thumb pressure. Over-tensioning will destroy the clutch's internal bushing in under 5 hours of operation, while under-tensioning will cause immediate belt slip and thermal degradation.
Final Thoughts on Drivetrain Longevity
Diagnosing a belt drive centrifugal clutch requires shifting your mindset from hydraulic pressures to mechanical tolerances and rotational physics. By systematically evaluating noise, vibration, and tactile feel, you can identify failing springs, warped drums, and contaminated friction materials long before they strand the operator or destroy the driven machinery. Always rely on precision measuring tools over guesswork, and remember that in high-load PTO and racing applications, the clutch is the sacrificial guardian of your entire drivetrain.
For further technical specifications on PTO clutch alignments and industrial torque ratings, refer to the engineering manuals provided by Comet Industries and your specific OEM equipment manufacturer.