The Reality of Harley Davidson Clutch Replacement and Transmission Removal
When riders search for a harley davidson clutch replacement, they often assume the job is limited to draining the primary fluid, popping off the derby cover, and swapping friction plates. While a basic clutch pack swap on a Big Twin (Twin Cam or Milwaukee-Eight) only requires outer primary access, the intersection of clutch service and transmission removal is a critical, often misunderstood domain. In 2026, as riders push higher torque numbers with Stage III and IV builds, standard mechanical cable clutches are increasingly being replaced by hydraulic systems, and worn transmission mainshaft bearings are demanding complete drivetrain teardowns.
This guide bridges the gap between a simple clutch pack refresh and a full transmission removal, comparing the best clutch kits on the market and detailing the exact procedures, torque specs, and specialized tools required when the inner primary must come off and the transmission case is exposed.
Standard Clutch Swap vs. Full Transmission Teardown
Harley-Davidson Big Twins feature a unitized primary drive that connects the engine crankshaft to the transmission mainshaft via a compensator and primary chain. To understand when transmission removal is necessary, you must distinguish between the outer and inner primary housings.
Scenario A: The Standard Clutch Pack Swap
If your Milwaukee-Eight 114 is slipping under hard acceleration but the release mechanism and mainshaft are healthy, you only need to remove the outer primary cover. This grants access to the clutch spring, pressure plate, clutch hub, and the basket holding the friction and steel plates. The transmission remains bolted to the frame and the inner primary stays sealed. This job takes roughly 3 to 4 hours and requires a mainshaft locking tool to torque the clutch hub nut.
Scenario B: Hydraulic Conversions and Main Bearing Failure
Transmission removal—or at minimum, inner primary separation and transmission side-cover removal—becomes mandatory under specific conditions:
- Hydraulic Clutch Upgrades: Converting from a mechanical cable to a hydraulic clutch (like the AIM VPC or Barnett systems) requires removing the inner primary and the transmission side cover to install the hydraulic actuator piston and modify the clutch release bearing.
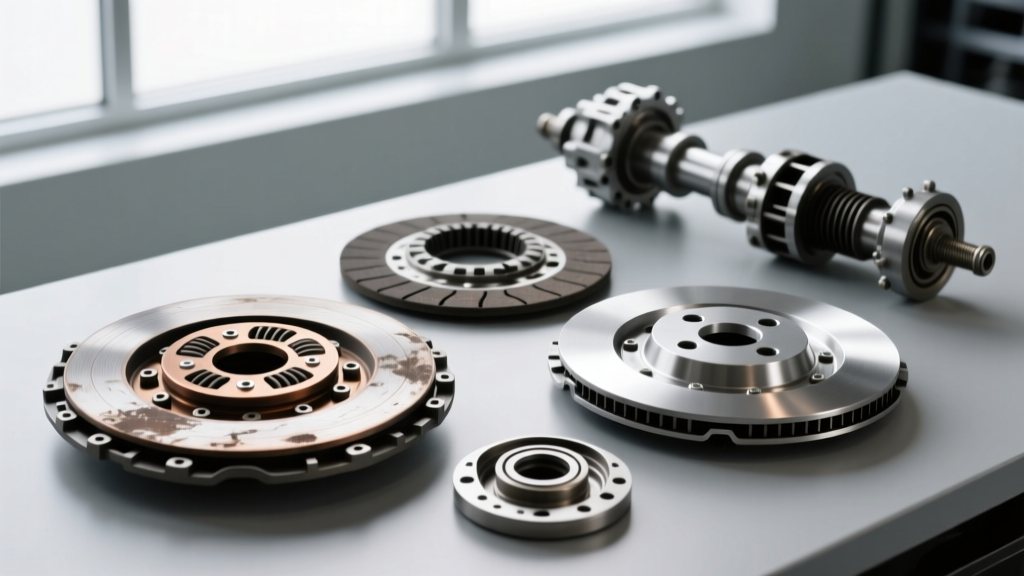
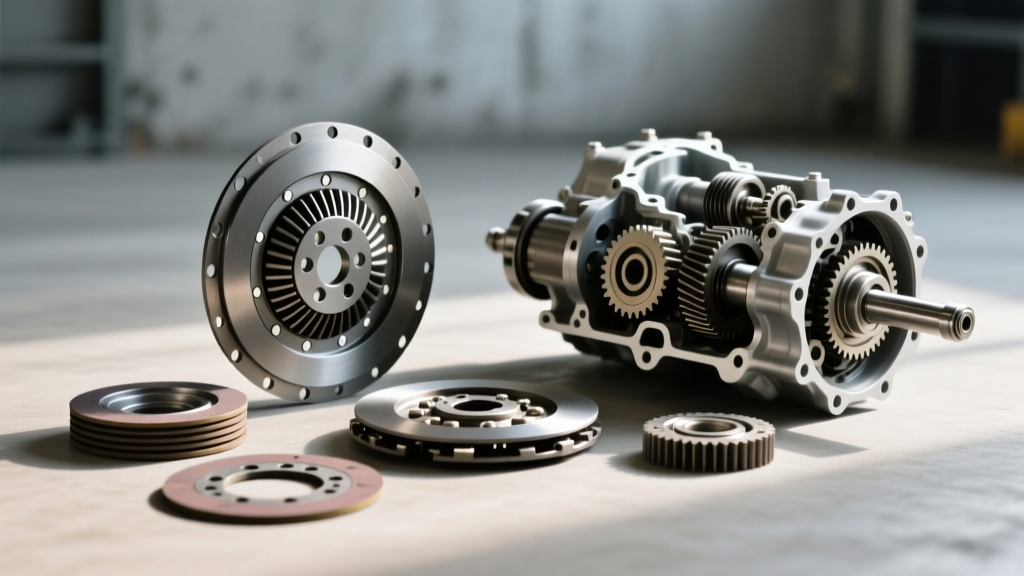
- Mainshaft Bearing Wear: A notorious issue on high-mileage Twin Cams and early M-8s is the failure of the transmission mainshaft inner race bearing. If this bearing disintegrates, metal shavings contaminate the transmission fluid. You must drop the transmission, split the cases, and rebuild the gearbox alongside the clutch replacement.
- Compensator and Sprocket Shaft Upgrades: Upgrading to an Andrews or Baker Drivetrain sprocket shaft often requires pulling the inner primary, which risks disturbing the transmission seal and clutch release mechanism, necessitating a deeper teardown.
2026 Buyer’s Guide: Top Clutch Kits for Big Twins
If your build requires a deep teardown, you are likely pushing high horsepower. Selecting the right clutch pack is paramount. Below is a comparison of the top-tier clutch kits available for Harley Touring and Softail models.
| Brand & Kit | Part Number (M8 Touring) | Friction Material | Est. Price (2026) | Best Application |
|---|---|---|---|---|
| Barnett Kevlar Clutch Kit | 302-30-10032 | Kevlar / Carbon | $235 | High-Torque Stage III/IV Builds |
| Screamin' Eagle Heavy Duty | 43300059 | Kevlar Blend | $185 | Stage II Touring & Heavy Loads |
| AIM CNC Hydraulic Kit | HCC-2-M8 | Includes Barnett Pack | $890 | Full Hydraulic Conversion |
| Riverdale Racing Clutch | RR-M8-114 | Sintered Bronze | $310 | Drag Racing & Extreme HP |
For most riders executing a transmission-adjacent teardown, the Barnett Kevlar Kit offers the best balance of grab, heat dissipation, and longevity. If you are dropping the transmission to install a hydraulic actuator, the AIM CNC kit provides the complete master cylinder, slave piston, and clutch pack in one box.
Essential Tools for Transmission and Clutch Service
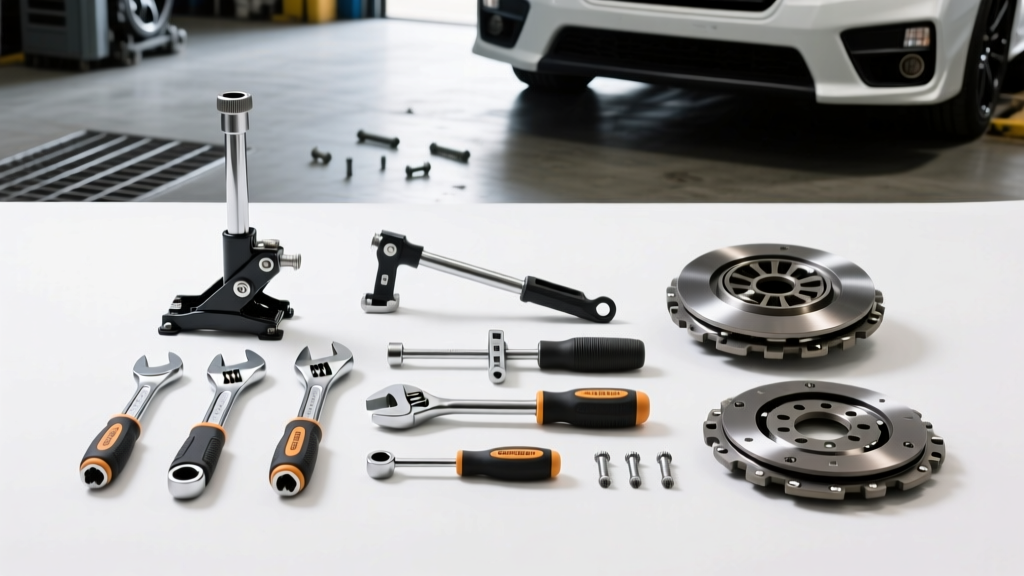
You cannot execute a Harley clutch job with standard metric sockets. The fasteners and shafts require proprietary tooling to prevent catastrophic damage to the transmission mainshaft threads.
- JIMS 3317 Mainshaft Locking Tool: Essential for holding the clutch hub stationary while breaking the hub nut loose and torquing it back down. Attempting to use a prybar between the clutch teeth will destroy your new friction plates.
- JIMS 4120 Clutch Spring Compressor: Safely compresses the diaphragm or coil springs to remove the snap ring without launching hardware across your garage.
- Inner Primary Puller (JIMS 9750): If your teardown requires inner primary removal, this tool prevents warping the aluminum housing when pulling it off the transmission bearing.
- Transmission Trap Door Tool (M-8 Specific): Milwaukee-Eight transmissions feature a 'trap door' on the side cover for mainshaft bearing access. Removing this requires a specialized puller to avoid cracking the magnesium/aluminum alloy case.
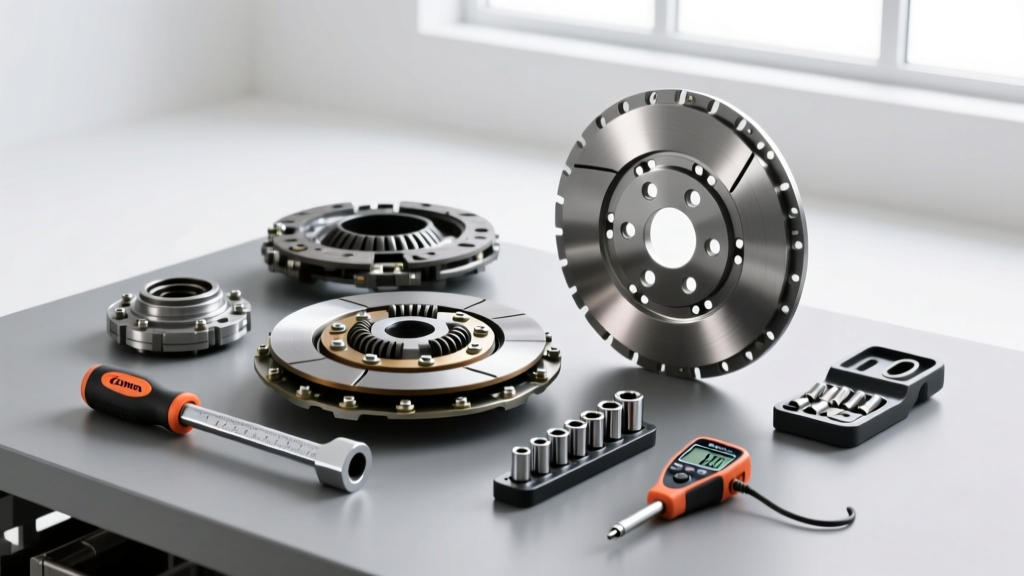
Additionally, a high-quality digital torque wrench calibrated in both foot-pounds and inch-pounds is mandatory. Many home mechanics accidentally destroy their clutch hubs by confusing the 80 in-lb spring bolt spec with 80 ft-lbs, resulting in stripped aluminum threads that require a complete helicoil repair or hub replacement. When removing the transmission side cover on a Milwaukee-Eight, you will also need a magnetic pick-up tool and a set of metric ball-end hex keys to navigate the tight clearances near the frame downtubes. For more specialized drivetrain tools, consult the catalog at JIMS USA.
Critical Torque Specifications and Clearances
Whether you are doing a standard swap or rebuilding the transmission side cover, adhering to factory torque specs is non-negotiable. The following specs apply to Milwaukee-Eight and late-model Twin Cam Big Twins:
- Clutch Hub Nut: 70-80 ft-lbs. Crucial: You must apply Loctite 271 (Red) to the mainshaft threads before installation. If this nut backs off, it will strip the mainshaft and destroy the transmission case.
- Clutch Spring Bolts: 80-100 in-lbs (inch-pounds, NOT foot-pounds). Over-torquing will strip the aluminum clutch hub.
- Inner Primary to Engine Case: 100-120 in-lbs.
- Inner Primary to Transmission: 18-22 ft-lbs.
- Primary Chain Deflection: 5/8 to 7/8 inch of up-and-down play on the bottom run with the engine cold and the rear wheel off the ground.
Always verify clearances using a feeler gauge. The clearance between the clutch pressure plate and the release bearing should be between 0.080' and 0.110' to ensure the clutch fully disengages without dragging the transmission into gear at a stop.
Cost Breakdown: DIY vs. Professional Dealership
A full clutch replacement intertwined with transmission side-cover work or inner primary removal is labor-intensive. Here is what you can expect to pay in 2026:
- DIY Standard Clutch Swap: $250 - $350 (Parts, primary fluid, gaskets, and seal). Requires 4 hours.
- DIY Hydraulic Conversion & Inner Primary: $900 - $1,200 (Includes AIM kit, inner primary gasket, transmission side cover gasket, special tools). Requires 10-14 hours.
- Dealership Full Teardown: $1,800 - $2,500. Dealerships typically charge 1.5 to 2.0 book hours for inner primary removal and hydraulic bleeding, plus standard clutch R&R time.
Furthermore, if you are sourcing OEM inner primary gaskets (Part #29562-06C for many Touring models), expect to pay around $45 just for the paper/rubber composite seal. Aftermarket options like Cometic offer superior Viton sealing for roughly $65, which is highly recommended if you are reassembling a high-vibration 117 cubic inch engine. If your transmission requires splitting the cases due to mainshaft bearing failure, expect to add $1,200 to $1,800 in specialized machinist and rebuilding labor, pushing the total well over $3,500 at a certified Harley-Davidson service center.
Expert Verdict: Plan Your Teardown
A harley davidson clutch replacement is rarely just about the friction plates. If you are experiencing clutch drag, notchy shifting, or primary noise, diagnose the inner primary and transmission release mechanism before ordering parts. For riders towing heavy trailers or running 120+ hp builds, bypass the OEM cable system entirely. Drop the transmission side cover, upgrade to a hydraulic actuator, and install a Barnett Kevlar clutch pack. It transforms the ride quality, saves your left hand in stop-and-go traffic, and protects your transmission mainshaft from the lateral stress of a worn mechanical release arm.