The Spongy Lever and the Slipping Clutch: A Harley Owner's Dilemma
There is a distinct, mechanical satisfaction to pulling the clutch lever on a Harley-Davidson. Whether you are riding a legacy Twin Cam Dyna or a modern Milwaukee-Eight Road Glide, the tactile feedback of the clutch system is your direct link to the primary chaincase. However, when that lever starts feeling spongy, notchy, or requires excessive hand fatigue to pull, riders often rush to diagnose a failing internal clutch pack. In reality, the issue frequently begins at the lever pivot, the cable routing, or the hydraulic master cylinder.
In this comprehensive diagnostic guide, we will break down exactly how to troubleshoot clutch engagement issues, detail the procedure for swapping the lever, and explore the critical decision-making process between OEM and aftermarket clutch replacement components when an internal failure is confirmed.
Symptom Diagnosis: Is It the Lever, Cable, or Clutch Pack?
Before you drain your primary fluid and order friction plates, you must isolate the symptom. A clutch system is only as strong as its weakest mechanical link. Here is how to diagnose the root cause of your clutch anomalies in the 2026 riding season:
- Notchy or Binding Lever Feel: Usually caused by a worn pivot bushing, lack of lubrication at the lever fulcrum, or a bent lever from a minor tip-over. The internal clutch pack is likely fine.
- Stiff or Hard Pull (Cable Models):strong> Indicates internal cable fraying, corrosion inside the cable housing, or improper routing causing a bind against the frame neck.
- Spongy Feel (Hydraulic M8 Softails):strong> Air in the hydraulic line or a failing master cylinder seal. Requires bleeding the system with DOT 4 fluid, not a clutch pack replacement.
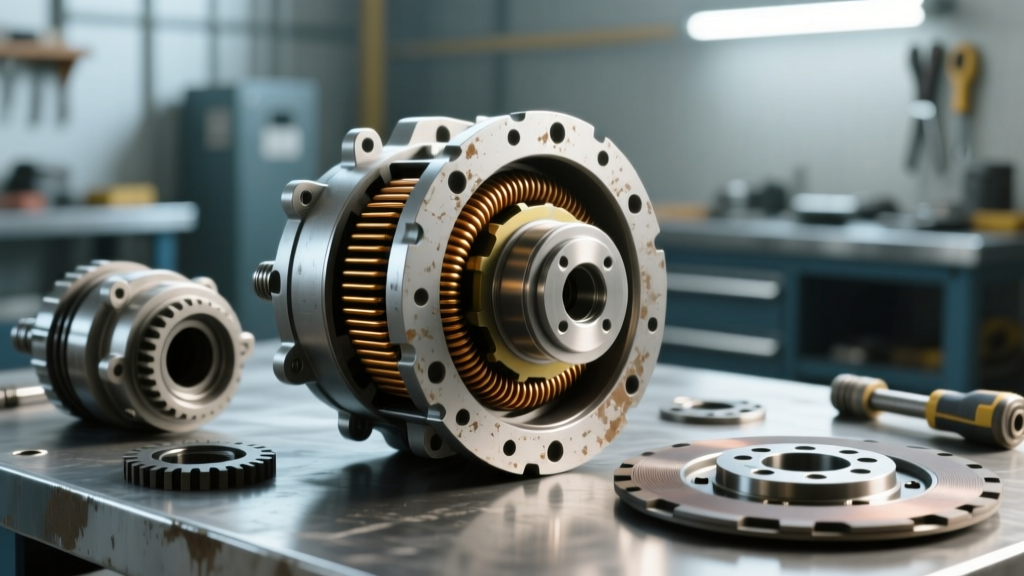
- Slipping Under Load (5th/6th Gear Roll-On):strong> The friction plates are glazed, the diaphragm spring has fatigued, or the clutch hub is notched, preventing the plates from clamping evenly. This requires a full internal clutch replacement.
How to Change Clutch Lever on Harley Davidson: Step-by-Step
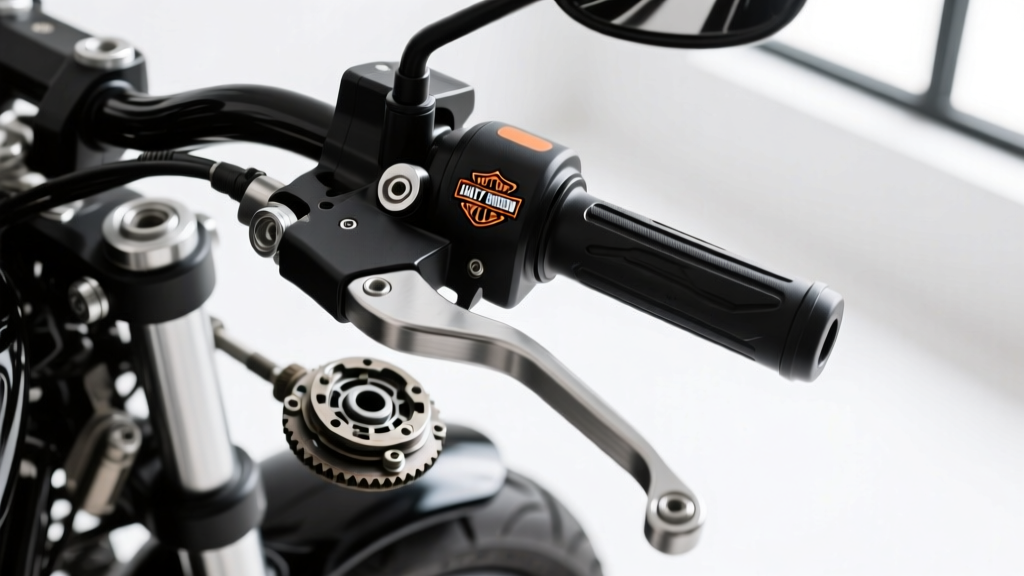
If your diagnosis points to physical lever damage, pivot wear, or you are simply upgrading to an adjustable reach-reduction lever for smaller hands, the swap is straightforward. Here is the professional procedure for mechanical cable-driven Harley models (pre-2021 Softails and most touring models).
Tools Required
- T40 Torx or 5/32" Allen key (depending on lever generation)
- 10mm and 12mm wrenches for the inline cable adjuster
- White lithium grease or molybdenum disulfide assembly lube
- Torque wrench (inch-pounds)
The Replacement Procedure
- Back Off the Cable Adjuster: Locate the inline rubber bellows on the clutch cable. Slide it back, loosen the lock nut, and turn the adjuster inward to create maximum slack.
- Free the Cable Barrel: Pull the lever toward the grip. This will expose the brass barrel at the end of the clutch cable. Rotate the cable 90 degrees to align with the slot in the lever, and slip it out.
- Remove the Pivot Bolt: Using your T40 or Allen key, remove the pivot bolt. Note the orientation of the clutch switch spacer and the pivot bushing. Inspect the bushing for ovaling; if it is worn, replace it immediately to prevent future lever play.
- Install the New Lever: Apply a thin coat of lithium grease to the pivot bushing and the cable barrel. Insert the new lever, align the switch actuator, and thread the pivot bolt by hand to avoid cross-threading.
- Torque and Re-tension: Torque the pivot bolt to 120-180 in-lbs. Re-seat the cable barrel, pull the adjuster outward until the lever has exactly 1/16" to 1/8" of freeplay measured at the lever end before you feel resistance from the clutch release bearing. Tighten the lock nut and secure the bellows.
When Lever Adjustment Fails: Internal Clutch Replacement
You have installed a new lever and adjusted the freeplay, but the bike still slips aggressively when you roll on the throttle in overdrive. This confirms internal clutch pack failure. On high-torque Harley engines, especially modified Milwaukee-Eight 114s and 117s, the stock clutch pack can succumb to thermal degradation and diaphragm spring fatigue as early as 25,000 miles.
This brings us to a critical crossroad for every Harley mechanic and owner: Do you reinstall OEM Harley-Davidson components, or do you upgrade to an aftermarket solution?
OEM vs. Aftermarket Clutch Kits: A Deep Dive
Choosing between Original Equipment Manufacturer (OEM) and aftermarket clutch kits depends entirely on your engine's torque output, your riding style, and your budget. Below is a structured comparison of the leading options available in the current market.
| Feature | OEM Standard Replacement | Screamin' Eagle Heavy Duty | Barnett Extra Plate Kit |
|---|---|---|---|
| Friction Material | Standard Paper/Composite | High-Friction Composite | Kevlar / Carbon Fiber |
| Clamping Force | Factory Spec (Stock Spring) | +20% (Upgraded Spring) | +35% (Extra Plate & Spring) |
| Heat Tolerance | Moderate (Prone to glazing) | High | Extreme (Race-Bred) |
| Price Range (2026) | $180 - $240 | $280 - $350 | $320 - $410 |
| Best Application | Stock 107ci, Commuting | Stage 1-2, Touring | Stage 3+, Heavy Towing |
The Case for OEM
OEM Harley-Davidson friction plates (such as part #41300137 for M8 models) are engineered for smooth, predictable engagement and low-effort lever pull. If you ride a stock Street Glide primarily on highways and value a light, linear clutch hand over maximum holding power, OEM is the correct choice. However, OEM paper-based plates are highly susceptible to glazing if the rider frequently 'slips' the clutch at low speeds in heavy traffic.
The Case for Aftermarket Upgrades
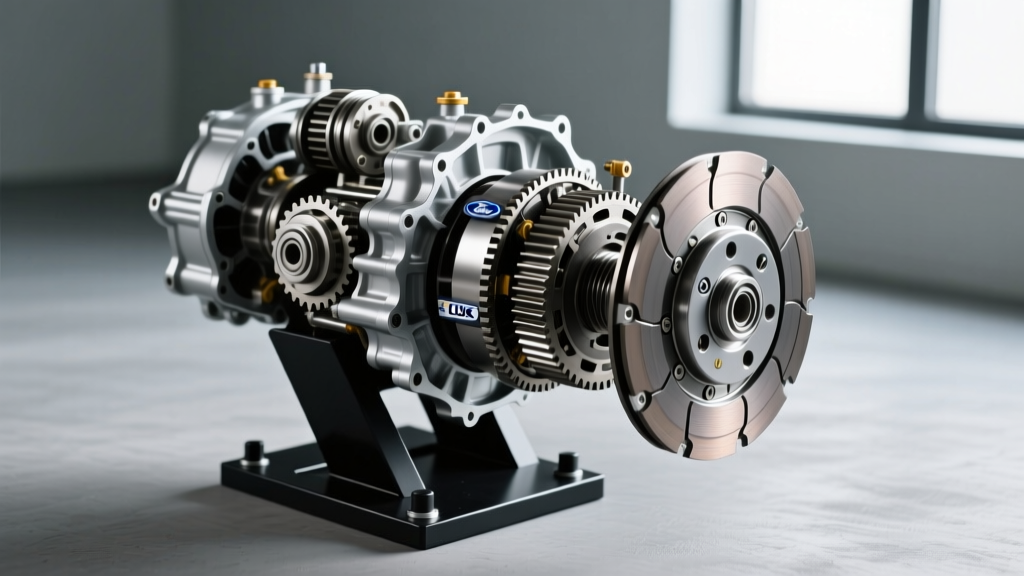
When you step into the aftermarket realm, companies like Barnett Clutches and Screamin' Eagle offer solutions that fundamentally alter the clamping dynamics of the primary drive. Barnett's Kevlar-based extra plate kits add an additional friction and steel plate to the stack. This increases the total surface area, allowing for a massive increase in torque capacity without requiring a stiffer diaphragm spring that would make the lever unbearably hard to pull. For riders running big bore kits, heavy camshafts, or pulling loaded trailers, an aftermarket Kevlar kit is not just an upgrade; it is a mechanical necessity.
Internal Replacement Specs, Torque, and Reassembly
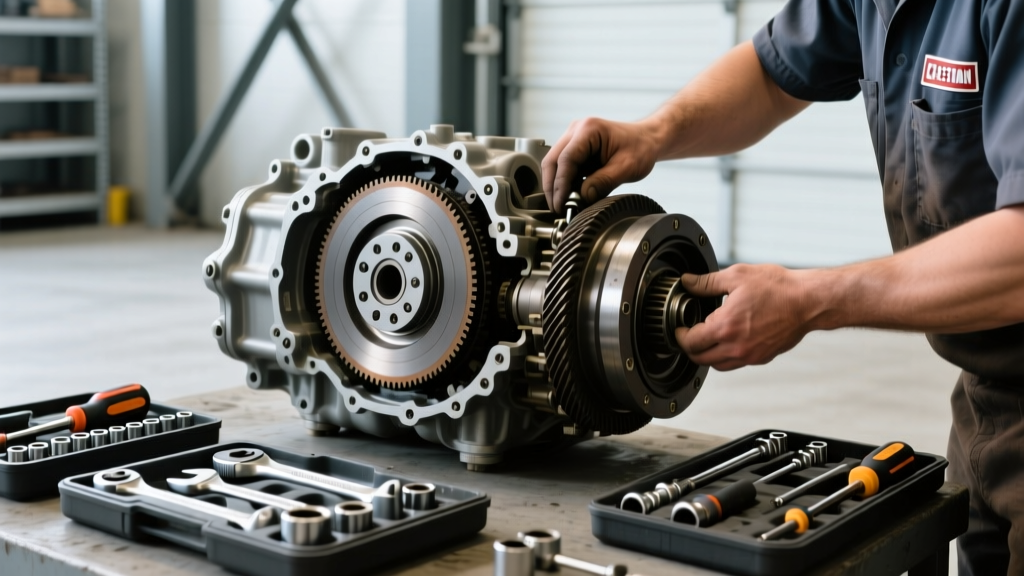
If you are tearing into the primary chaincase to install your chosen OEM or aftermarket kit, precision during reassembly is non-negotiable. A botched clutch hub installation will result in the nut backing off, destroying the transmission input shaft.
Expert Warning: Never use an impact wrench to tighten or loosen the Harley clutch hub nut. The shock loading can fracture the hub or damage the mainshaft bearings. Always use a primary locking tool or a piston stop to hold the engine statically while applying torque.
Critical Torque Specifications
- Clutch Hub Nut: 150 ft-lbs (Right-Hand Thread). You MUST apply Red Loctite 271 to the threads before installation. Allow 24 hours for the Loctite to cure before subjecting the drivetrain to load.
- Primary Chaincase Cover: 84-108 in-lbs. Follow the factory star-pattern tightening sequence to prevent warping the aluminum cover and causing primary fluid leaks.
- Derby Cover: 84-108 in-lbs. Ensure the O-ring is lubricated with primary fluid before seating.
Primary Fluid Selection and Capacity
After installing the new clutch pack, the choice of primary fluid is vital for friction plate break-in. Avoid using standard motor oil in the primary chaincase, as modern automotive oils contain friction modifiers that will cause your new clutch pack to slip immediately. Use a dedicated primary fluid like Harley-Davidson Formula+ or AMSOIL V-Twin Primary Fluid. Most Twin Cam and Milwaukee-Eight models require exactly 1 Quart (32 oz), but always verify by checking the fluid level at the bottom of the clutch diaphragm spring while the bike is upright and level.
Summary: Diagnosing and Upgrading with Confidence
Knowing how to change the clutch lever on a Harley Davidson is a fundamental maintenance skill that can save you hundreds of dollars in misdiagnosed internal repairs. By systematically isolating lever pivot wear and cable stretch from actual clutch pack degradation, you ensure that you only tear into the primary chaincase when absolutely necessary. When that time comes, weigh your engine's torque output against your riding style to choose between the smooth, cost-effective OEM replacements or the bulletproof holding power of aftermarket Kevlar kits from trusted sources like J&P Cycles and Barnett. Wrench smart, torque to spec, and enjoy the ride.