The Anatomy of Harley Wet Clutch Drag
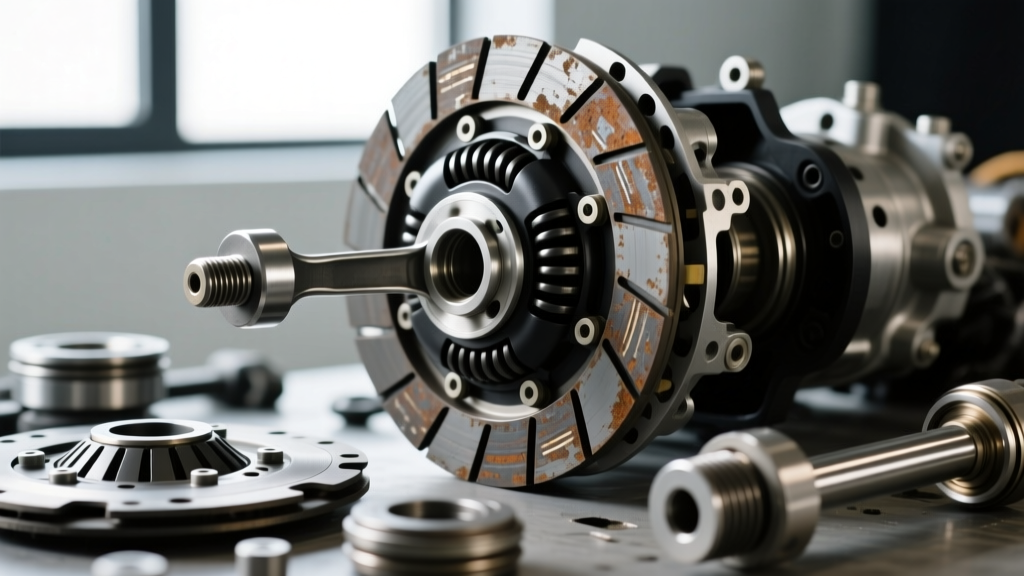
If you ride a Harley-Davidson Big Twin, you are likely familiar with the dreaded "clunk" when shifting into first gear, or the frustrating lurch forward when coming to a stoplight. A dragging clutch occurs when the friction and steel plates fail to fully separate when the lever is pulled. Because Harley-Davidson utilizes a wet, multi-plate clutch system bathed in primary chaincase fluid, drag is rarely caused by a single failing component. Instead, it is usually a cascading issue involving fluid shear breakdown, improper pushrod calibration, or mechanical wear on the inner clutch hub.
In this comprehensive 2026 diagnostic guide, we will walk through the exact step-by-step procedure to eliminate Harley clutch drag, restore crisp lever feel, and ensure full disengagement. Whether you are wrenching on a Twin Cam 103 or a modern Milwaukee-Eight 114, the fundamental ball-and-ramp release mechanism requires precise adjustment to function correctly.
Performing the "Roll Test" for Clutch Drag
Before tearing into the primary case, verify the severity of the drag. With the engine off, pull the clutch lever fully to the grip. Shift the transmission into first gear. Attempt to roll the motorcycle forward. If the bike rolls freely with minimal resistance, your mechanical clearances are likely within spec. If the rear wheel drags, locks, or the engine turns over via the primary drive, you have severe clutch drag that requires immediate attention.
Essential Tools and OEM/Aftermarket Parts
Proper preparation prevents stripped fasteners and misdiagnosed components. Gather the following tools and materials before beginning the adjustment process.
| Category | Item / Specification | Part Number / Notes |
|---|---|---|
| Fluid | V-Twin Primary Chaincase Fluid | AMSOIL PCVQT or Harley Formula+ (998126-05) |
| Hardware | Screamin' Eagle Heavy Duty Clutch Springs | 42528-99 (Increases clamping force by 33%) |
| Tools | T27 Torx Bit, 1/2" or 11mm Wrench, Feeler Gauges | For derby cover and pushrod locknut |
| Measurement | 6-Inch Stainless Steel Ruler | For measuring 1/16" to 1/8" lever freeplay |
Step 1: Primary Fluid Diagnosis and Flush
The most common, yet easily overlooked, cause of Harley clutch drag is primary fluid that has lost its shear stability. Wet clutches rely on specific friction modifiers to allow the plates to slide past one another during disengagement while still gripping under load. Using standard automotive motor oil (which contains friction modifiers designed for dry clutches and catalytic converters) will cause the clutch plates to stick together, resulting in severe drag.
The Procedure:
- Warm up the motorcycle for 3-5 minutes to suspend any metallic particulates in the fluid.
- Place a drain pan beneath the primary case and remove the primary drain plug (typically a 5/32" Allen or T27 Torx).
- Remove the derby cover to break the vacuum and speed up draining.
- Inspect the drained fluid. If it smells burnt or contains excessive metallic glitter (beyond normal fine paste), your clutch plates are slipping and glazing, which paradoxically causes drag when disengaging.
- Refill with exactly 32 oz (1 Quart) of dedicated primary fluid, such as AMSOIL V-Twin Primary Fluid. This fluid is engineered with high-shear polymers that resist the mechanical chopping action of the primary chain and clutch gear, maintaining the exact viscosity required for crisp release.
Step 2: Calibrating the Ball-and-Ramp Pushrod Mechanism
The heart of the Harley clutch release system is the ball-and-ramp mechanism located behind the derby cover. When you pull the lever, a cable pulls a ramp that pushes a ball bearing against the clutch pushrod, which in turn actuates the pressure plate. If the pushrod is adjusted too loosely, the lever travel is wasted on taking up slack, resulting in incomplete release (drag). If adjusted too tightly, the clutch will slip under heavy throttle.
The Adjustment Protocol:
- Back off the cable adjuster: Before touching the pushrod, you must eliminate all tension from the clutch cable. Loosen the cable adjuster boot on the lower frame tube and turn the adjuster nut inward to create maximum slack.
- Access the pushrod: Remove the derby cover using a T27 Torx bit. Crucial Warning: The derby cover bolts thread into soft aluminum. Use a torque wrench set to 80-100 in-lbs (inch-pounds, NOT foot-pounds) upon reassembly to avoid stripping the primary case.
- Seat the adjuster: Using a 1/2" or 11mm wrench, loosen the pushrod locknut. Turn the center adjuster screw inward (clockwise) using an Allen key or flathead screwdriver. Turn it until you feel firm resistance. This is the exact point where the pushrod contacts the pressure plate diaphragm spring.
- Set the clearance: Once seated, back the adjuster screw out (counter-clockwise) exactly 1/2 to 3/4 of a turn. This microscopic gap prevents the pushrod from applying preload to the clutch pack when the fluid expands under high operating temperatures.
- Lock it down: Hold the adjuster screw perfectly still with your Allen key while tightening the locknut to 72-120 in-lbs.
Step 3: Clutch Cable Freeplay and Lever Adjustment
With the internal pushrod calibrated, you must now set the external cable freeplay. The Harley-Davidson factory service manual mandates between 1/16" and 1/8" (1.6mm - 3.2mm) of freeplay measured at the lever pivot point. This slack is non-negotiable; it ensures that as the engine and transmission cases expand and contract with heat cycles, the cable does not inadvertently pull the clutch release mechanism.
- Pull the rubber adjuster boot back on the lower clutch cable housing.
- Turn the cable adjuster nut outward until you achieve exactly 1/16" of freeplay at the lever blade.
- Tighten the locknut securely and slide the rubber boot back into place.
- Perform the roll test again. The motorcycle should now roll freely in first gear with the lever pulled to the grip.
Advanced Diagnostics: When Adjustments Fail
If you have flushed the fluid, calibrated the pushrod, and set the cable freeplay, but the Harley clutch still drags, you are dealing with a mechanical failure inside the clutch basket. According to technical bulletins from Barnett Clutches, the following internal defects are the primary culprits for persistent drag in high-mileage Big Twins.
1. Inner Hub Notching (The Aluminum Groove Effect)
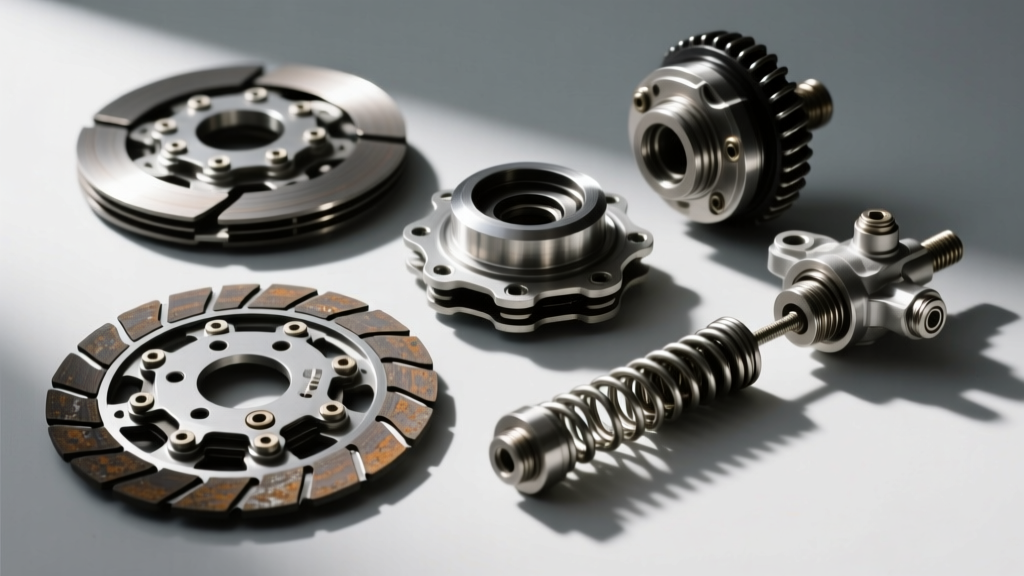
Pre-2017 Twin Cam engines utilize an aluminum inner clutch hub. Over tens of thousands of miles, the hard steel tabs of the friction plates hammer into the soft aluminum, cutting deep grooves (notches) into the splines. When you pull the clutch lever, the friction plates attempt to separate, but the steel tabs catch in these grooves, refusing to slide apart. The Fix: You must replace the inner hub with a hardened steel aftermarket unit (like those from AIM or Hinson) or install a clutch kit featuring Kevlar friction material, which is significantly gentler on the aluminum splines.
2. Warped Steel Reaction Plates
Excessive slipping (often caused by riding the clutch in stop-and-go traffic or improper heavy-duty spring installation without ECU tuning) generates immense heat. This heat warps the steel reaction plates. Even when the pressure plate is fully retracted, the wavy steel plates remain in contact with the friction discs, causing massive drag. The Fix: Remove the clutch pack and place the steel plates on a known flat surface (like a piece of plate glass). Attempt to slide a 0.005" feeler gauge under the plates. If they are warped beyond 0.003", the entire clutch pack must be replaced.
3. Weak or Mismatched Clutch Springs
While weak springs typically cause slipping, they can also cause drag. If the springs have lost their temper due to heat, they fail to pull the pressure plate back evenly when the lever is released, or they allow the clutch pack to "stack" unevenly during disengagement, causing the plates to bind against the outer basket.
| Symptom | Probable Internal Failure | Required Intervention |
|---|---|---|
| Clunk into 1st gear, but rolls freely once moving | Notched Inner Hub Splines | Replace Hub or Install Kevlar Friction Plates |
| Severe drag at all speeds, rear wheel locks | Warped Steel Plates / Melted Friction Material | Full Clutch Pack Replacement & Flush |
| Lever feels notchy, inconsistent drag | Worn Ball-and-Ramp or Frayed Cable | Replace Release Bearing Assembly & Cable |
Expert Tips for Long-Term Clutch Health
To maximize the lifespan of your Harley-Davidson wet clutch and prevent future drag issues, adhere to a strict 5,000-mile primary fluid change interval. The primary chaincase is a harsh environment; the roller chain acts like a bandsaw on the fluid's molecular chains. Furthermore, if you have upgraded to high-torque Big Bore kits or heavy touring setups, consider installing Screamin' Eagle Heavy Duty Clutch Springs (Part No. 42528-99). These springs increase clamping force by 33%, preventing the slip that leads to heat-induced plate warping and subsequent drag. Always remember that a properly adjusted Harley clutch should require minimal lever effort while providing a definitive, mechanical "break" when pulling away from a stop.