The Anatomy of Harley V-Twin Clutch Drag
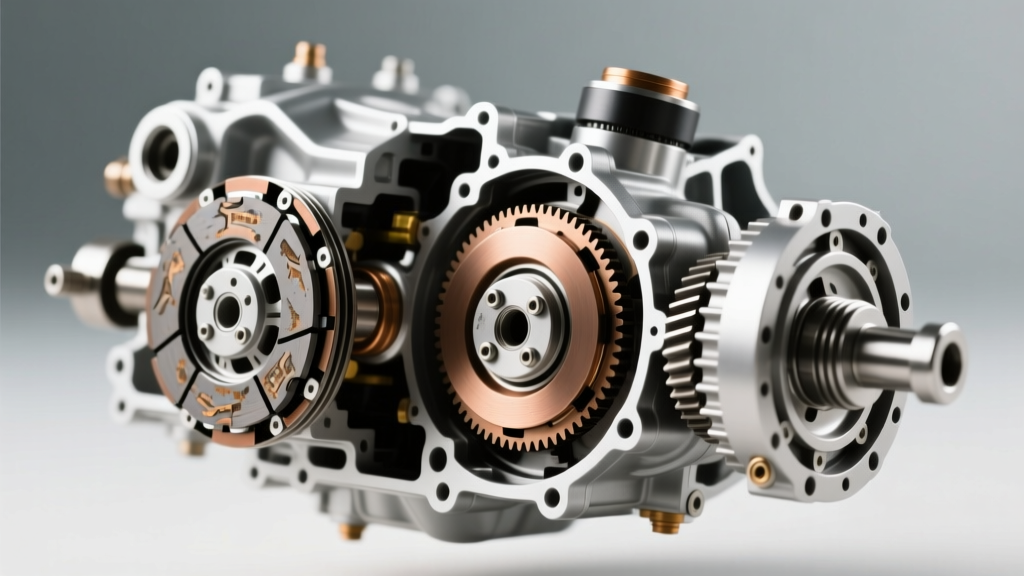
Clutch drag on a Harley-Davidson V-Twin is one of the most frustrating mechanical symptoms a rider can face. It manifests as a motorcycle that creeps forward at stoplights even with the lever fully pulled, a harsh clunk when shifting into first gear, or a rear wheel that refuses to stop spinning when the bike is on a lift. Unlike automotive manual transmissions or modern Japanese inline-fours, Harley-Davidson motorcycles utilize a wet, multi-plate clutch system housed inside the primary chaincase. This design relies on a delicate balance of mechanical leverage, hydraulic or cable actuation, and precise fluid dynamics to achieve full disengagement.
When diagnosing clutch drag and release problems, many riders immediately tear into the primary case to inspect the friction plates. However, the root cause often begins at the handlebars. The geometry of your controls, the condition of your actuation system, and the tension of your primary chain all dictate how effectively the clutch pack separates. This step-by-step guide will walk you through a comprehensive diagnostic protocol, starting from the handlebar controls and moving inward to the clutch hub.
Phase 1: Lever Geometry and Pushrod Engagement
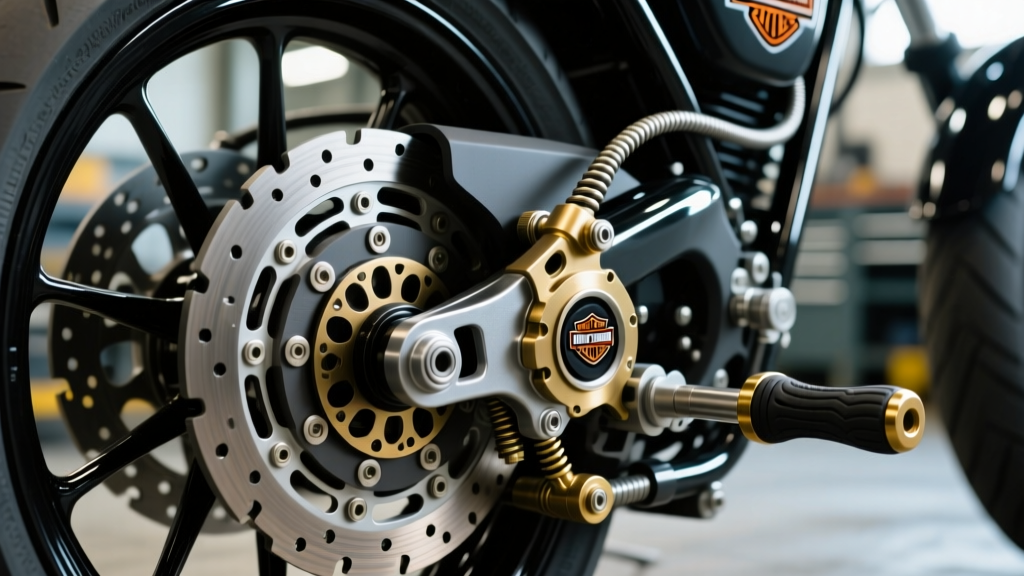
The first point of failure in any clutch release system is the lever itself. When installing aftermarket Harley Davidson clutch and brake levers, riders often overlook the critical relationship between lever pivot ratio and pushrod engagement depth. Aftermarket adjustable levers from brands like Pazzo or Klock Werks offer customizable reach, but altering the pivot point changes the mechanical advantage and the total linear travel of the master cylinder pushrod or cable actuator.
If your aftermarket lever does not push the master cylinder piston or cable plunger far enough, the clutch actuator arm on the transmission side will not rotate sufficiently to separate the friction and steel plates. This results in partial disengagement, leading to severe clutch drag.
Step-by-Step Lever and Pushrod Adjustment
- Measure Free Play: With the bike cold, measure the free play at the end of the clutch lever. You should have exactly 1/16-inch to 1/8-inch of free play before you feel resistance. Zero free play means the pushrod is constantly applying pressure to the clutch release bearing, causing slip and premature wear.
- Check Pushrod Depth (Hydraulic Models): For Milwaukee-Eight (M8) models with hydraulic clutches, remove the master cylinder from the handlebar. Depress the clutch lever and measure how far the master cylinder pushrod extends. It must travel a minimum of 0.450 inches to fully actuate the slave cylinder inside the primary.
- Adjust the Reach Dial: If you are using an adjustable lever, set the reach dial to a position that allows your fingers to fully pull the lever to the grip without the lever bottoming out against the rubber grip sleeve. Bottoming out physically prevents full clutch disengagement.
Phase 2: Actuation System Diagnostics (Cable vs. Hydraulic)
Harley-Davidson transitioned from mechanical cable clutches to hydraulic clutches on most touring and softail models over the last decade. Both systems have unique failure modes that contribute to clutch drag.
Diagnosing Cable Actuation (Twin Cam & Older Models)
Cable stretch and fraying are primary culprits for clutch drag on older Twin Cam models. Over time, the inner steel cable stretches, reducing the amount of pull delivered to the clutch release arm.
- Inline Adjuster: Locate the rubber bellows on the clutch cable near the frame downtube. Loosen the locknut and turn the adjuster to take up the slack until you achieve 1/16-inch of free play at the lever.
- Internal Pushrod Screw (The 'Ramp' Adjuster): Remove the derby cover on the primary case. Loosen the locknut on the central clutch release screw. Turn the screw inward until you feel it lightly seat against the clutch pushrod, then back it out exactly 1/4 to 1/2 turn. This gap is vital; without it, thermal expansion will cause the clutch to drag when the engine reaches operating temperature.
Diagnosing Hydraulic Actuation (M8 & Late-Model Softail/Touring)
Hydraulic systems are self-adjusting but are highly susceptible to air ingress and fluid degradation. DOT 4 brake fluid is hygroscopic, meaning it absorbs moisture from the atmosphere. When the primary case heats up, that moisture boils, creating vapor pockets that compress instead of transferring hydraulic pressure.
- Fluid Inspection: Check the master cylinder reservoir. If the DOT 4 fluid is dark or murky, a complete flush is required.
- Slave Cylinder Bleed: Locate the bleed valve on the hydraulic slave cylinder inside the primary chaincase (accessible by removing the derby cover). Attach a clear hose and vacuum bleed the system until zero air bubbles are visible. According to Night Rider Technical Resources, failing to properly bleed the M8 hydraulic clutch is the number one cause of incomplete release and gear clunking.
Phase 3: Primary Drive and Chain Tension
A frequently ignored cause of erratic clutch release is improper primary chain tension. The primary chain connects the engine crankshaft to the transmission input shaft via the clutch basket. If the chain is excessively loose, the sudden slack take-up during lever actuation can cause the clutch basket to bind or wobble on its bearing, preventing the plates from separating cleanly.
Setting Primary Chain Deflection
- Ensure the motorcycle is upright and the engine is completely cold.
- Remove the primary inspection cover.
- Push up and pull down on the bottom run of the primary chain. Measure the total vertical deflection.
- The specification for nearly all modern Harley-Davidson Big Twins is 3/8-inch to 5/8-inch (9.5mm to 15.8mm) of total up-and-down play when cold.
- If adjustment is needed, loosen the rear axle and adjust the chain tensioners evenly on both sides of the swingarm to maintain wheel alignment.
Expert Note: Never use standard motor oil in your primary chaincase. Automotive oils contain friction modifiers that will cause your wet clutch to slip. Always use a dedicated primary fluid like Harley-Davidson Formula+ or a high-quality synthetic V-Twin primary fluid to ensure the correct coefficient of friction for the clutch plates.
Phase 4: Inside the Clutch Basket
If the levers, actuation system, and chain are all within specification, the clutch drag issue lies inside the primary case. Over thousands of miles of stop-and-go riding, the clutch components endure immense thermal and mechanical stress.
Inspecting the Friction Plates and Steels
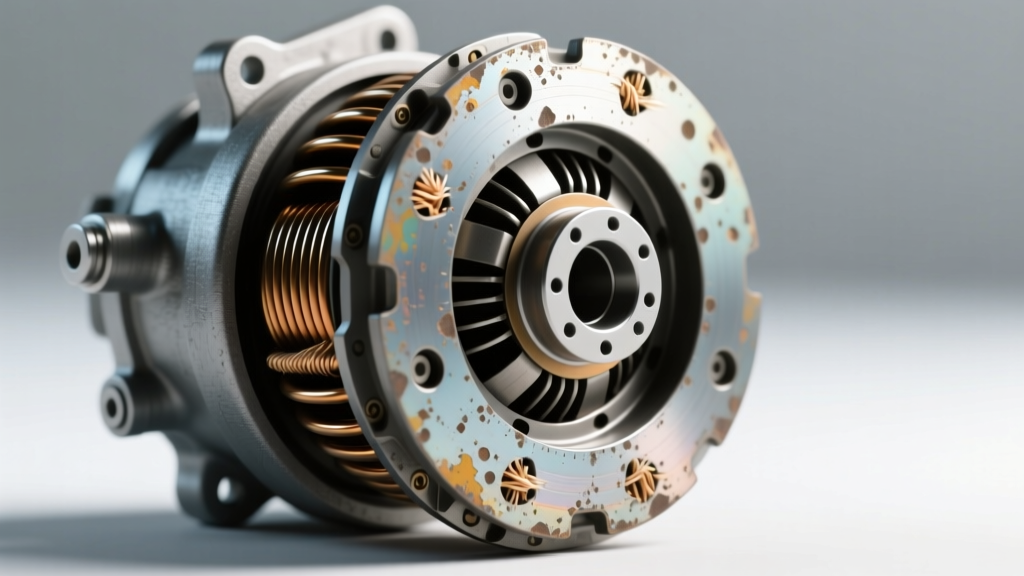
Warped steel plates are a primary cause of drag. When a rider 'slips' the clutch frequently to maneuver at low speeds, the friction material generates intense heat. This heat transfers to the steel separator plates, causing them to warp. Even a warp of 0.010 inches is enough to prevent the pack from fully separating when the lever is pulled.
- Measurement: Remove the clutch pack. Lay each steel plate on a known flat surface (like a piece of thick glass) and attempt to slide a 0.006-inch feeler gauge underneath. If the gauge passes through, the plate is warped and must be replaced.
- Notched Hub Tangs: Inspect the aluminum inner clutch hub and the outer basket. The tabs where the clutch plates seat can develop deep notches from repeated impact loading. These notches physically trap the friction plates, preventing them from sliding apart when the spring pressure is released. Light notches can be filed smooth, but deep grooves require replacing the basket or hub.
Upgrading to High-Performance Clutch Kits
If your stock clutch pack is fatigued, upgrading to a high-quality aftermarket kit is highly recommended. Barnett Tool & Engineering offers Kevlar-faced clutch kits specifically designed for Harley V-Twins. Kevlar handles higher thermal loads without warping the adjacent steels, and their heavy-duty clutch springs provide consistent clamping force without the fatigue associated with OEM springs. Expect to spend between $220 and $280 for a complete premium clutch kit.
Harley Clutch Torque Specifications & Clearances
| Component | Twin Cam (1999-2017) | Milwaukee-Eight (2018-Present) | Notes / Requirements |
|---|---|---|---|
| Clutch Hub Nut | 70 - 80 ft-lbs | 75 - 85 ft-lbs | Must use Red Loctite 271 |
| Clutch Spring Bolts | 70 - 95 in-lbs | 70 - 95 in-lbs | WARNING: Inch-pounds, NOT foot-pounds |
| Primary Chain Tension | 3/8' - 5/8' (Cold) | 3/8' - 5/8' (Cold) | Measure on bottom run of chain |
| Primary Fluid Capacity | 32 oz (1 Quart) | 32 oz (1 Quart) | Use Formula+ or V-Twin Primary Fluid |
| Friction Plate Thickness | Min 0.114' | Min 0.118' | Replace entire pack if below spec |
Troubleshooting Matrix: Symptom to Solution
Use this diagnostic matrix to quickly isolate your specific clutch drag symptom:
- Symptom: Hard shifting into first gear, loud 'CLUNK', bike creeps forward.
Root Cause: Insufficient lever travel, stretched cable, or air in hydraulic line.
Fix: Adjust lever pushrod depth, adjust inline cable turnbuckle, or vacuum bleed the slave cylinder. - Symptom: Clutch releases fine when cold, but drags severely after 30 minutes of riding.
Root Cause: Internal pushrod screw adjusted too tight (no thermal expansion gap), or degraded DOT fluid boiling in the hydraulic line.
Fix: Back out internal pushrod screw 1/4 turn; flush and bleed hydraulic fluid. - Symptom: Lever feels stiff, clutch drags, and you hear a rattling noise from the primary.
Root Cause: Loose primary chain causing basket wobble, or notched clutch hub tangs binding the plates.
Fix: Adjust primary chain to 3/8' deflection; inspect and file/replace clutch basket tangs. - Symptom: Lever feels normal, but the rear wheel still spins violently when in gear with the clutch pulled.
Root Cause: Warped steel separator plates or incorrect primary fluid causing hydraulic lock-up between friction surfaces.
Fix: Replace warped steels and friction plates; drain and refill with correct V-Twin primary fluid.
Final Assembly and Verification
When reassembling your primary case, cleanliness is paramount. Ensure the primary gasket surface is free of old sealant and debris. If your model utilizes an O-ring for the derby cover, inspect it for flat spots or cracks and replace it if necessary. Torque the derby cover bolts to 80-100 in-lbs in a star pattern to prevent warping the cover and causing leaks.
After completing your adjustments and verifying your Harley Davidson clutch and brake levers are properly calibrated, take the motorcycle for a test ride in a safe, controlled environment. The transmission should slide into first gear with a soft, muted click rather than a violent clunk. At a stoplight, you should be able to rest your hand on the throttle with the clutch pulled in, and the motorcycle should remain perfectly stationary without any creeping. By methodically working from the handlebars to the clutch hub, you eliminate the guesswork and ensure a flawless, drag-free release every time you ride.